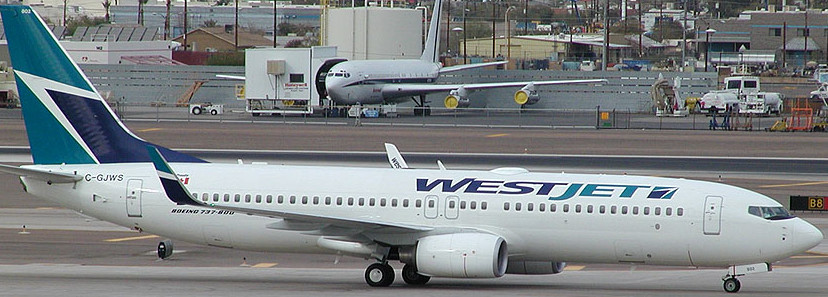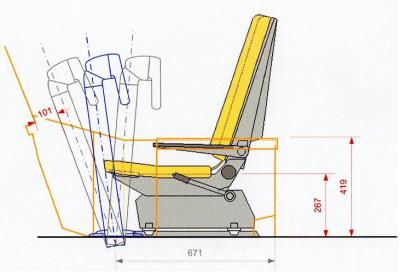
Yoke Travel Seat Reference. From Rudy's site
| 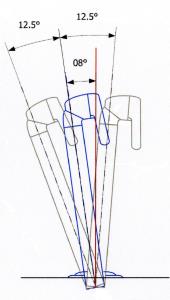
Yoke Forward /Aft Travel Distance. From Rudy's site.
|
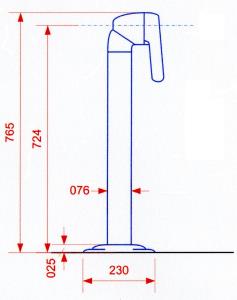
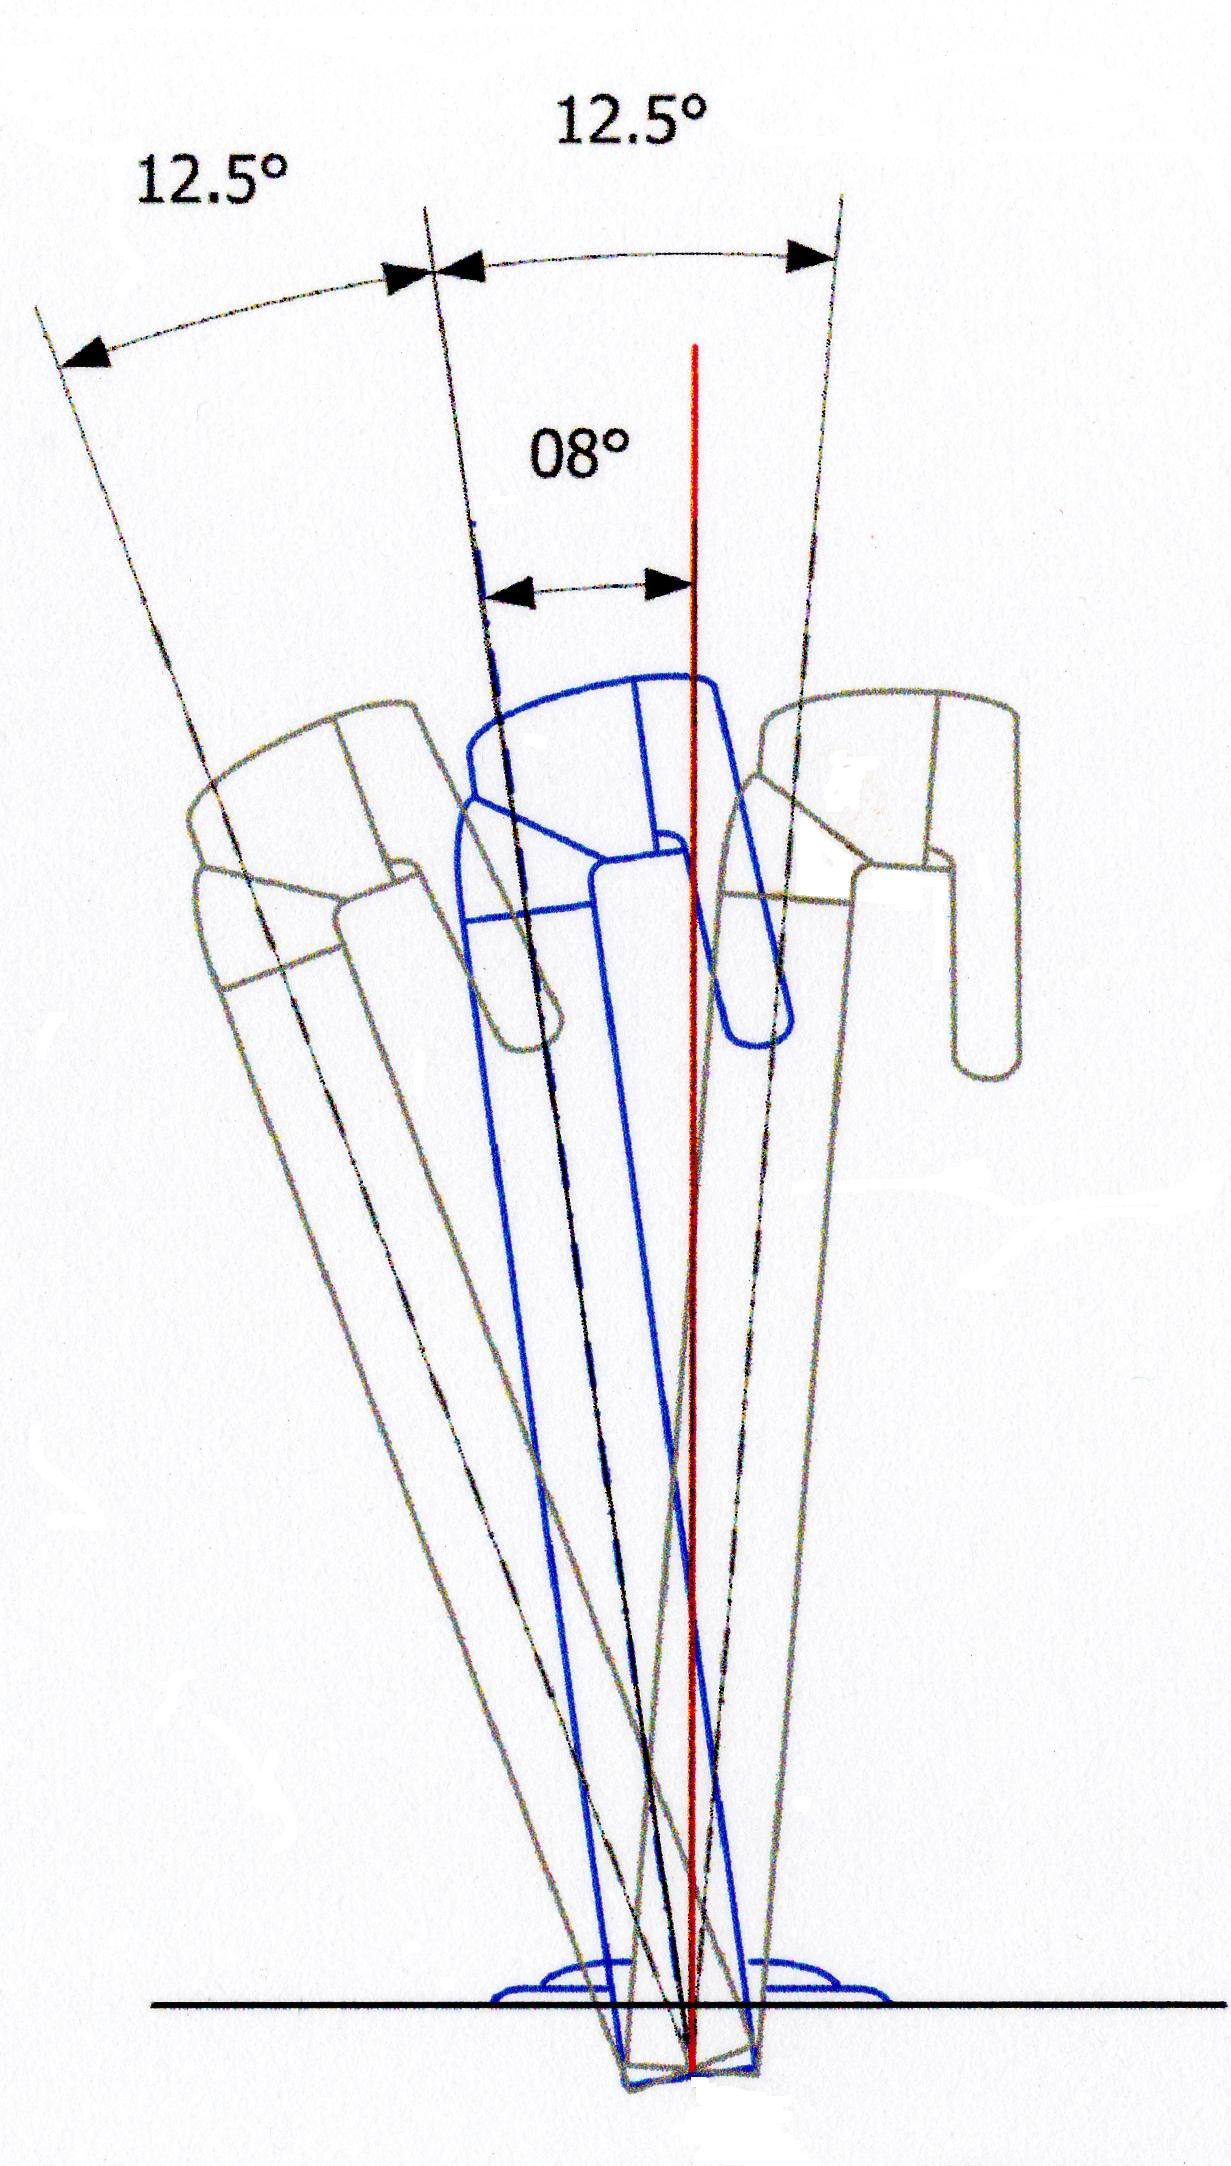
Yoke Measurements. From Rudy's site
|

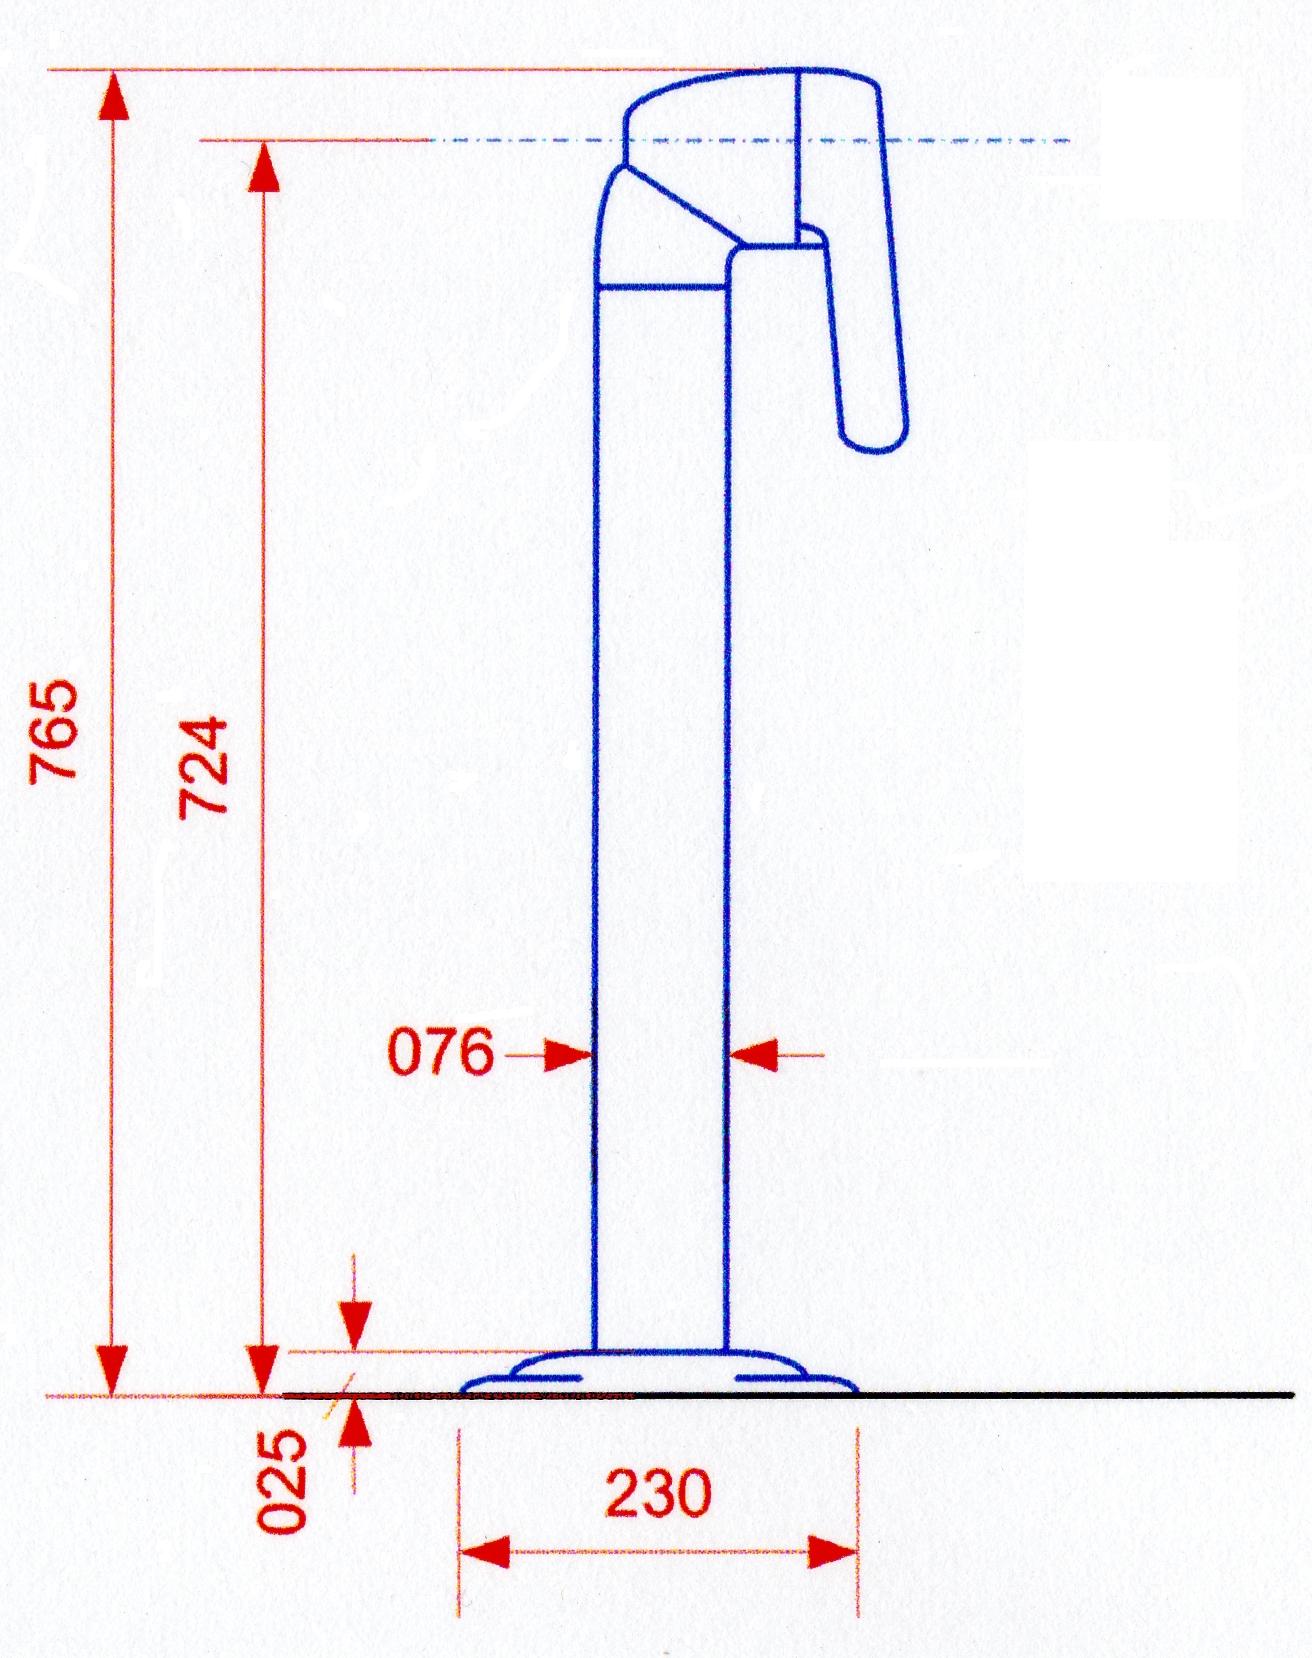
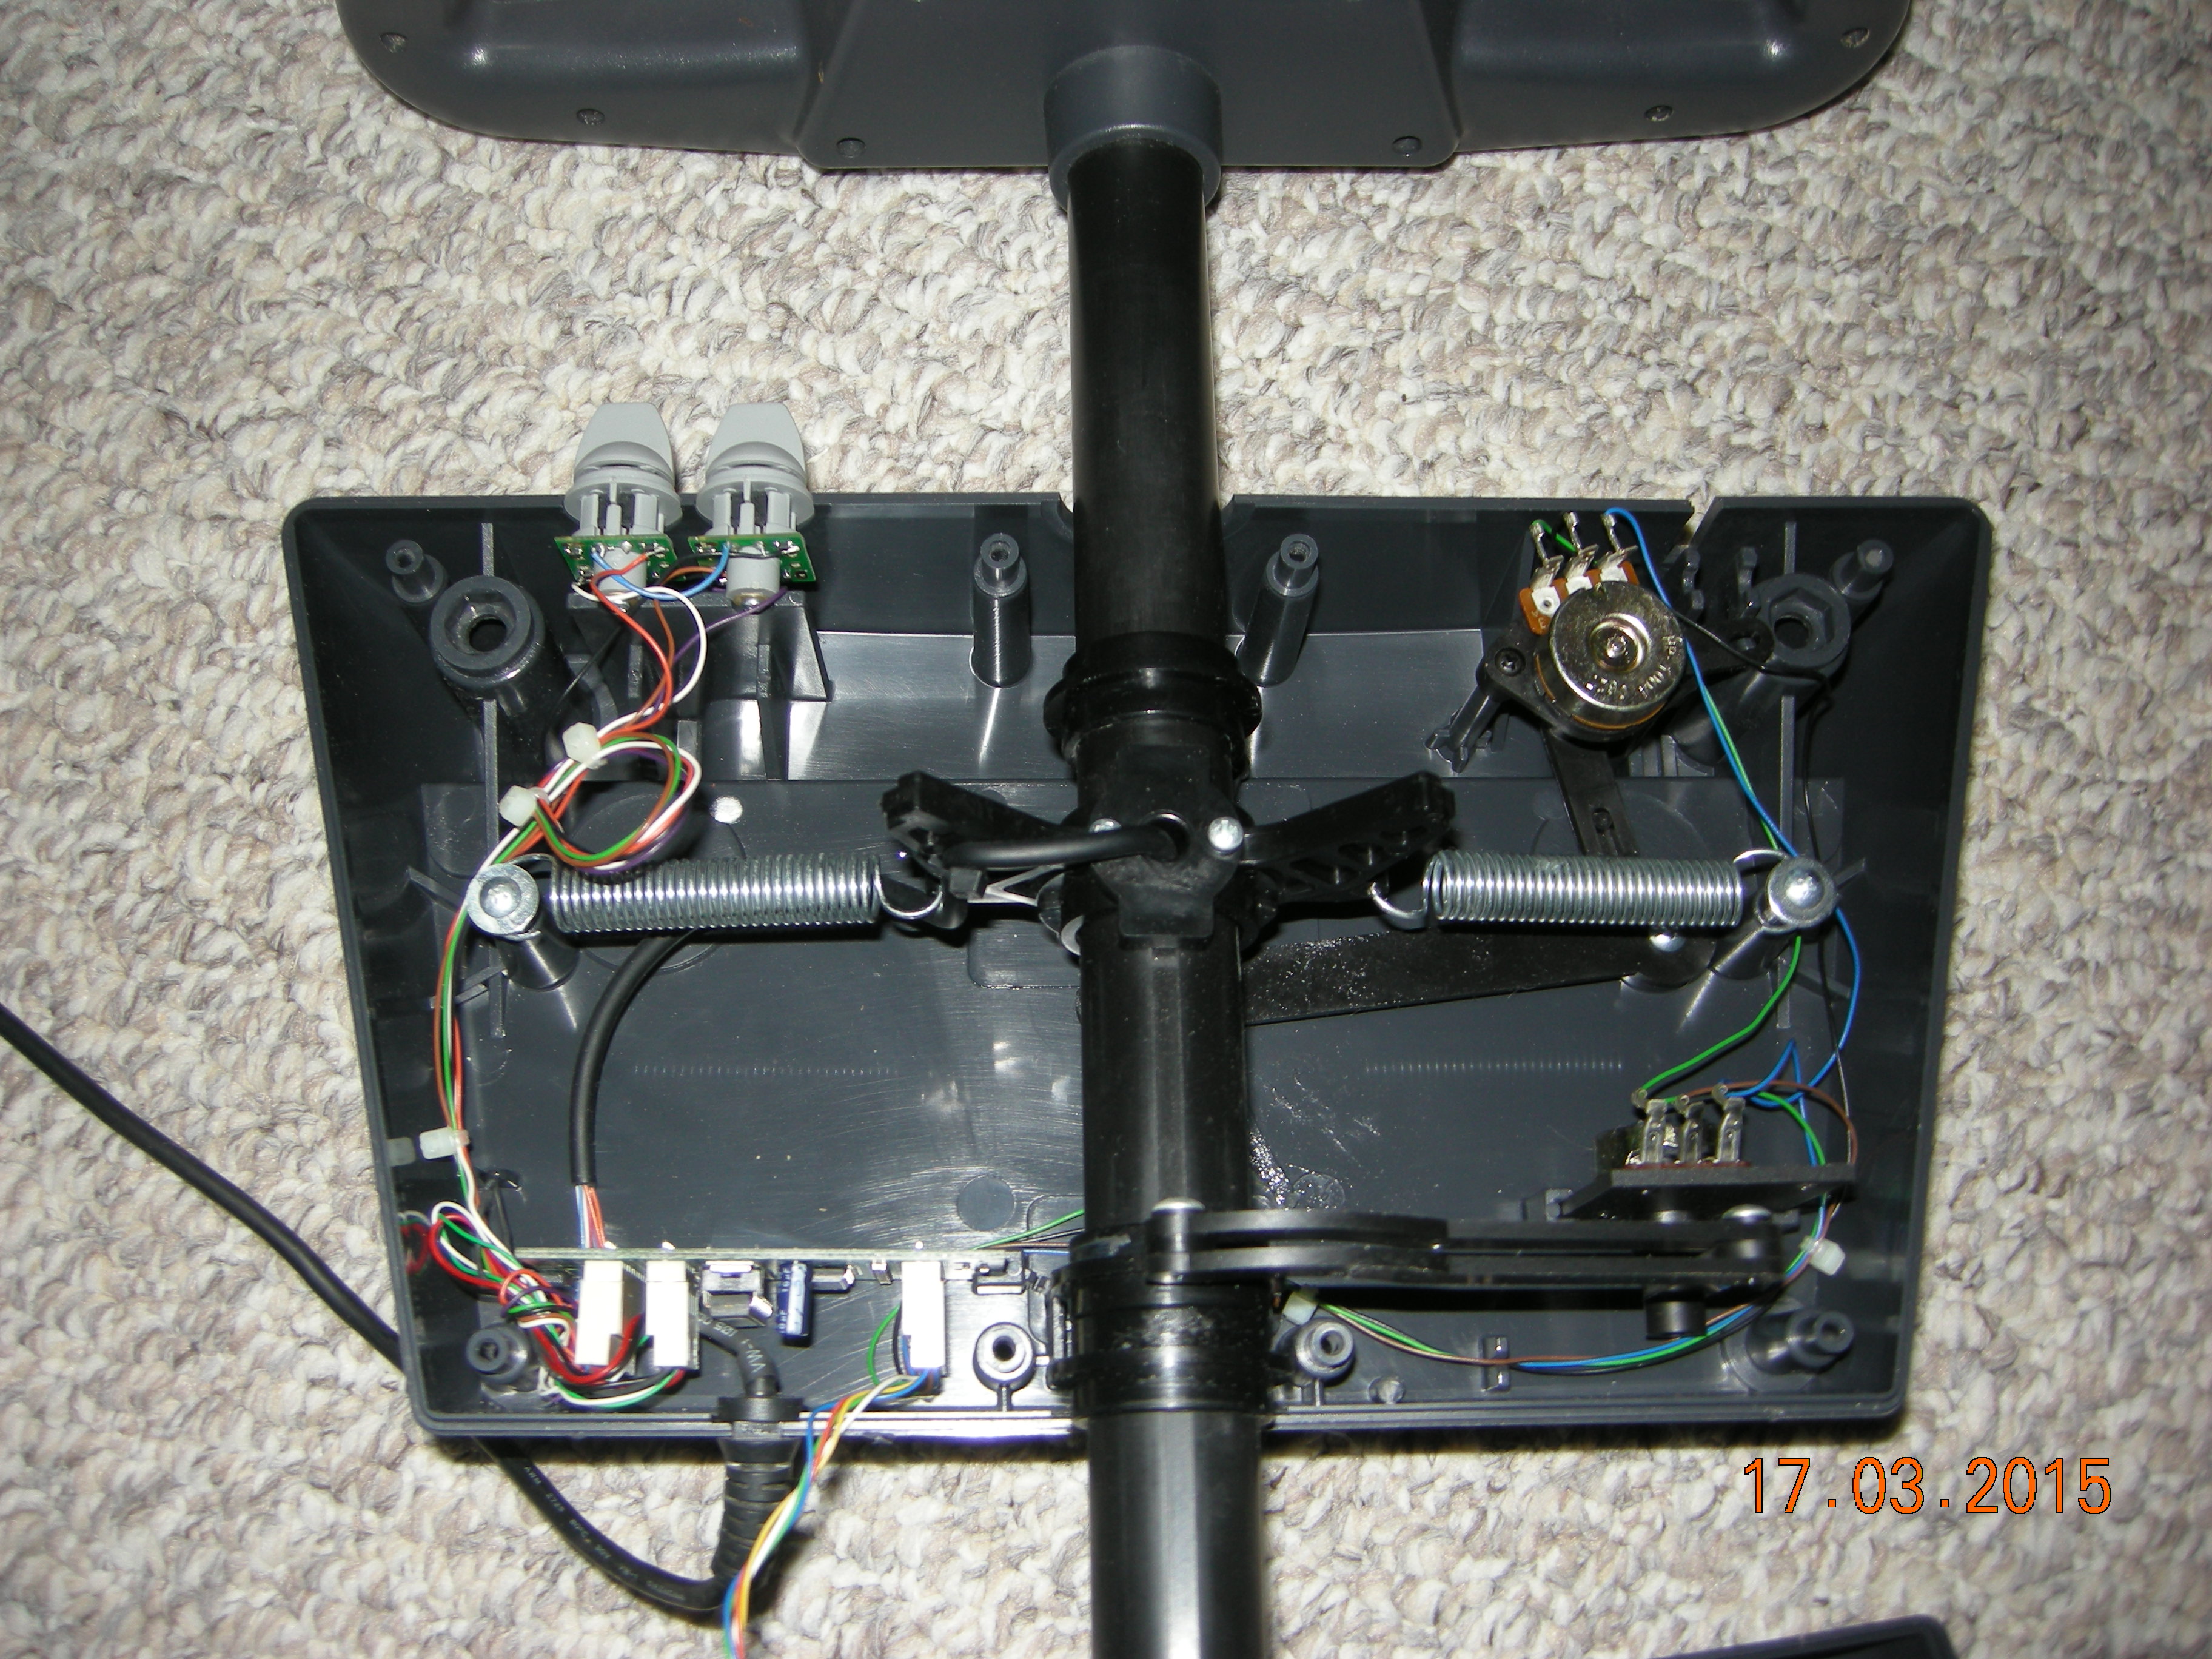
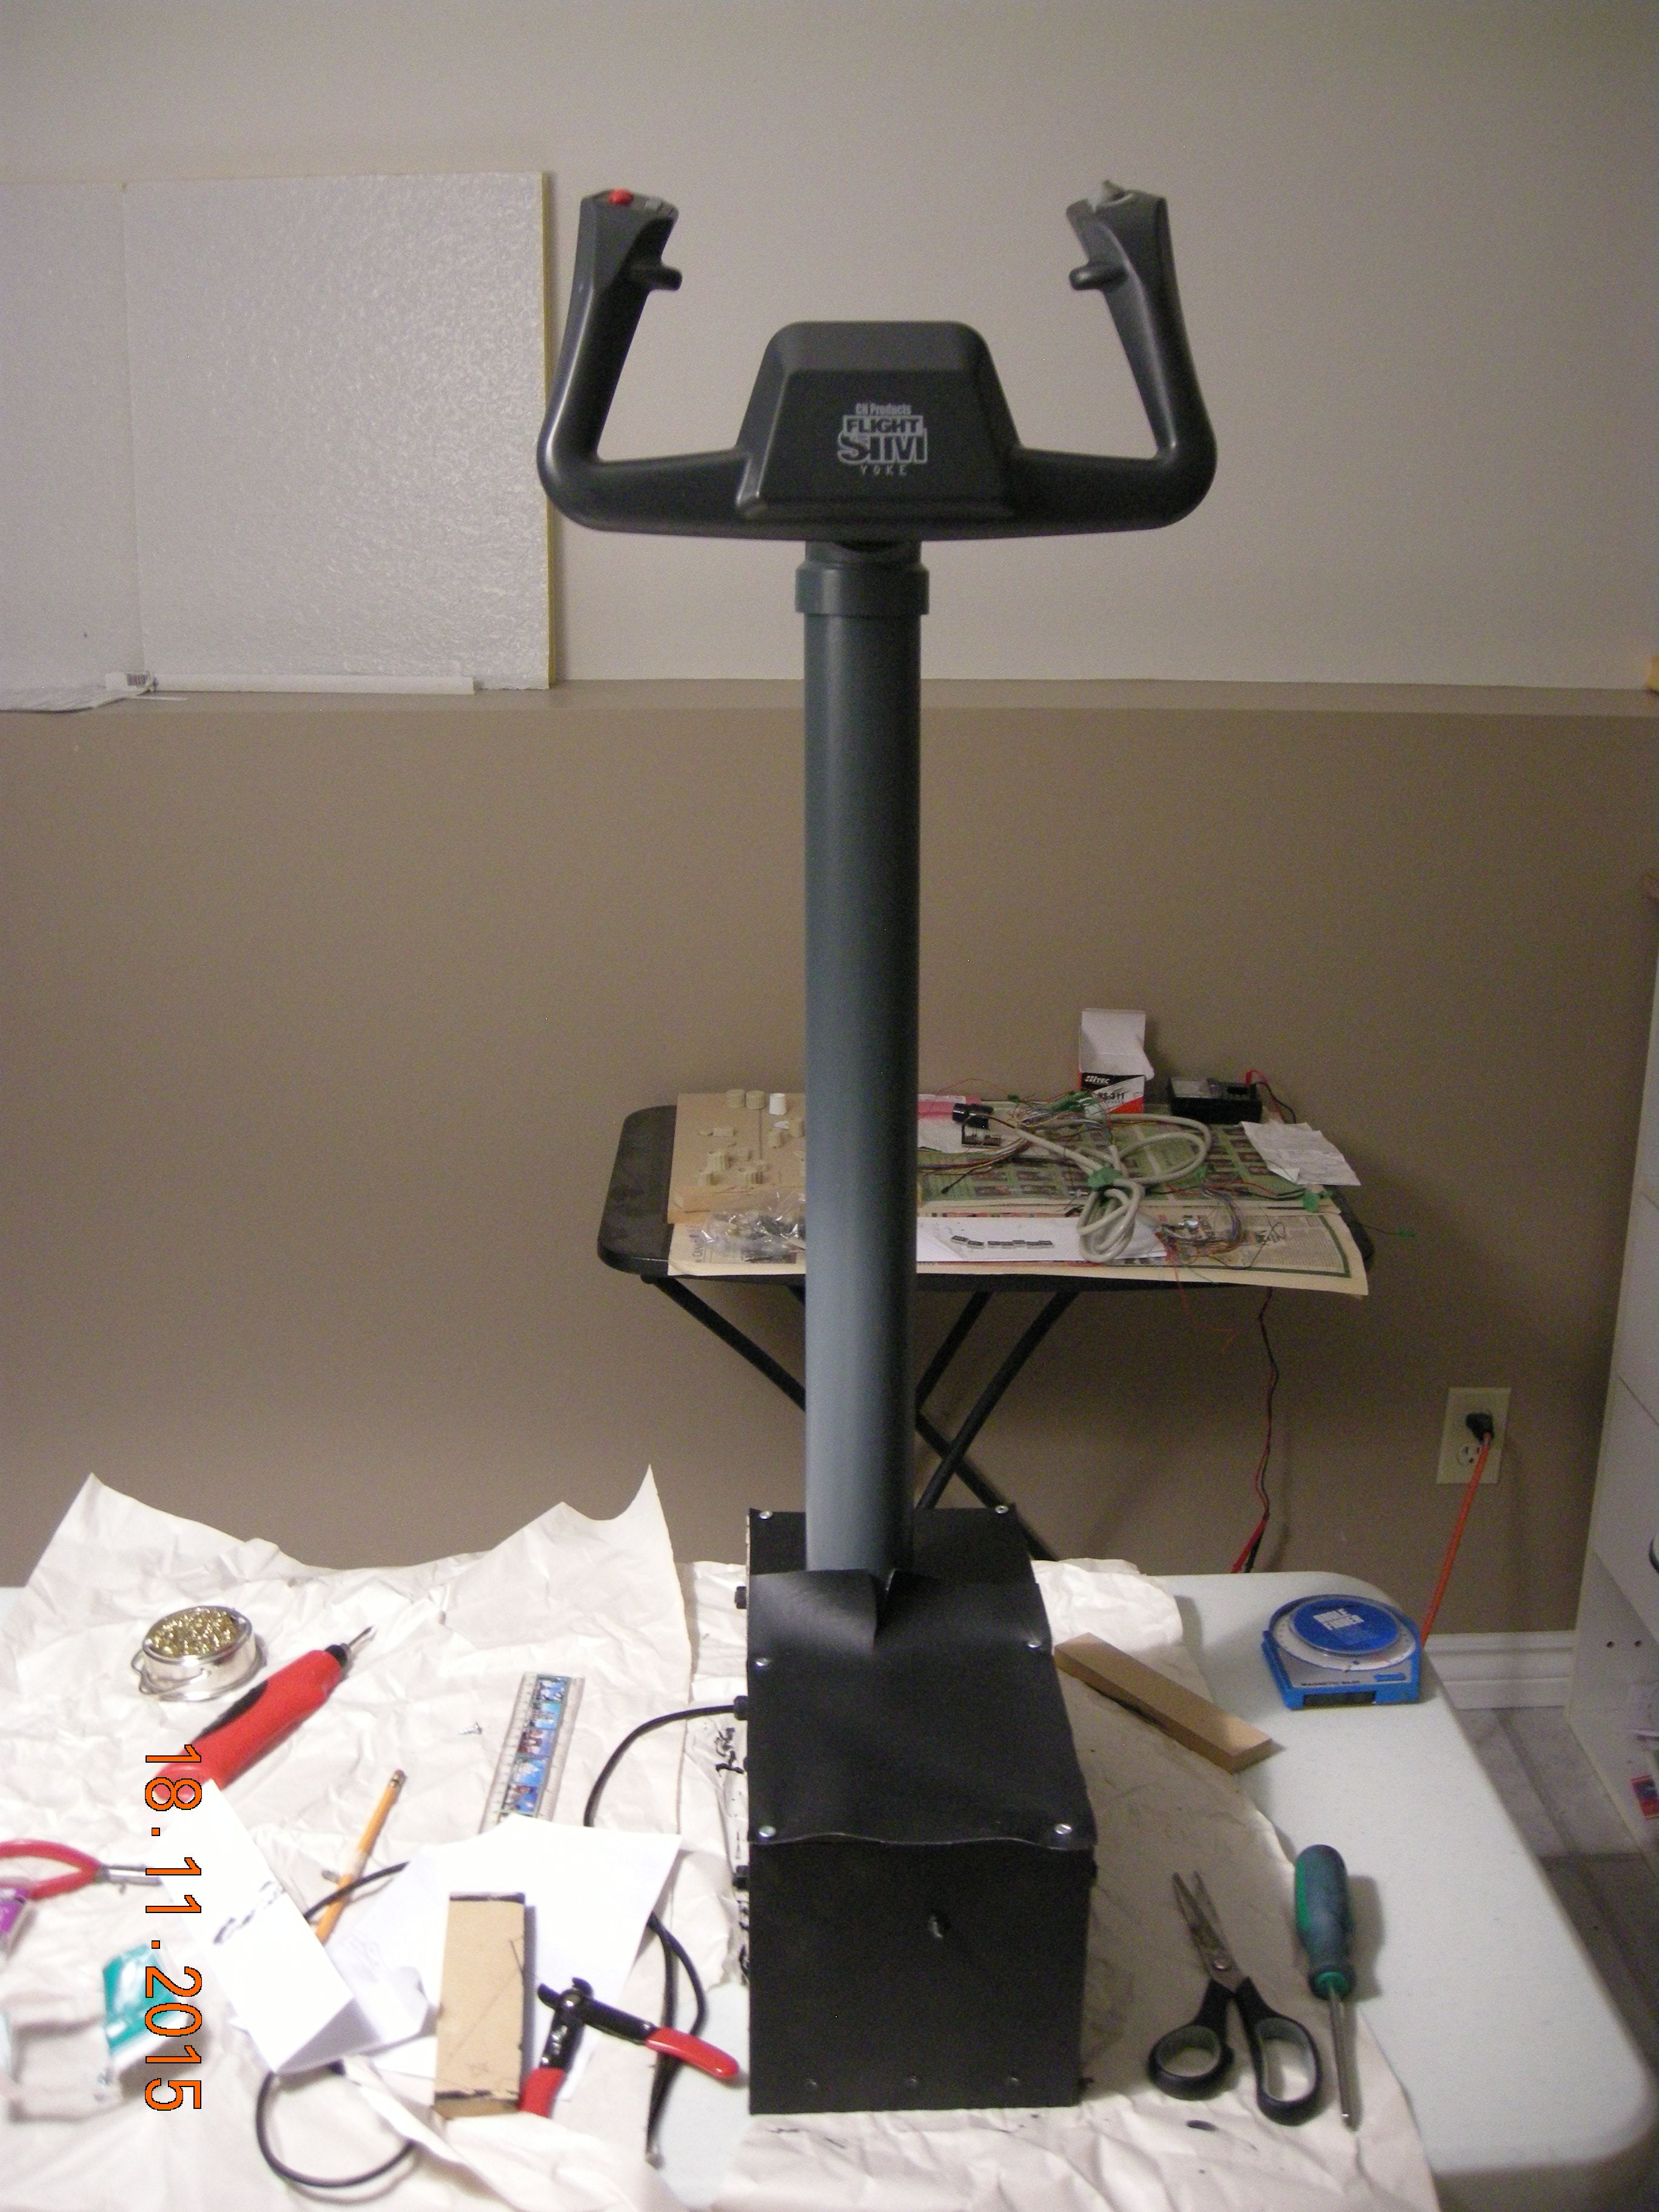
Started with a CH Pro Yoke
| 
Open it up. We need the two pots, a spring, the circuit board and two bushings.
|
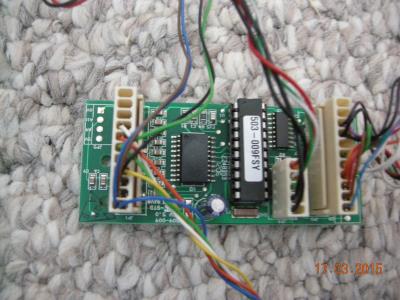
Controller board.
| 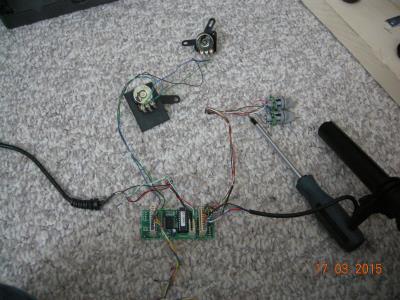
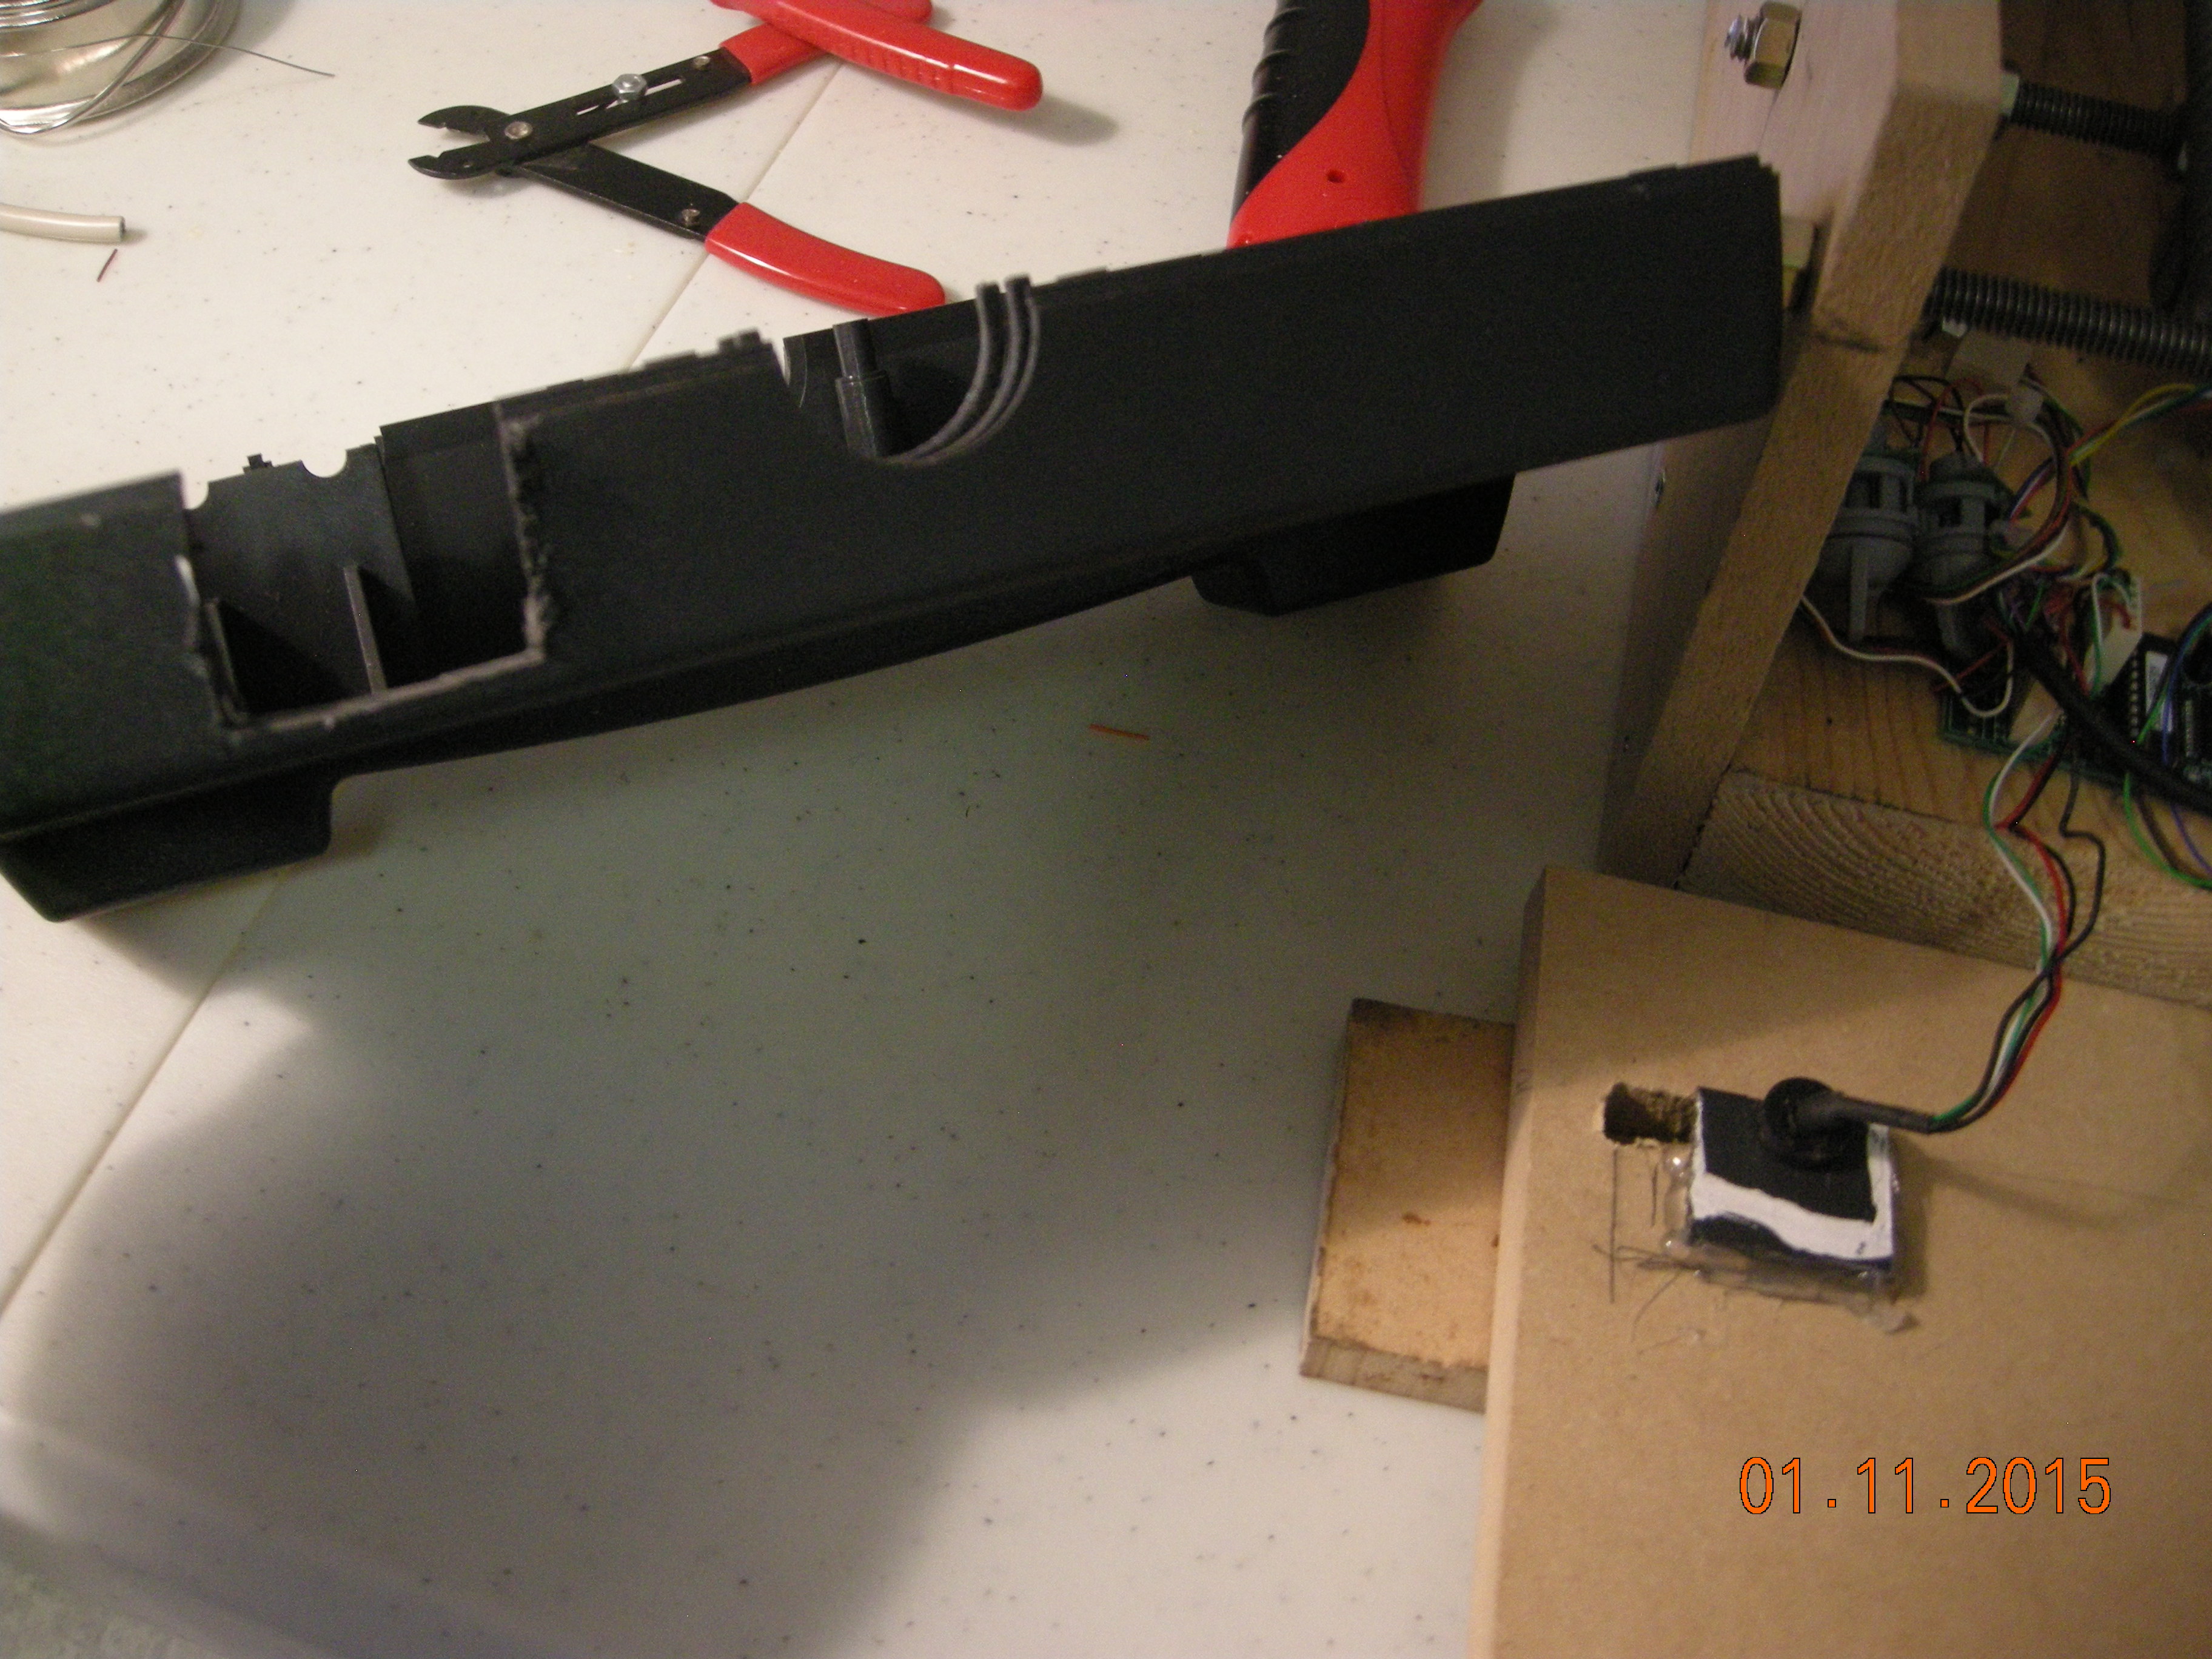
Mark your wires before cutting. There are some wires with same colours.
|
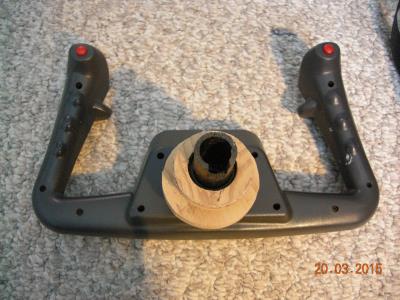
Cut stem and notch it for wire, Cut one small and one larger wooden ring.
| 
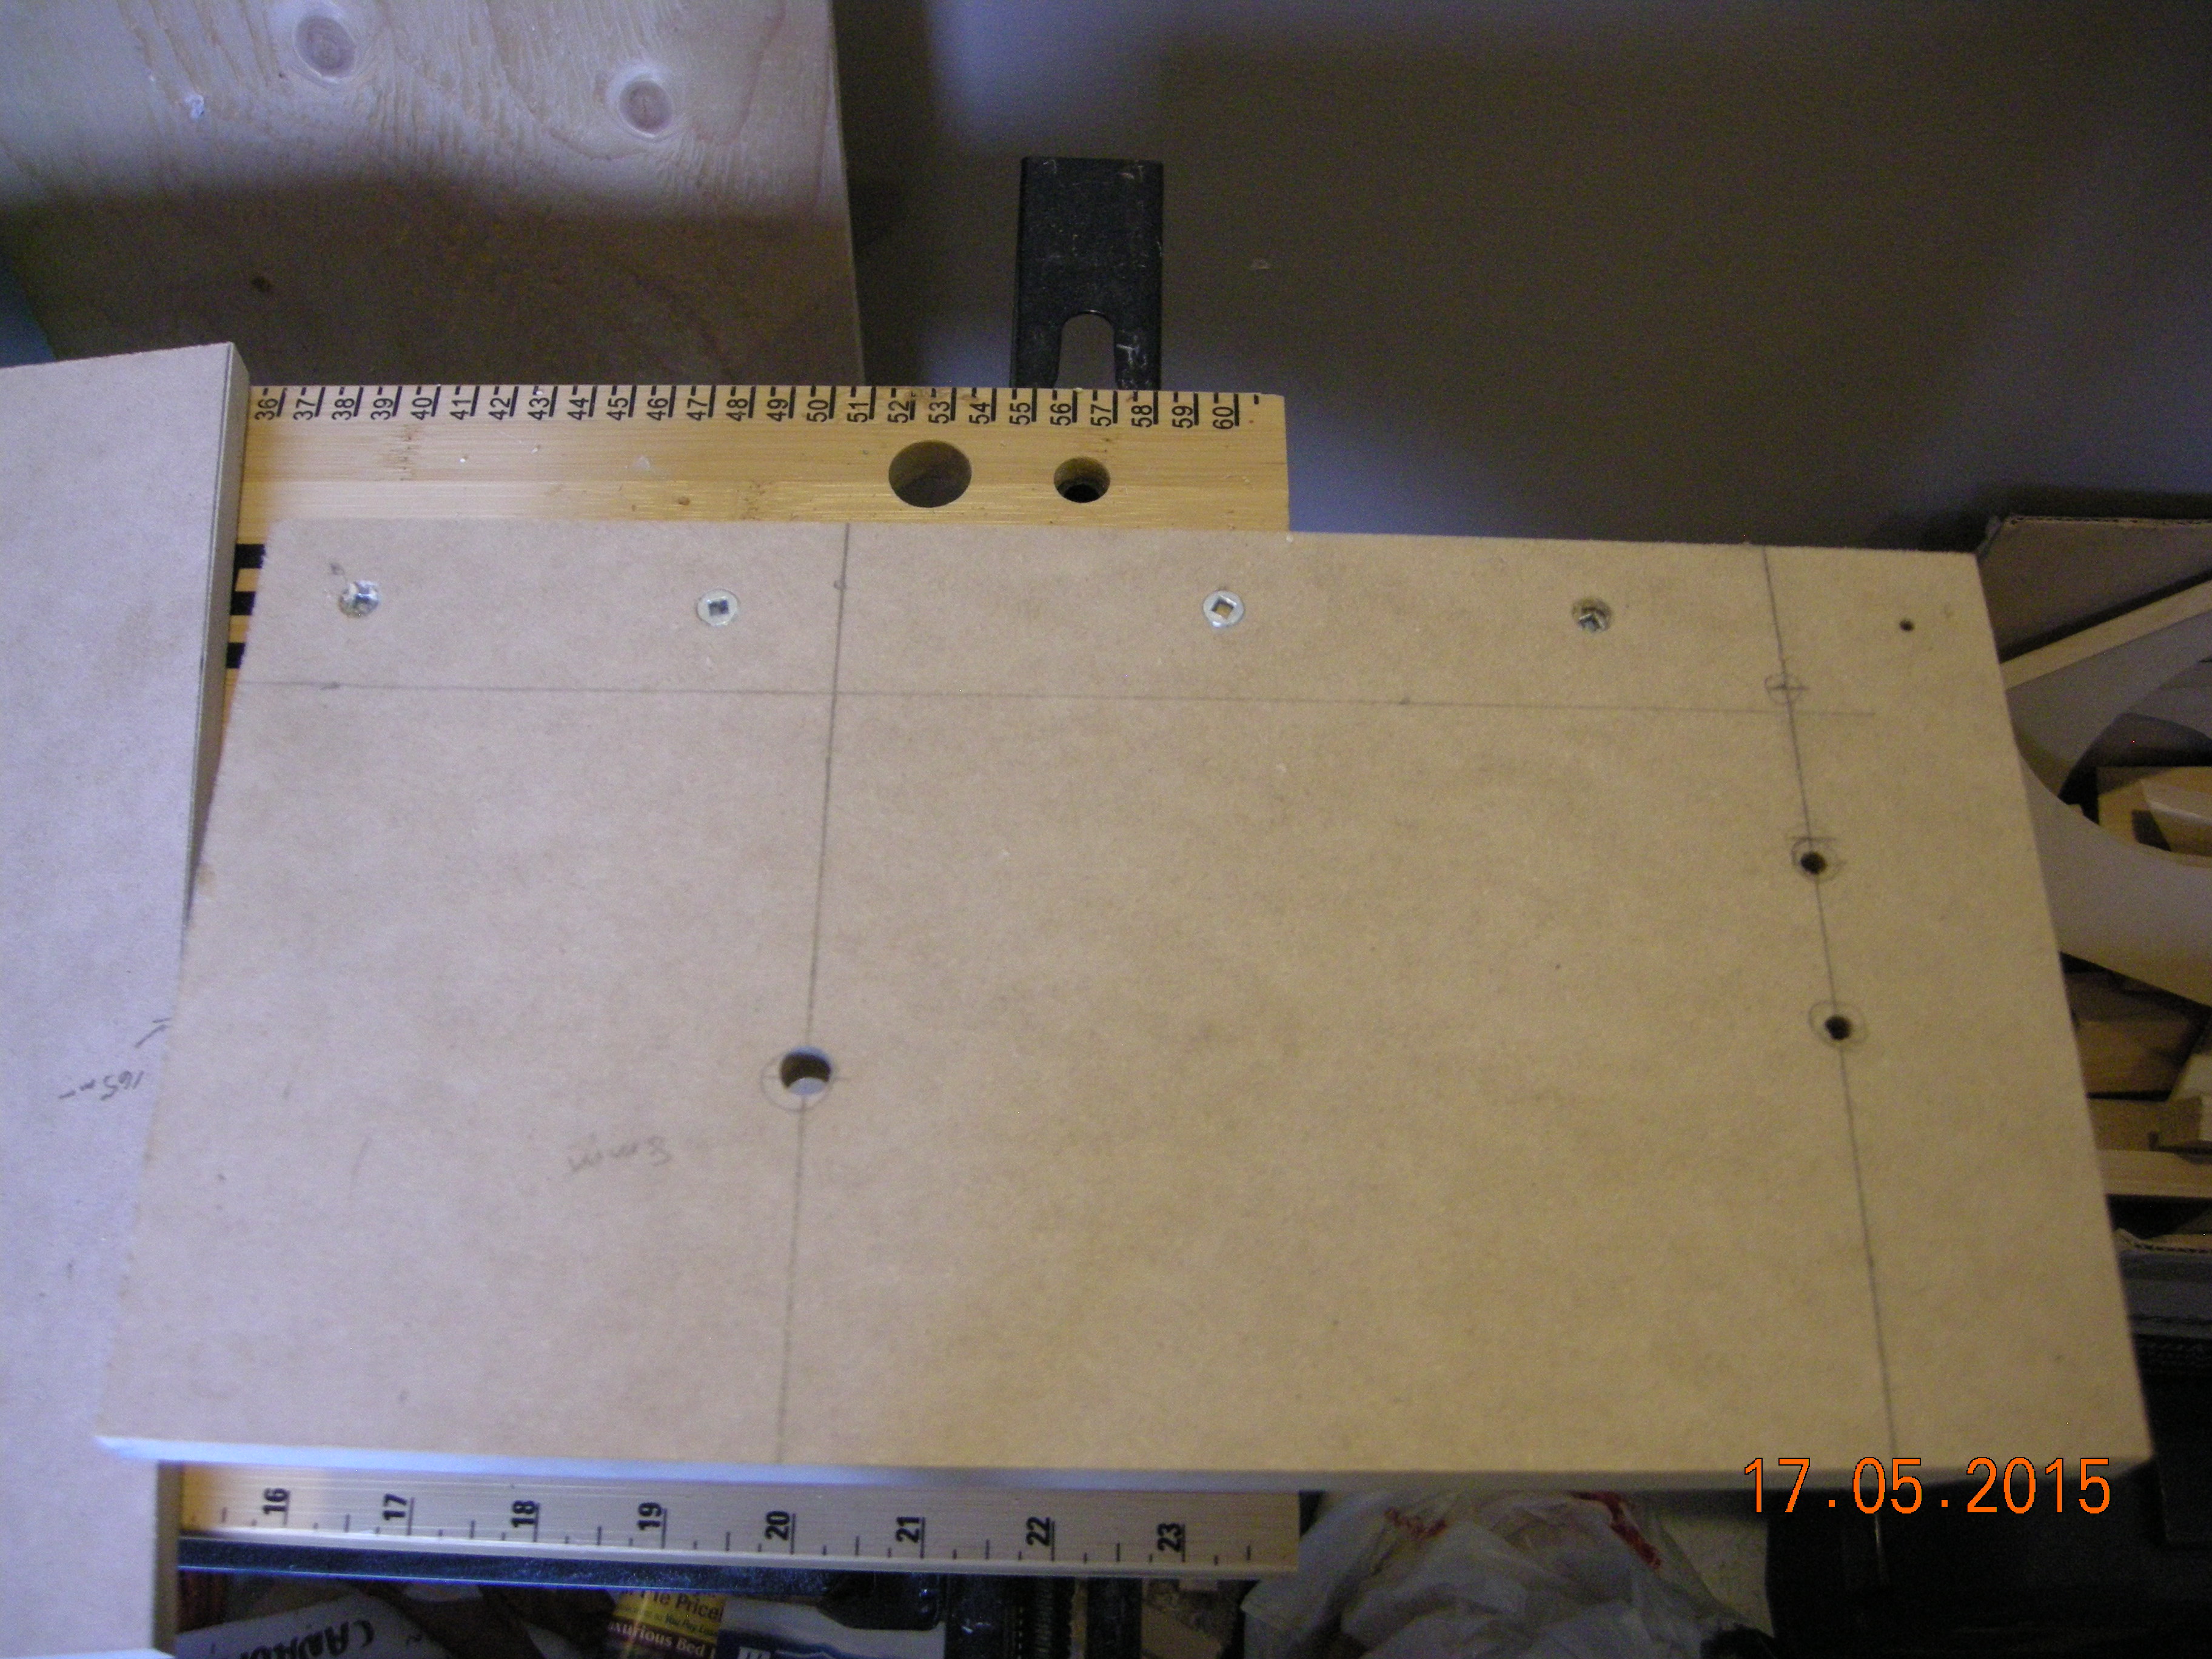
Build the walls 14mm MDF
|
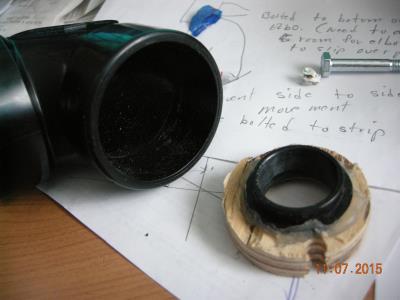
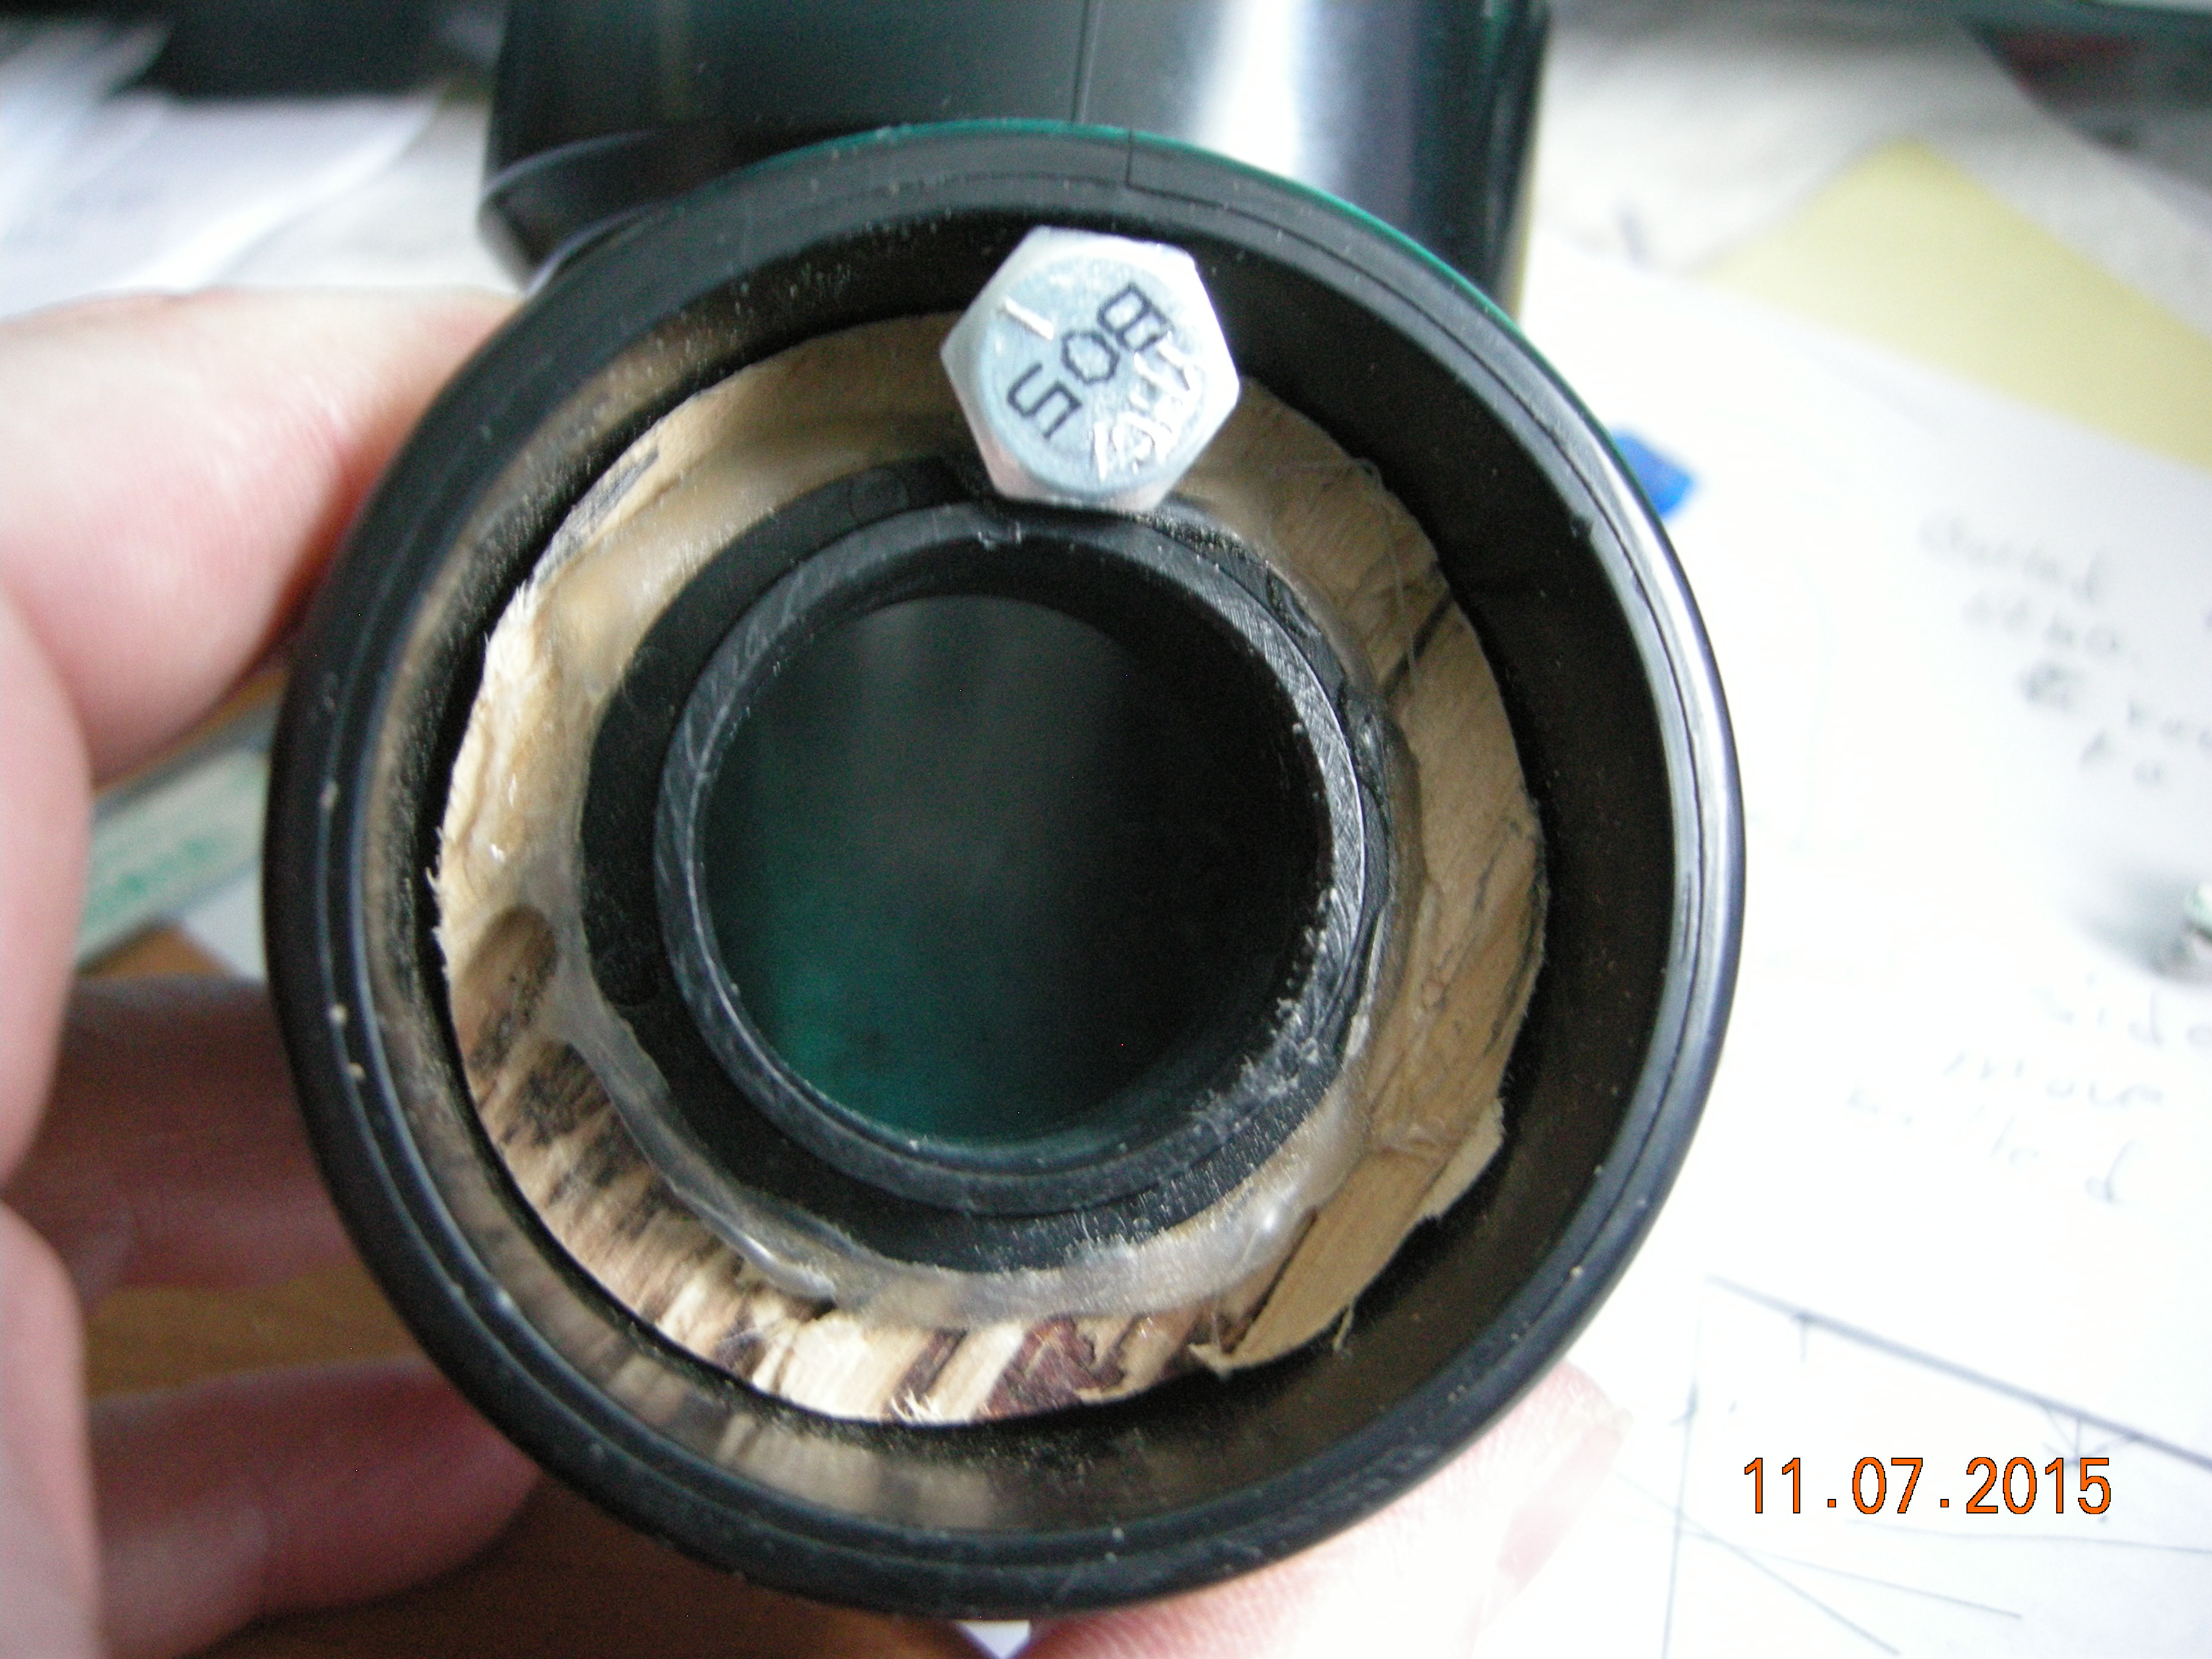
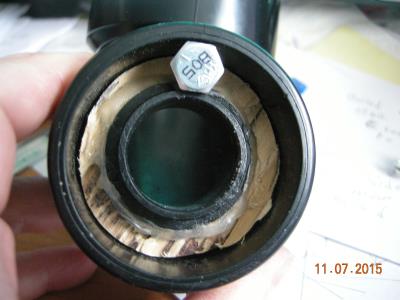
Glue bushing inside smaller wooden ring.
| 
Insert into elbow and drill a hole in the bottom side for a bolt.
|
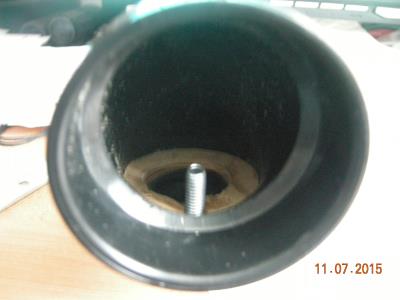
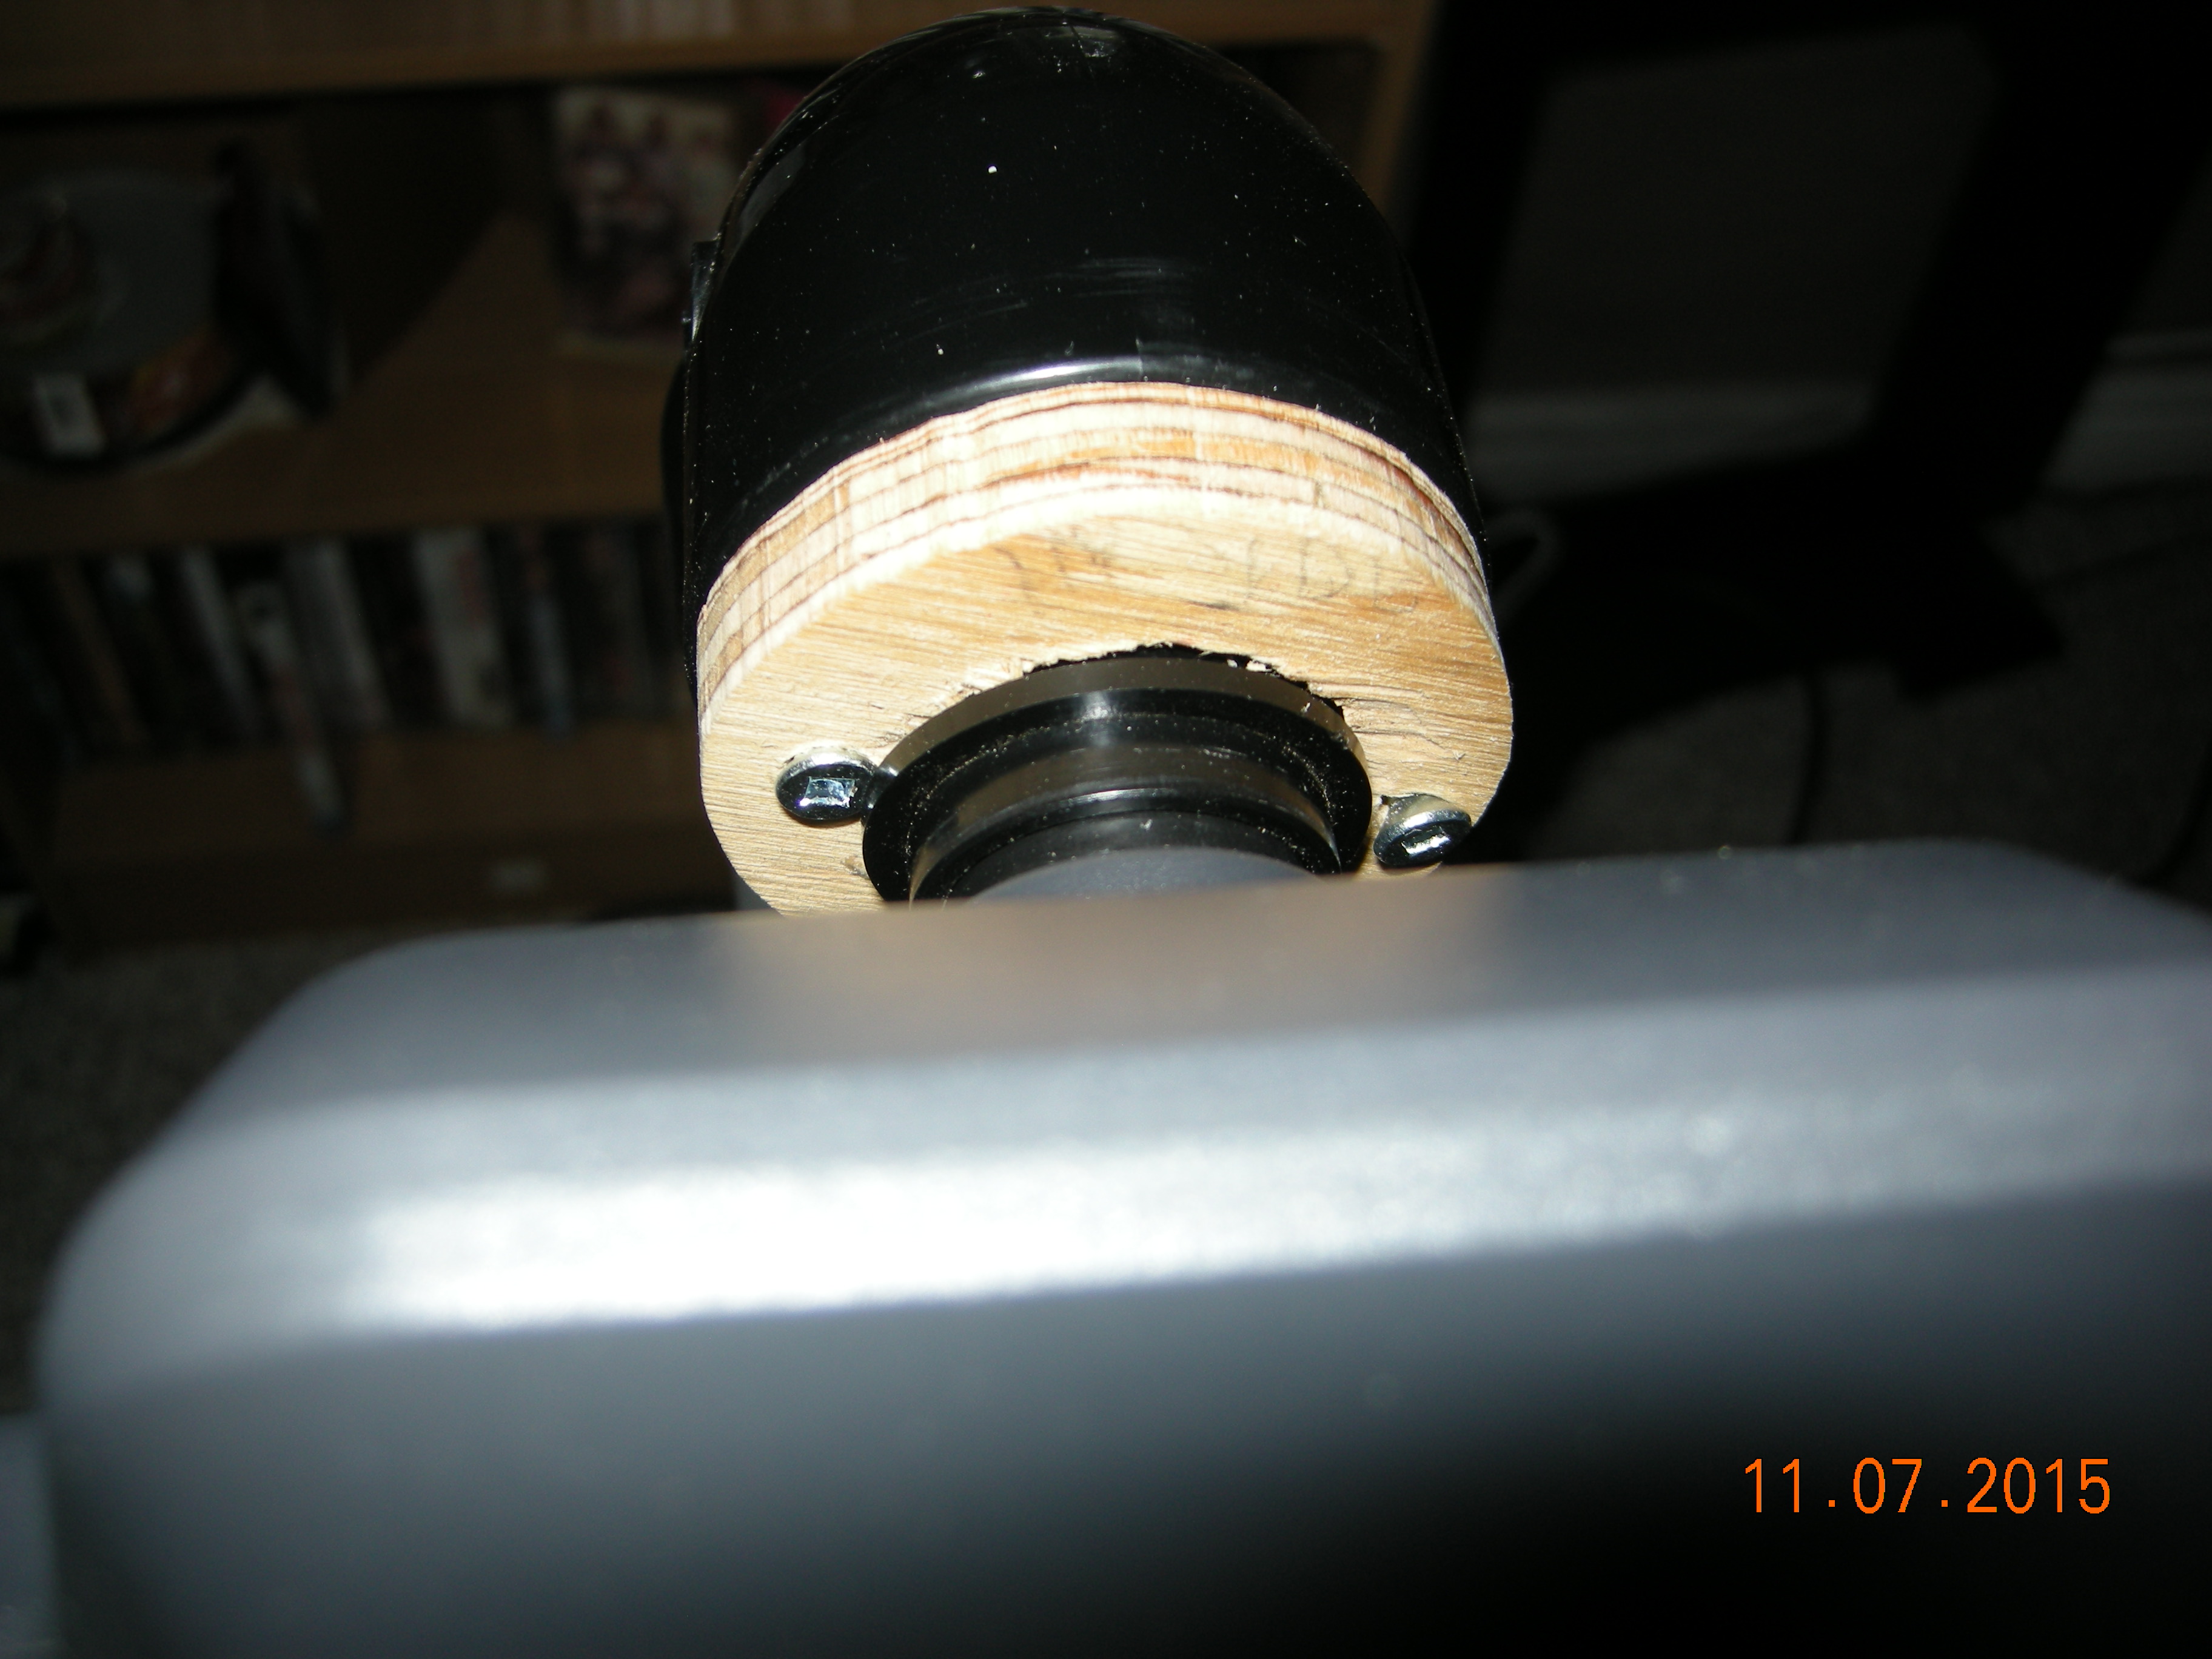
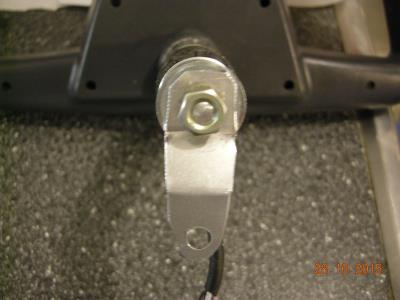
Bolt should protrude just far enough to get a nut on over the flat bar.
| 
Push bolt head in between elbow and bushing so it can't turn.
|

Drill a center hole in flat bar and secure with a nut.
| 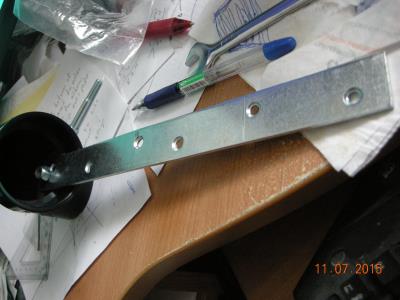
Flat bar secured. Bought at local hardware store.
|
Glue bushing to large circle and screw into inside circle.
| 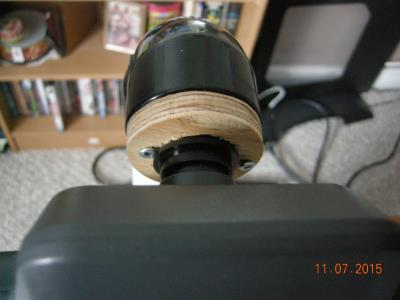
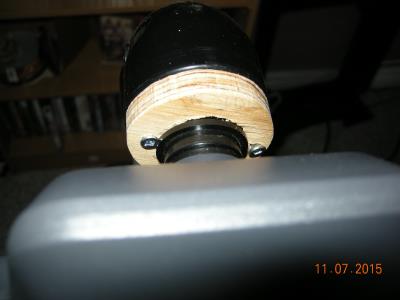
Elbow fits on pipe.
|
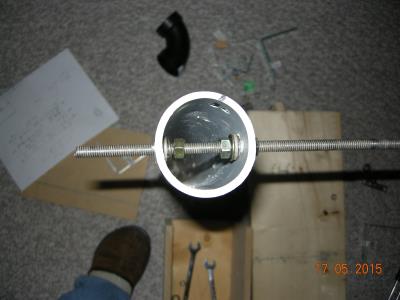
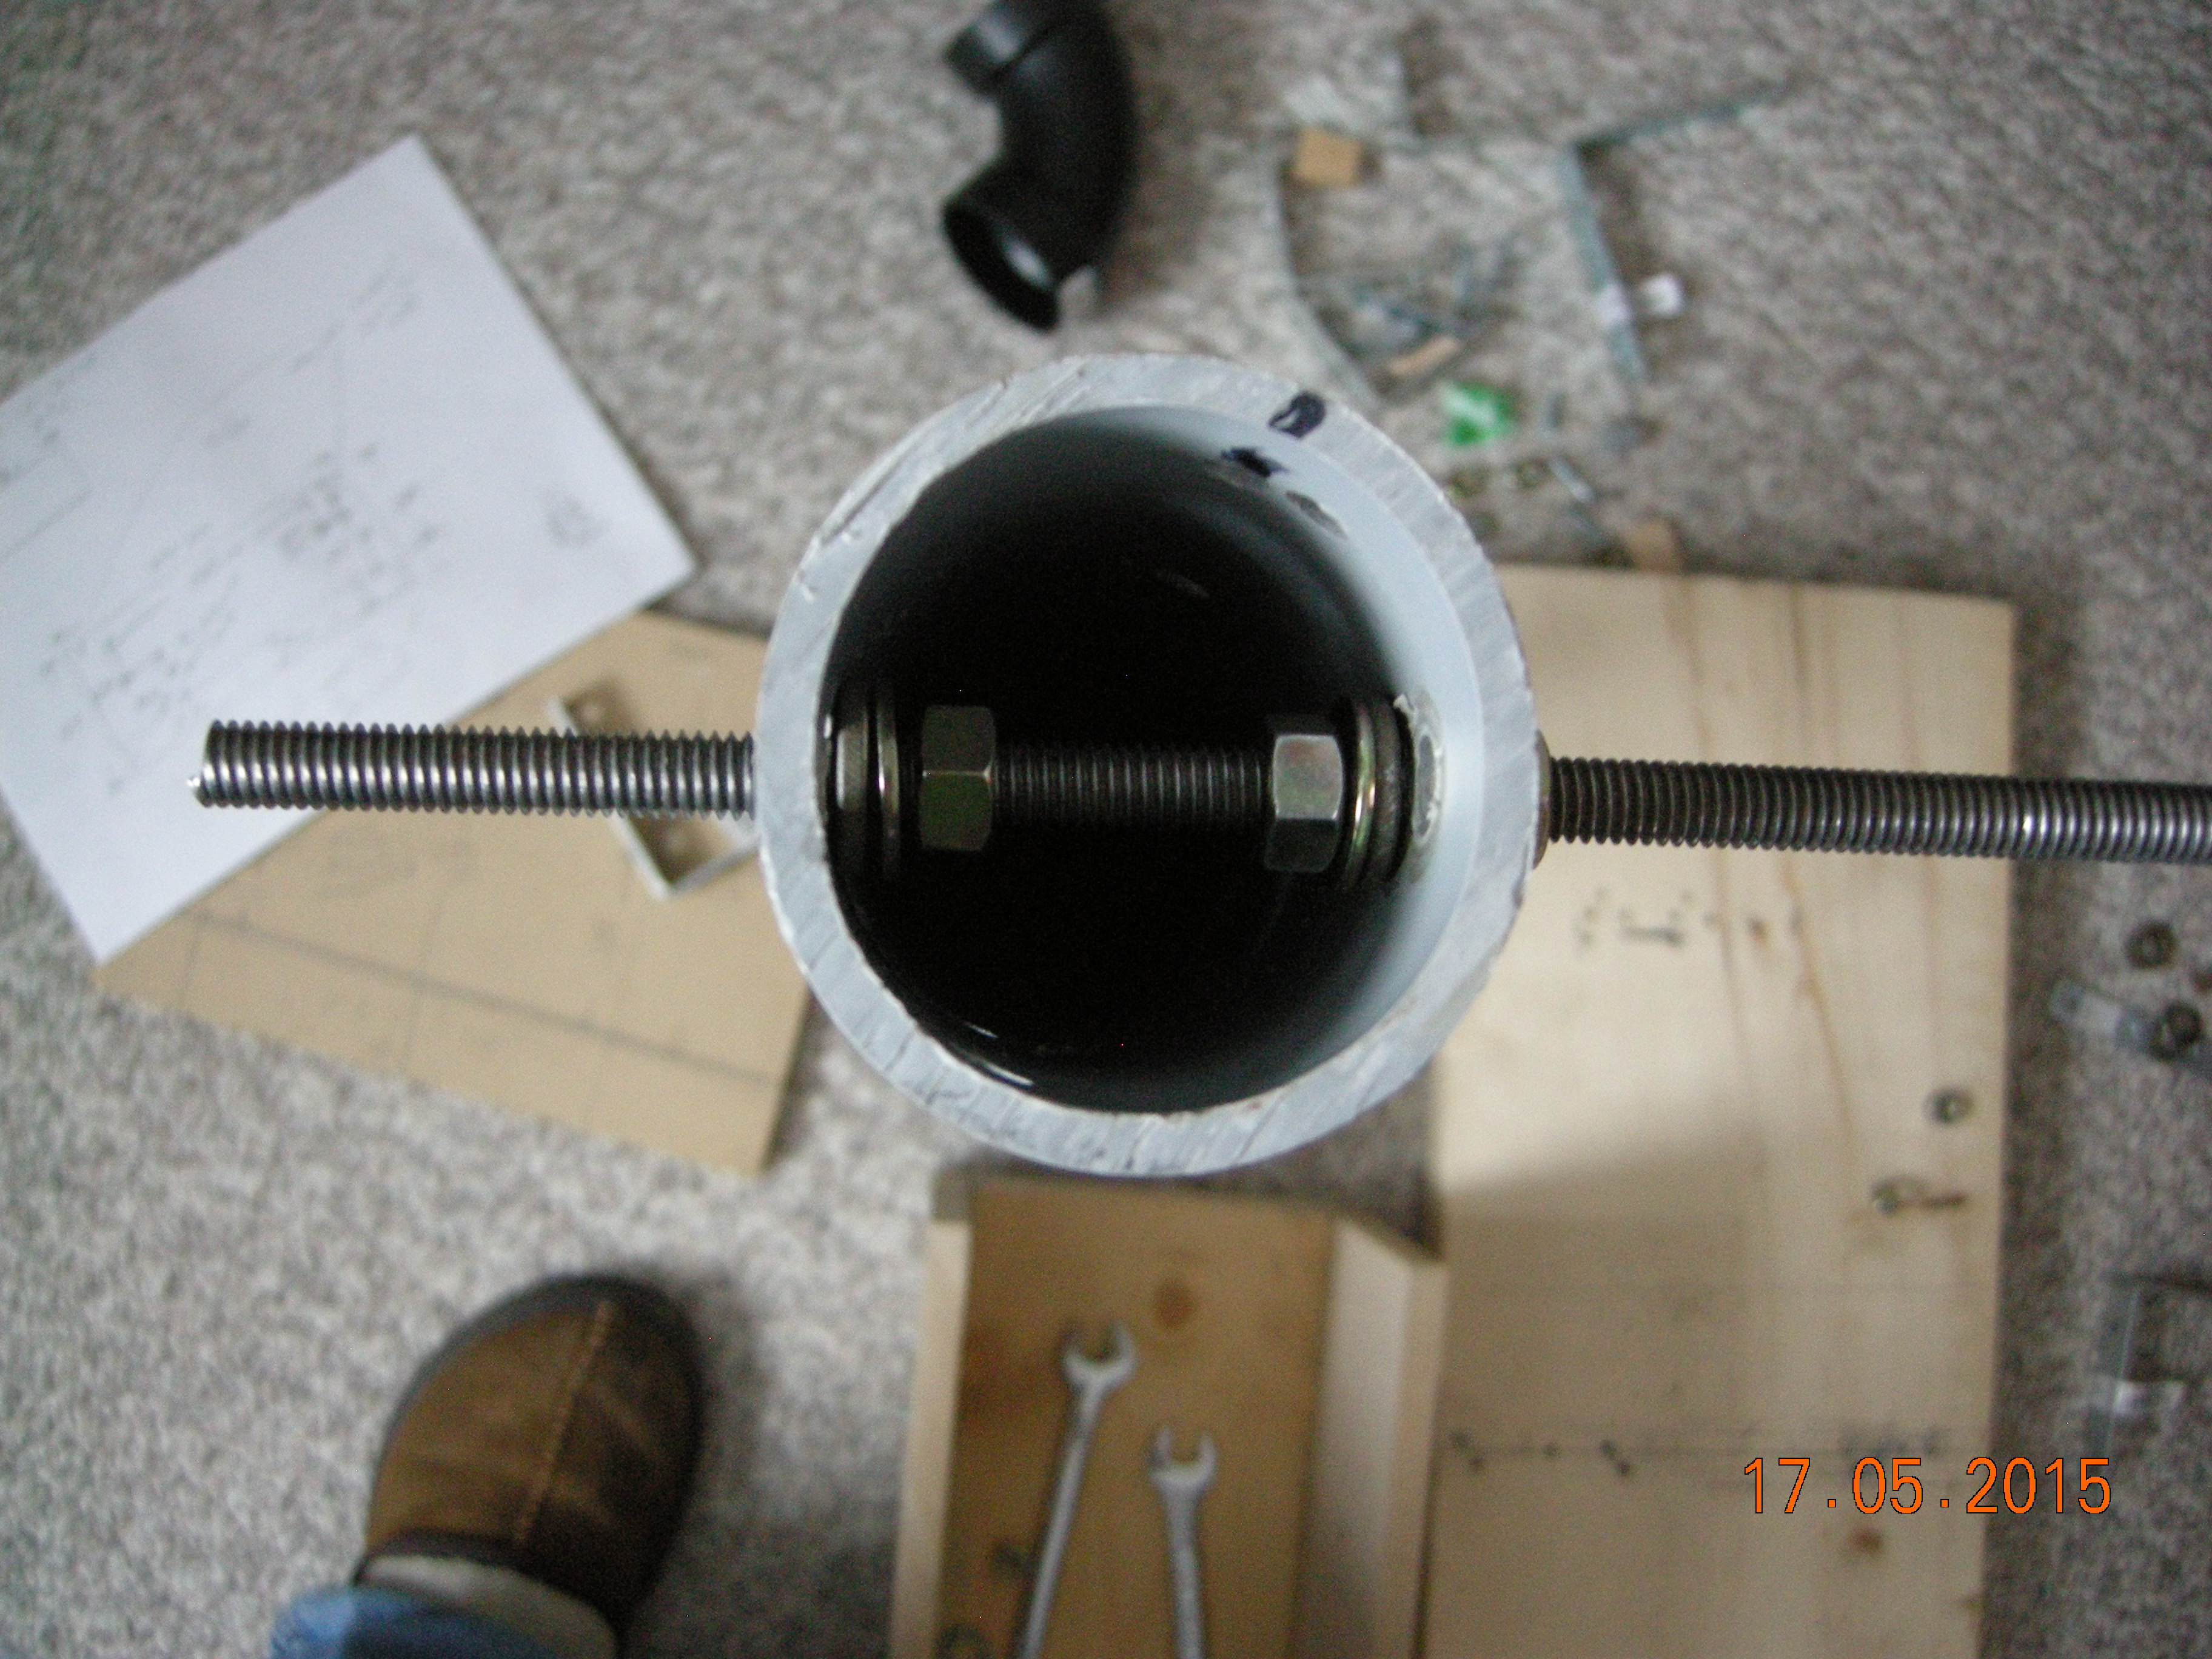
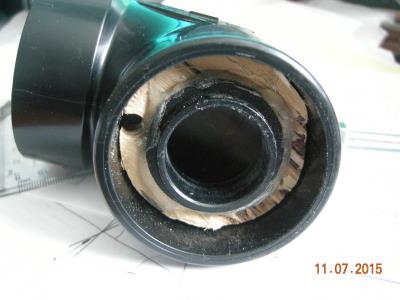
70 mm plumbing pipe with main pivot axle (threaded rod) running through it.
| 
Pipe is secured to pivot axle with nuts and washers on either side inside and out.
|
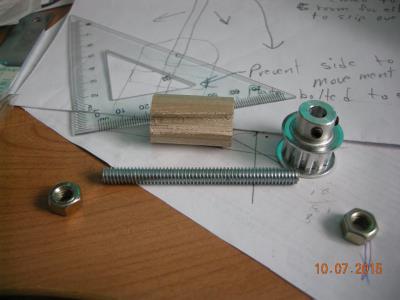
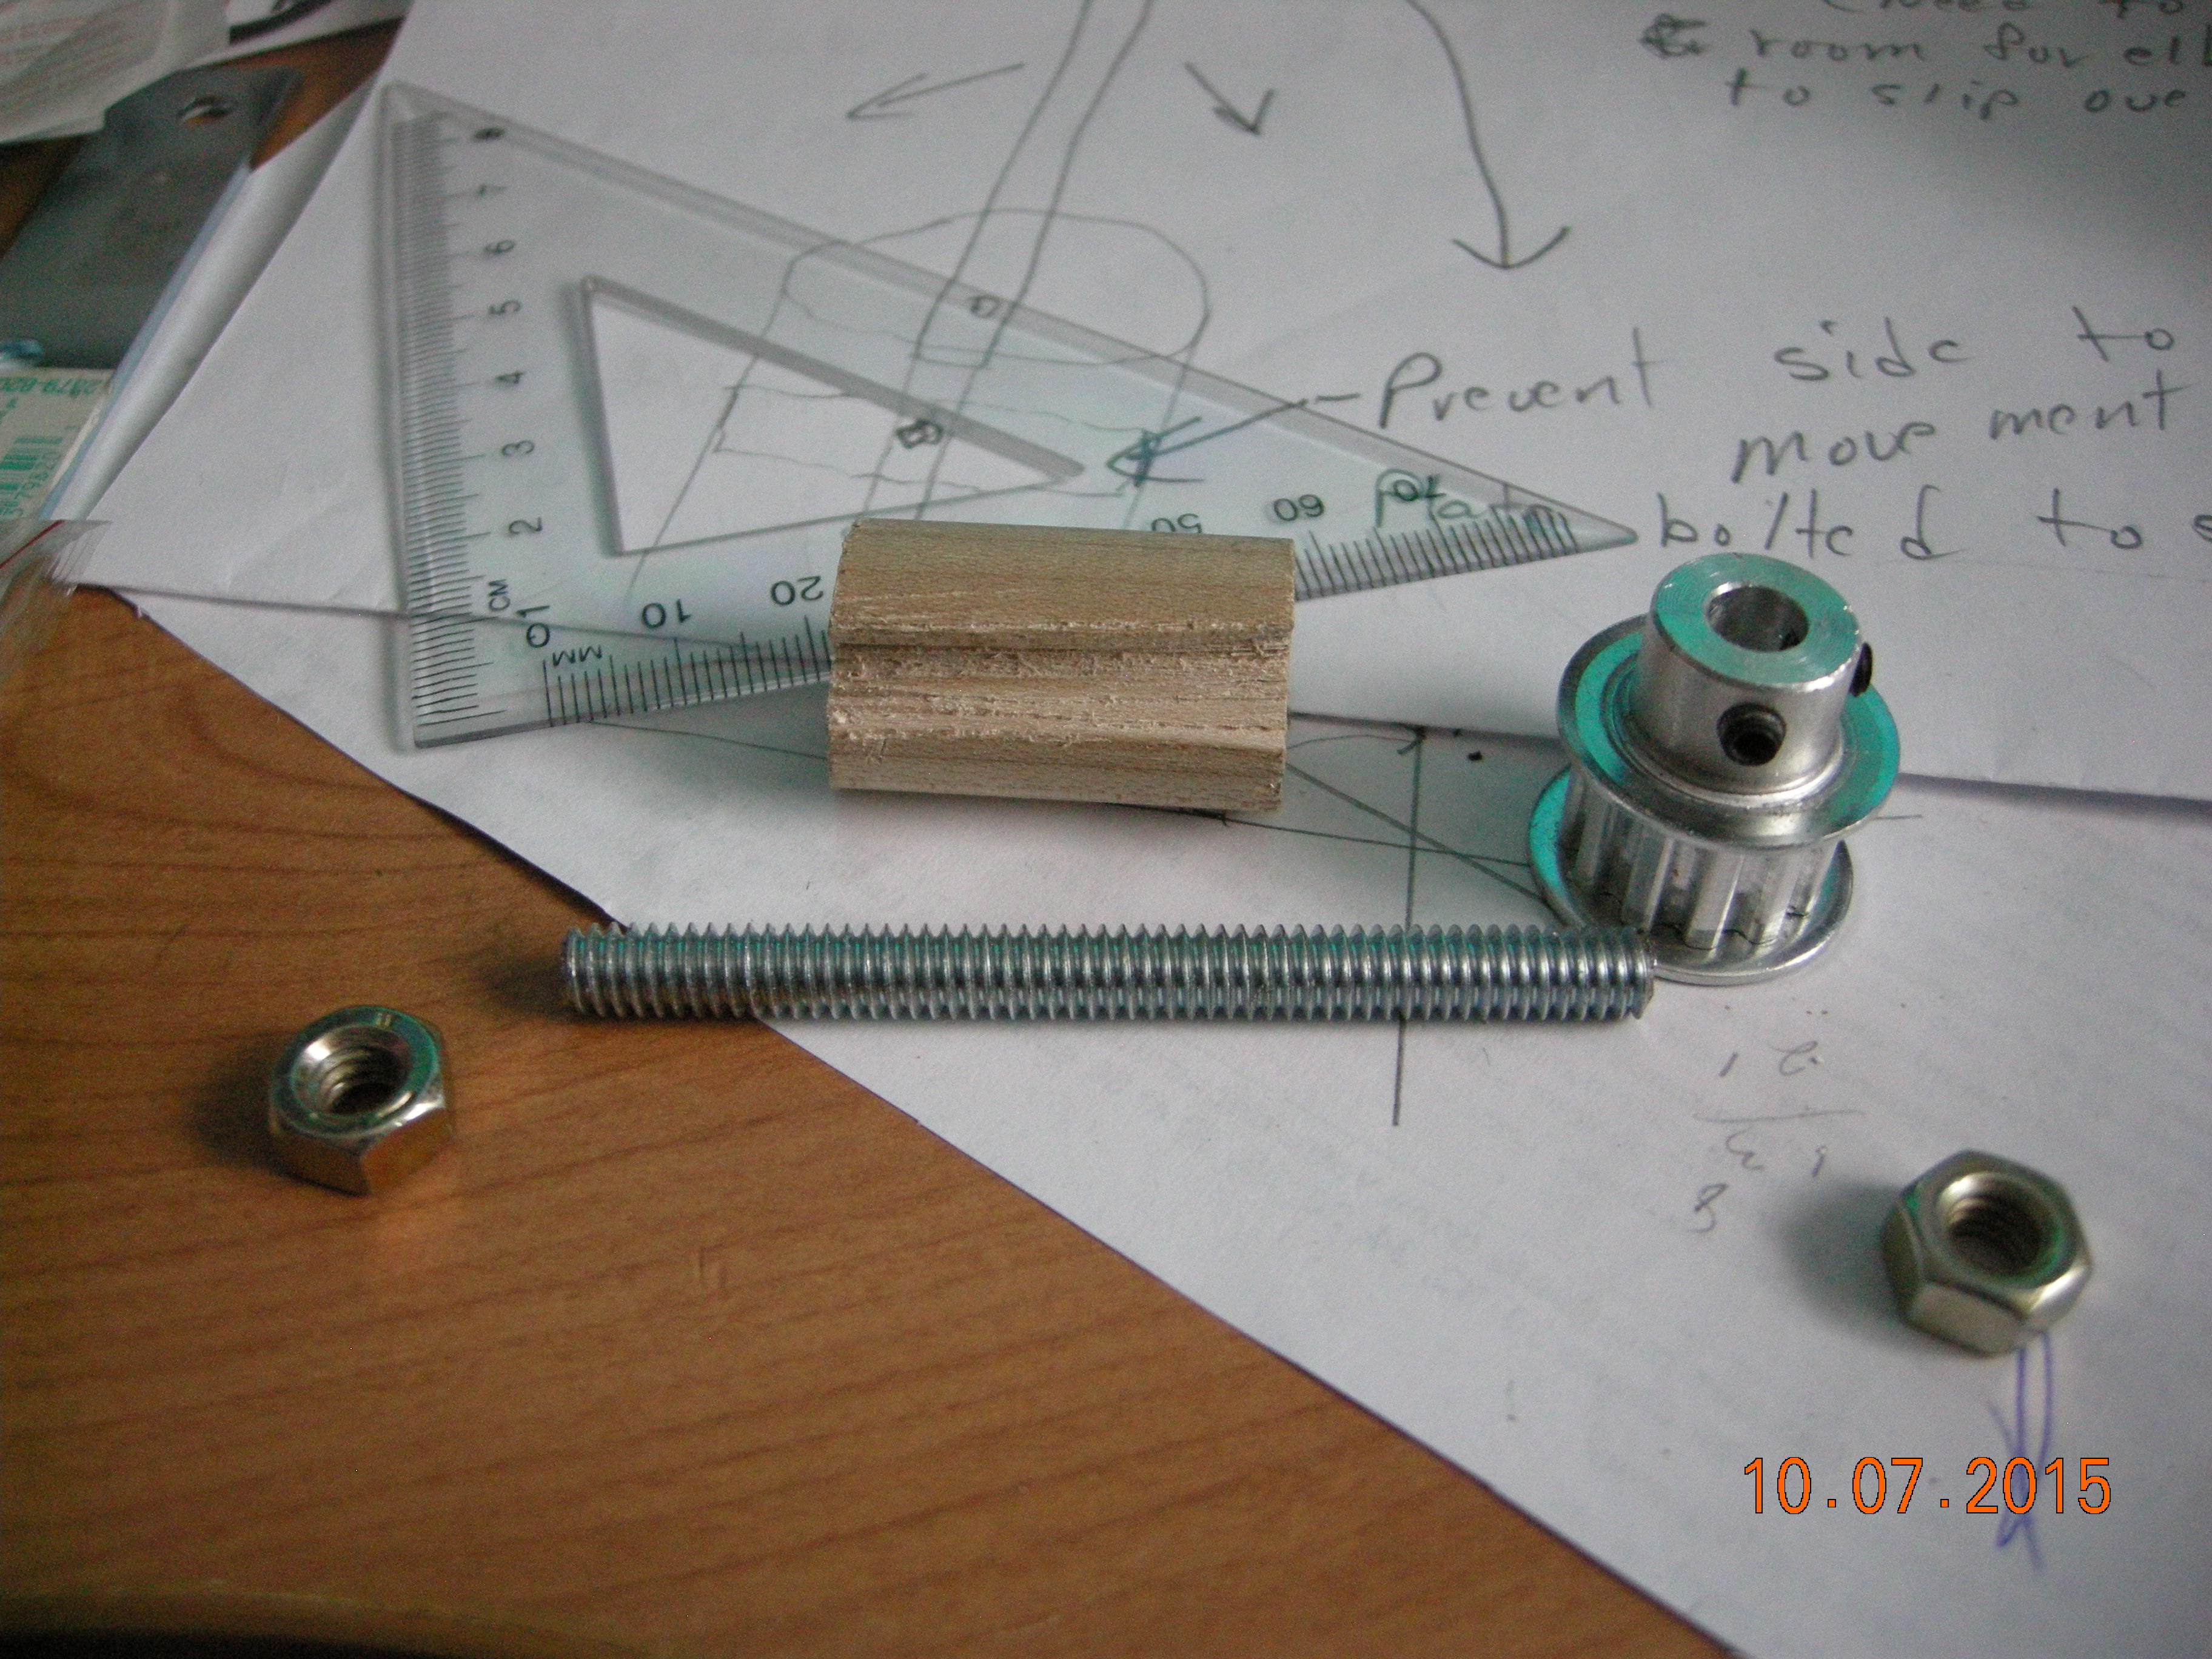
Items to make the upper pulley insert.
| 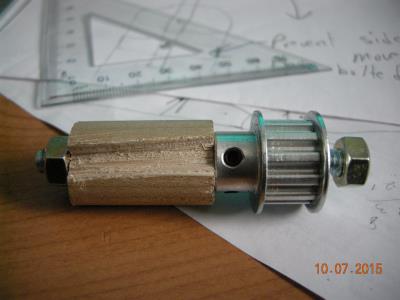
Assembled. Groove is made in dowel to allow wires to pass.
|

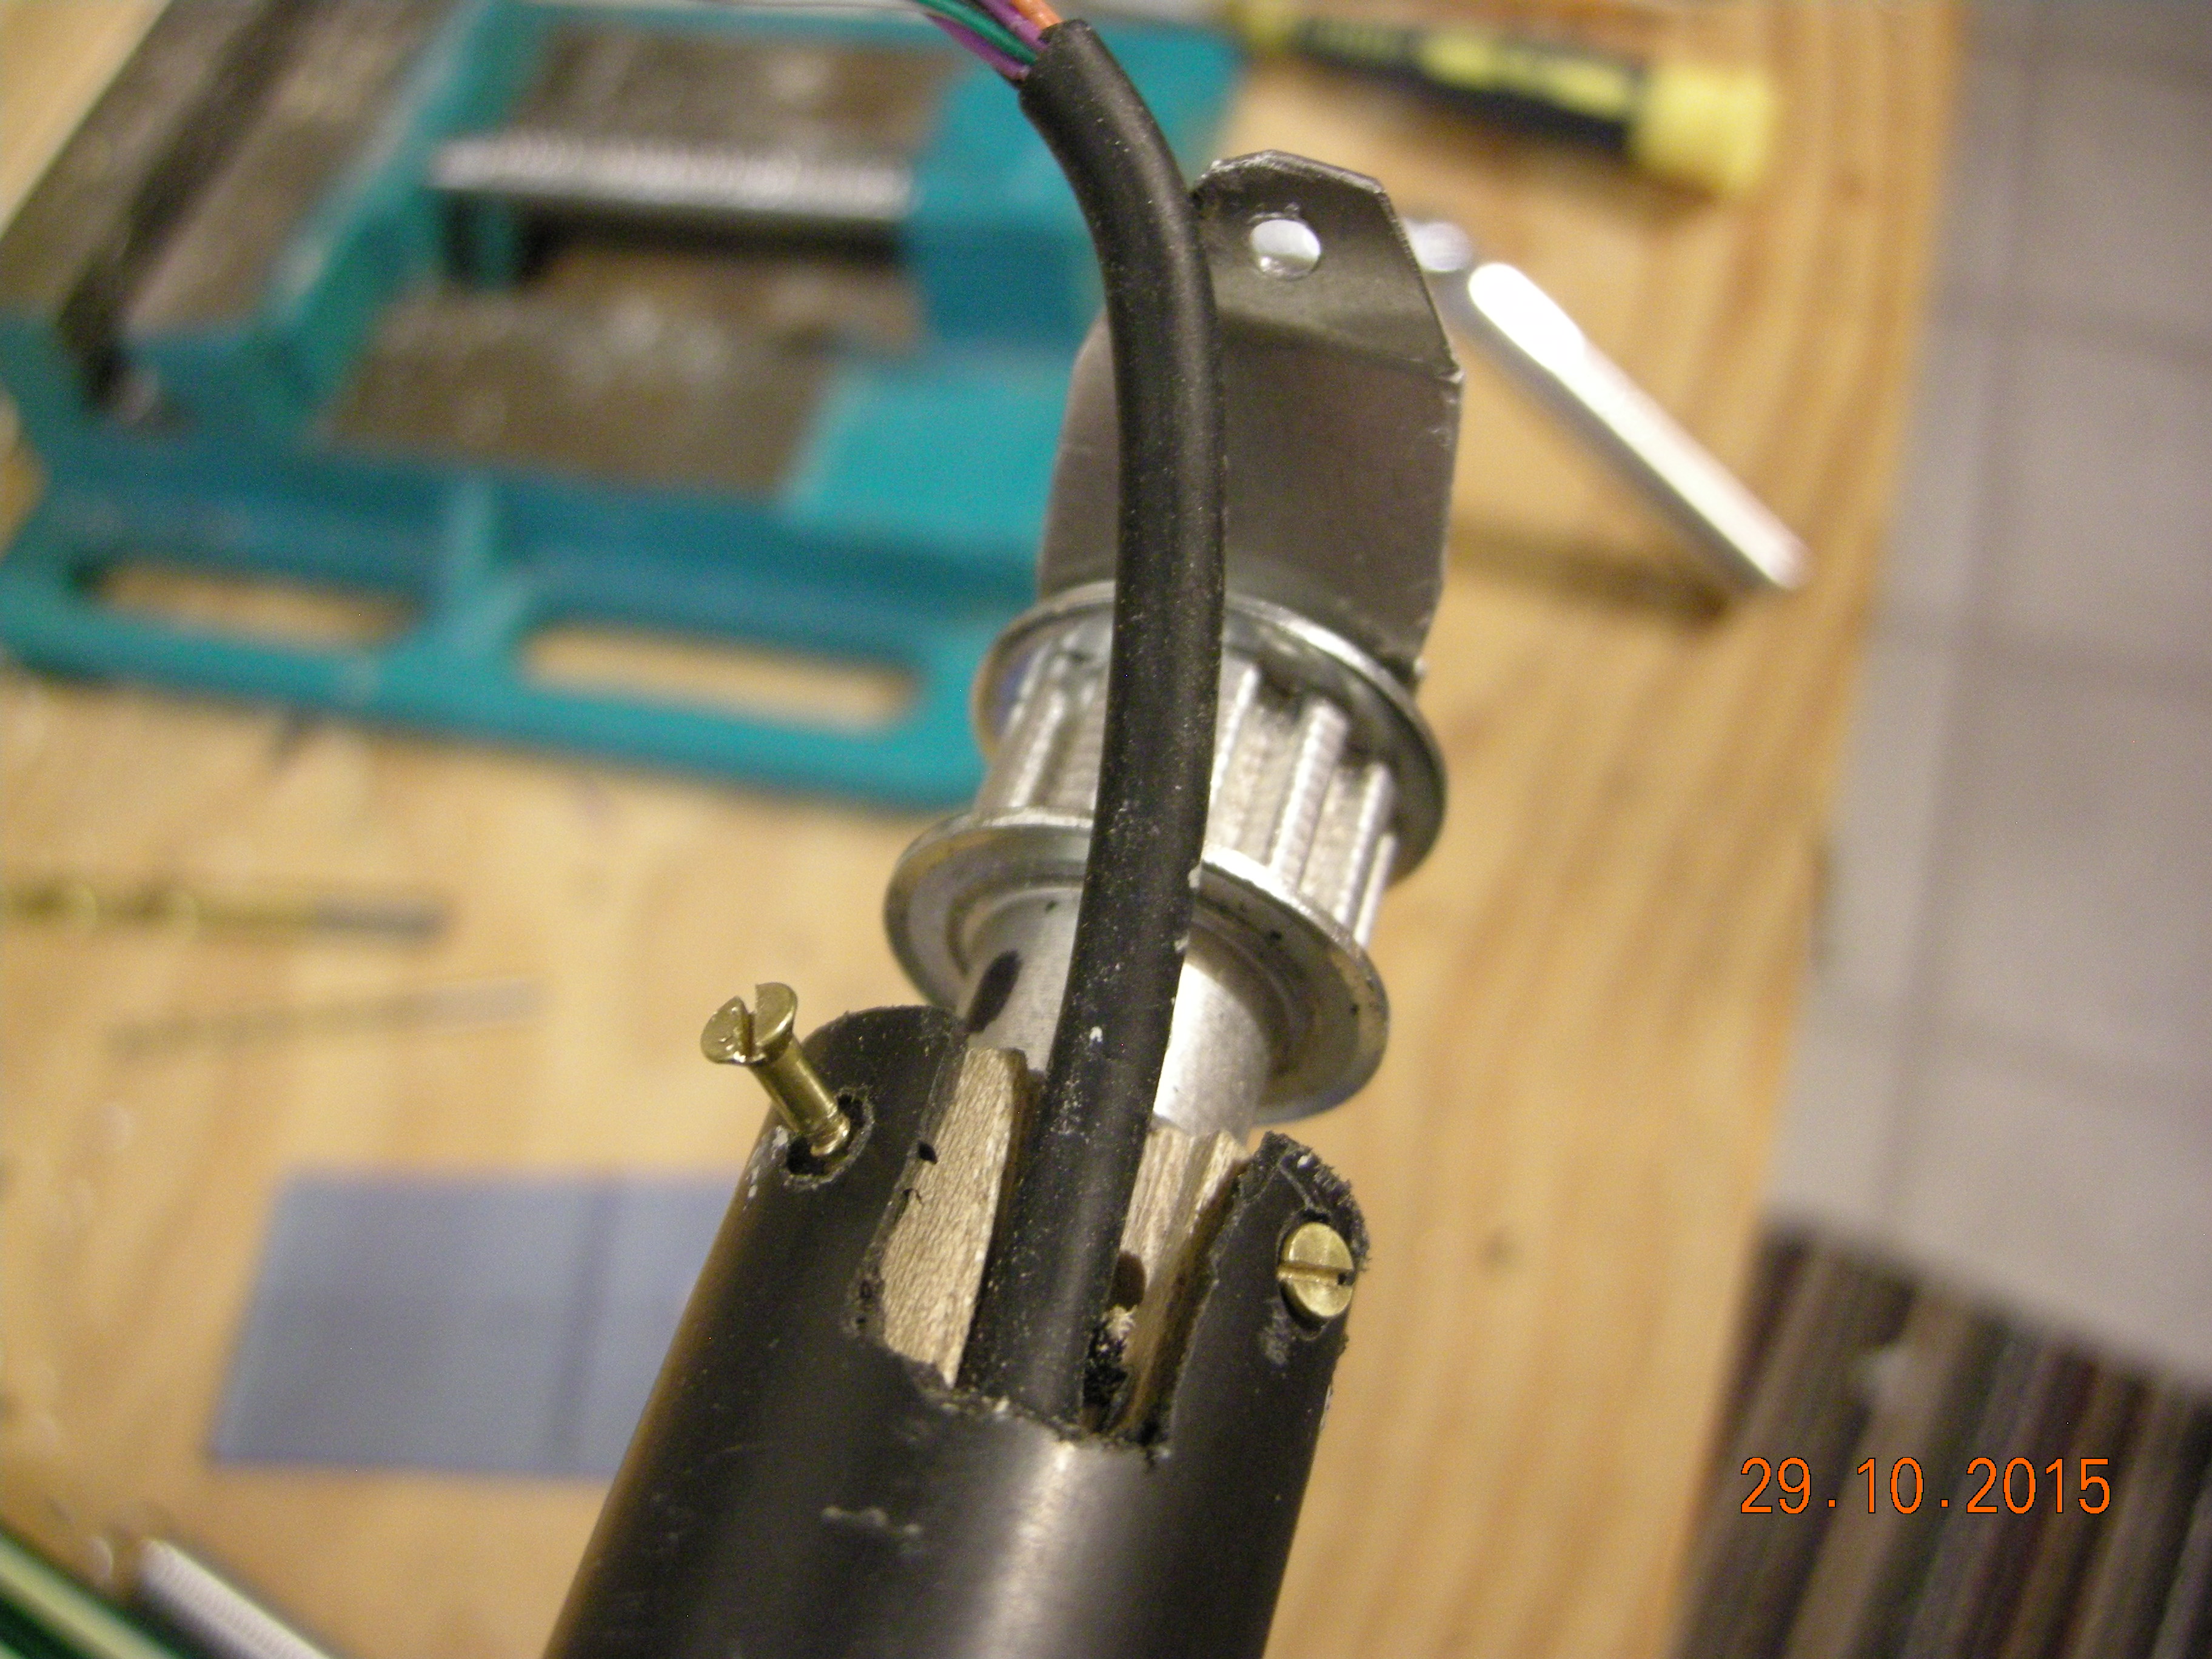
Push insert until flush with stem and secure with screw. The other screw will keep the yoke stem from backing out.
| 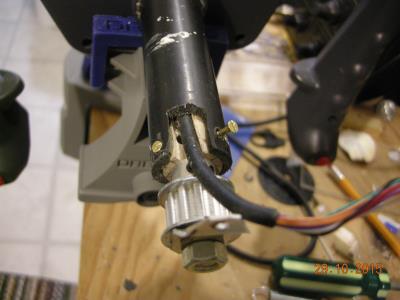
Run wire up groove and align the spring retainer with the notch.
|
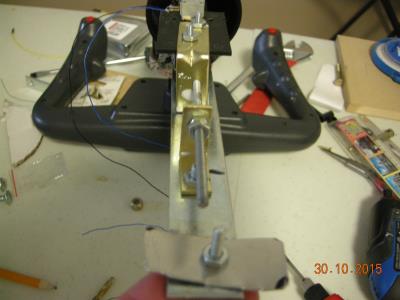
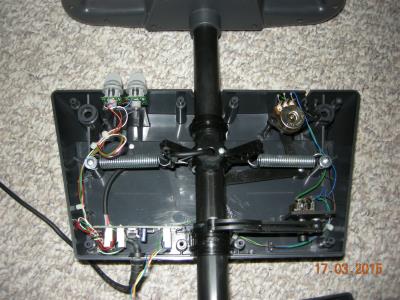
The rectangular piece at the bottom keeps the flat bar assembly from moving side to side in the pipe.
| 
Bolt on spring retainer. Also acts as yoke handle stop.
|

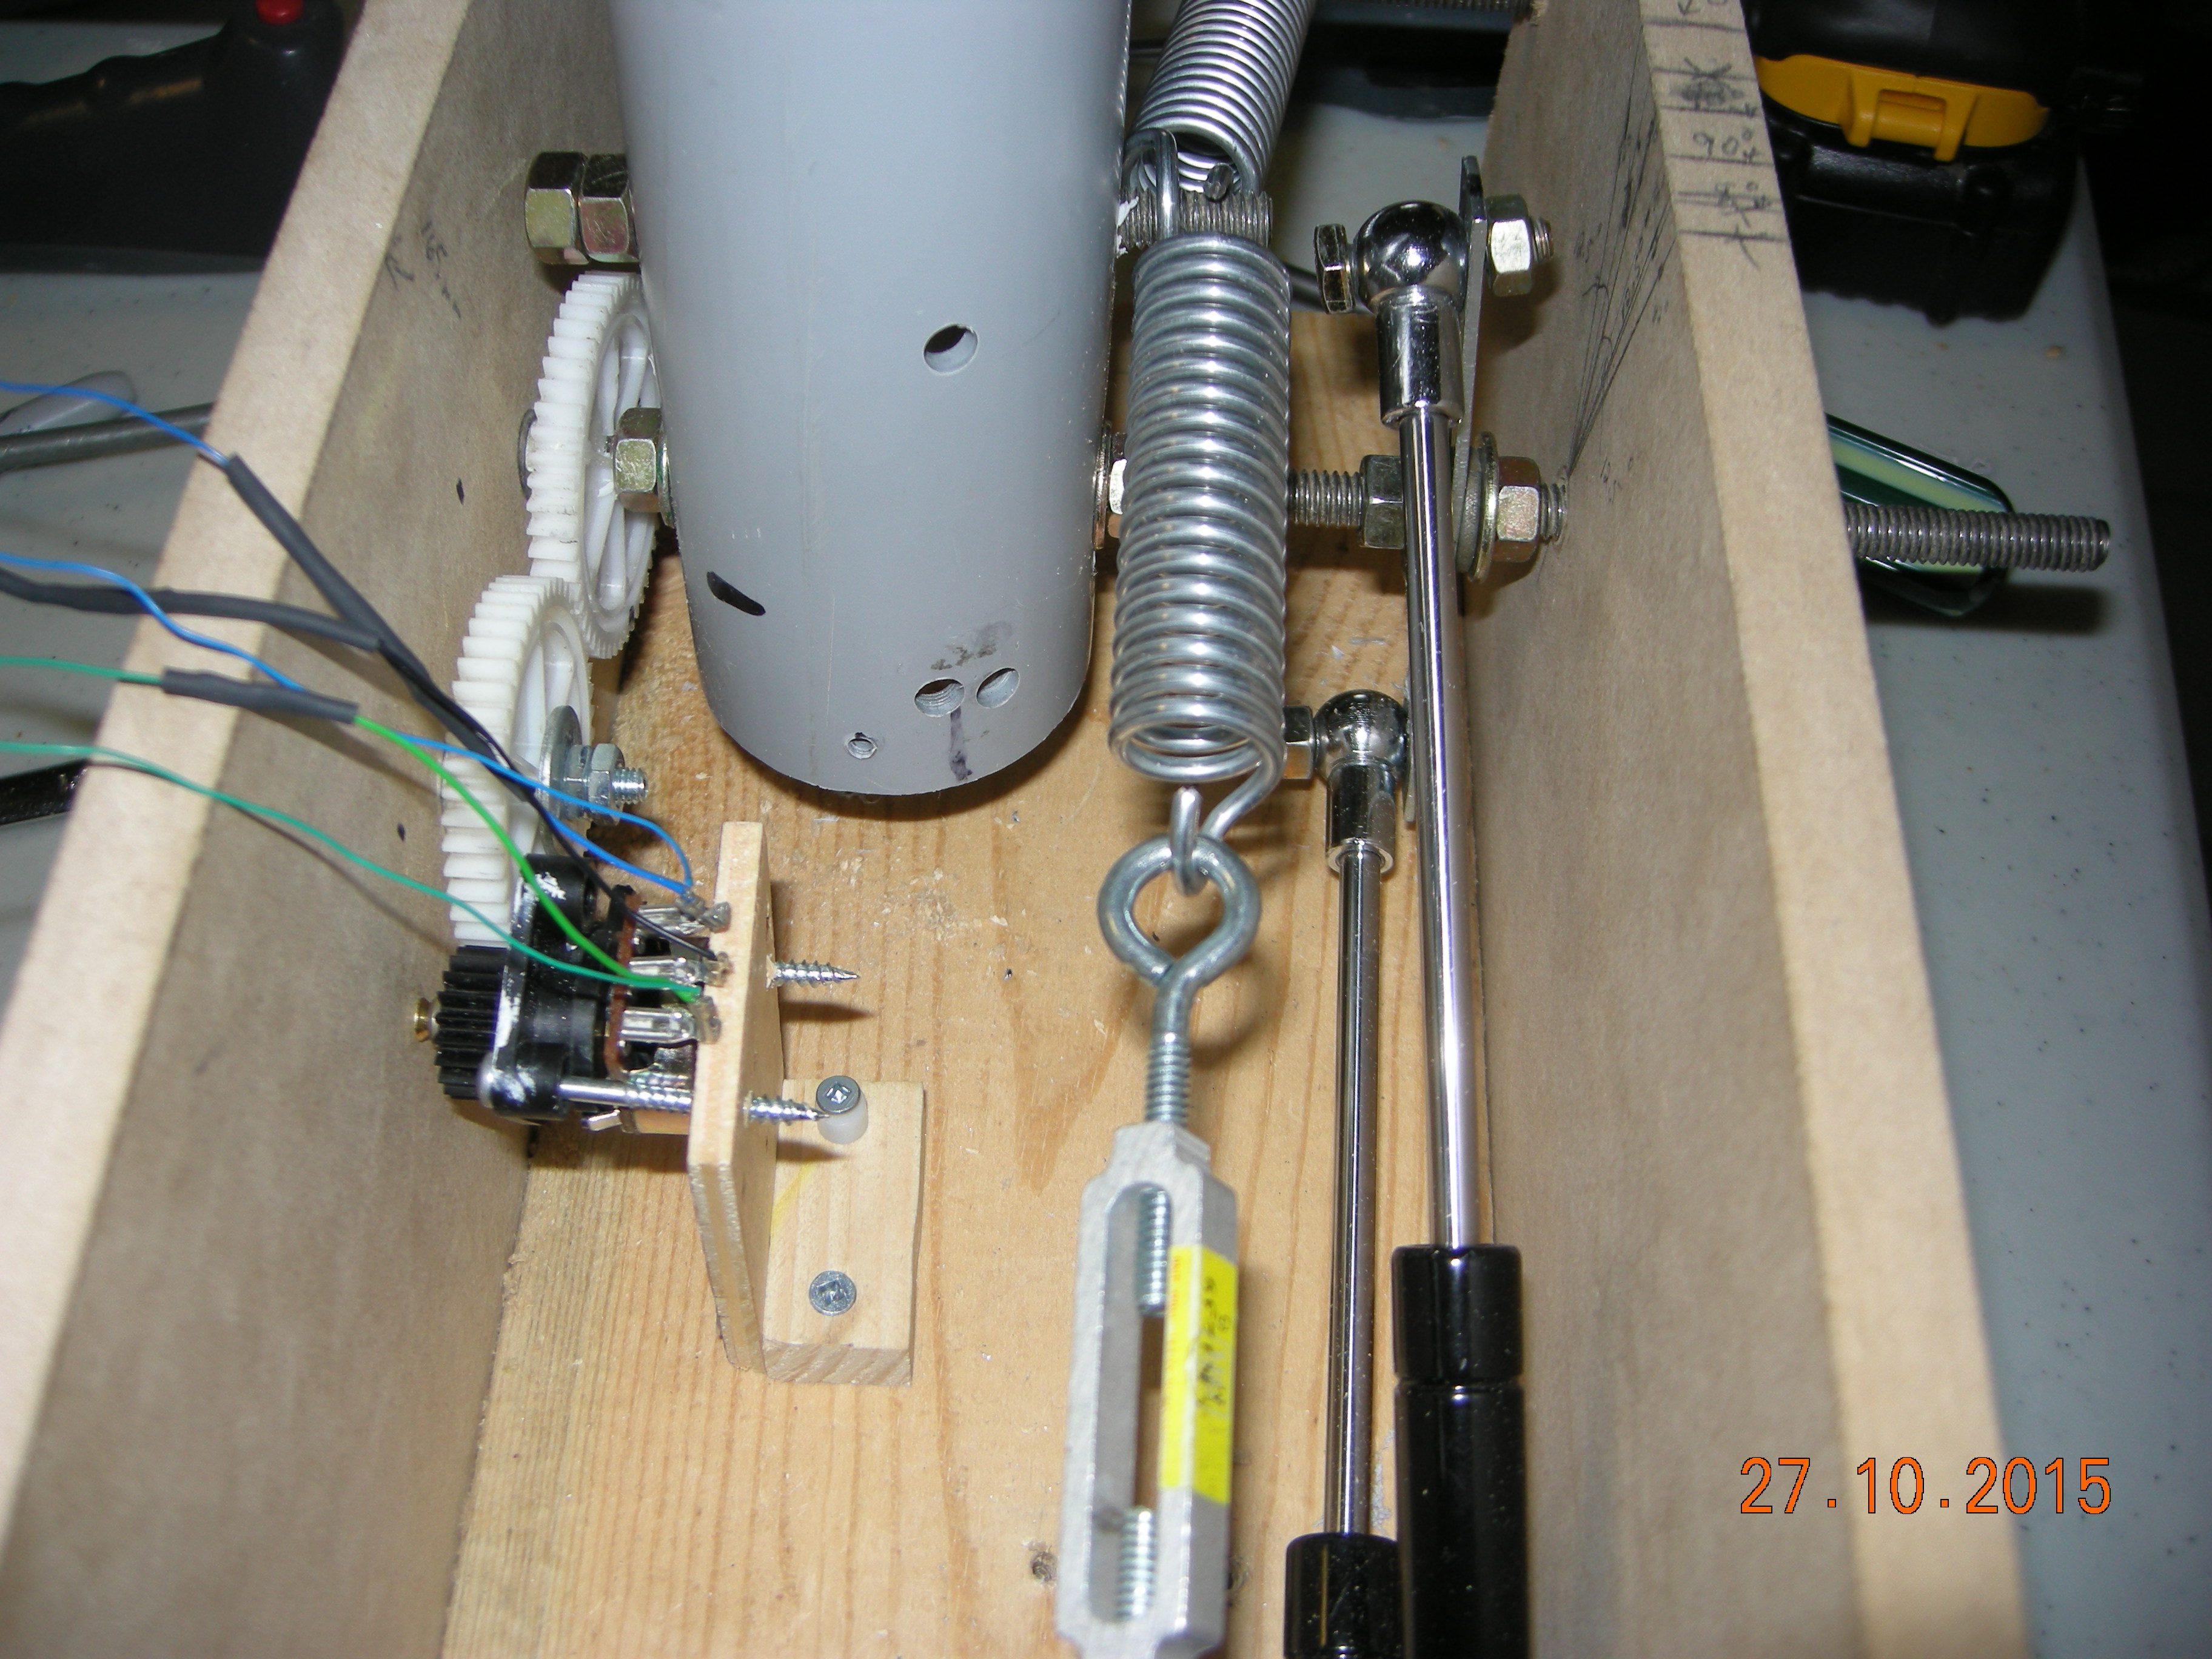
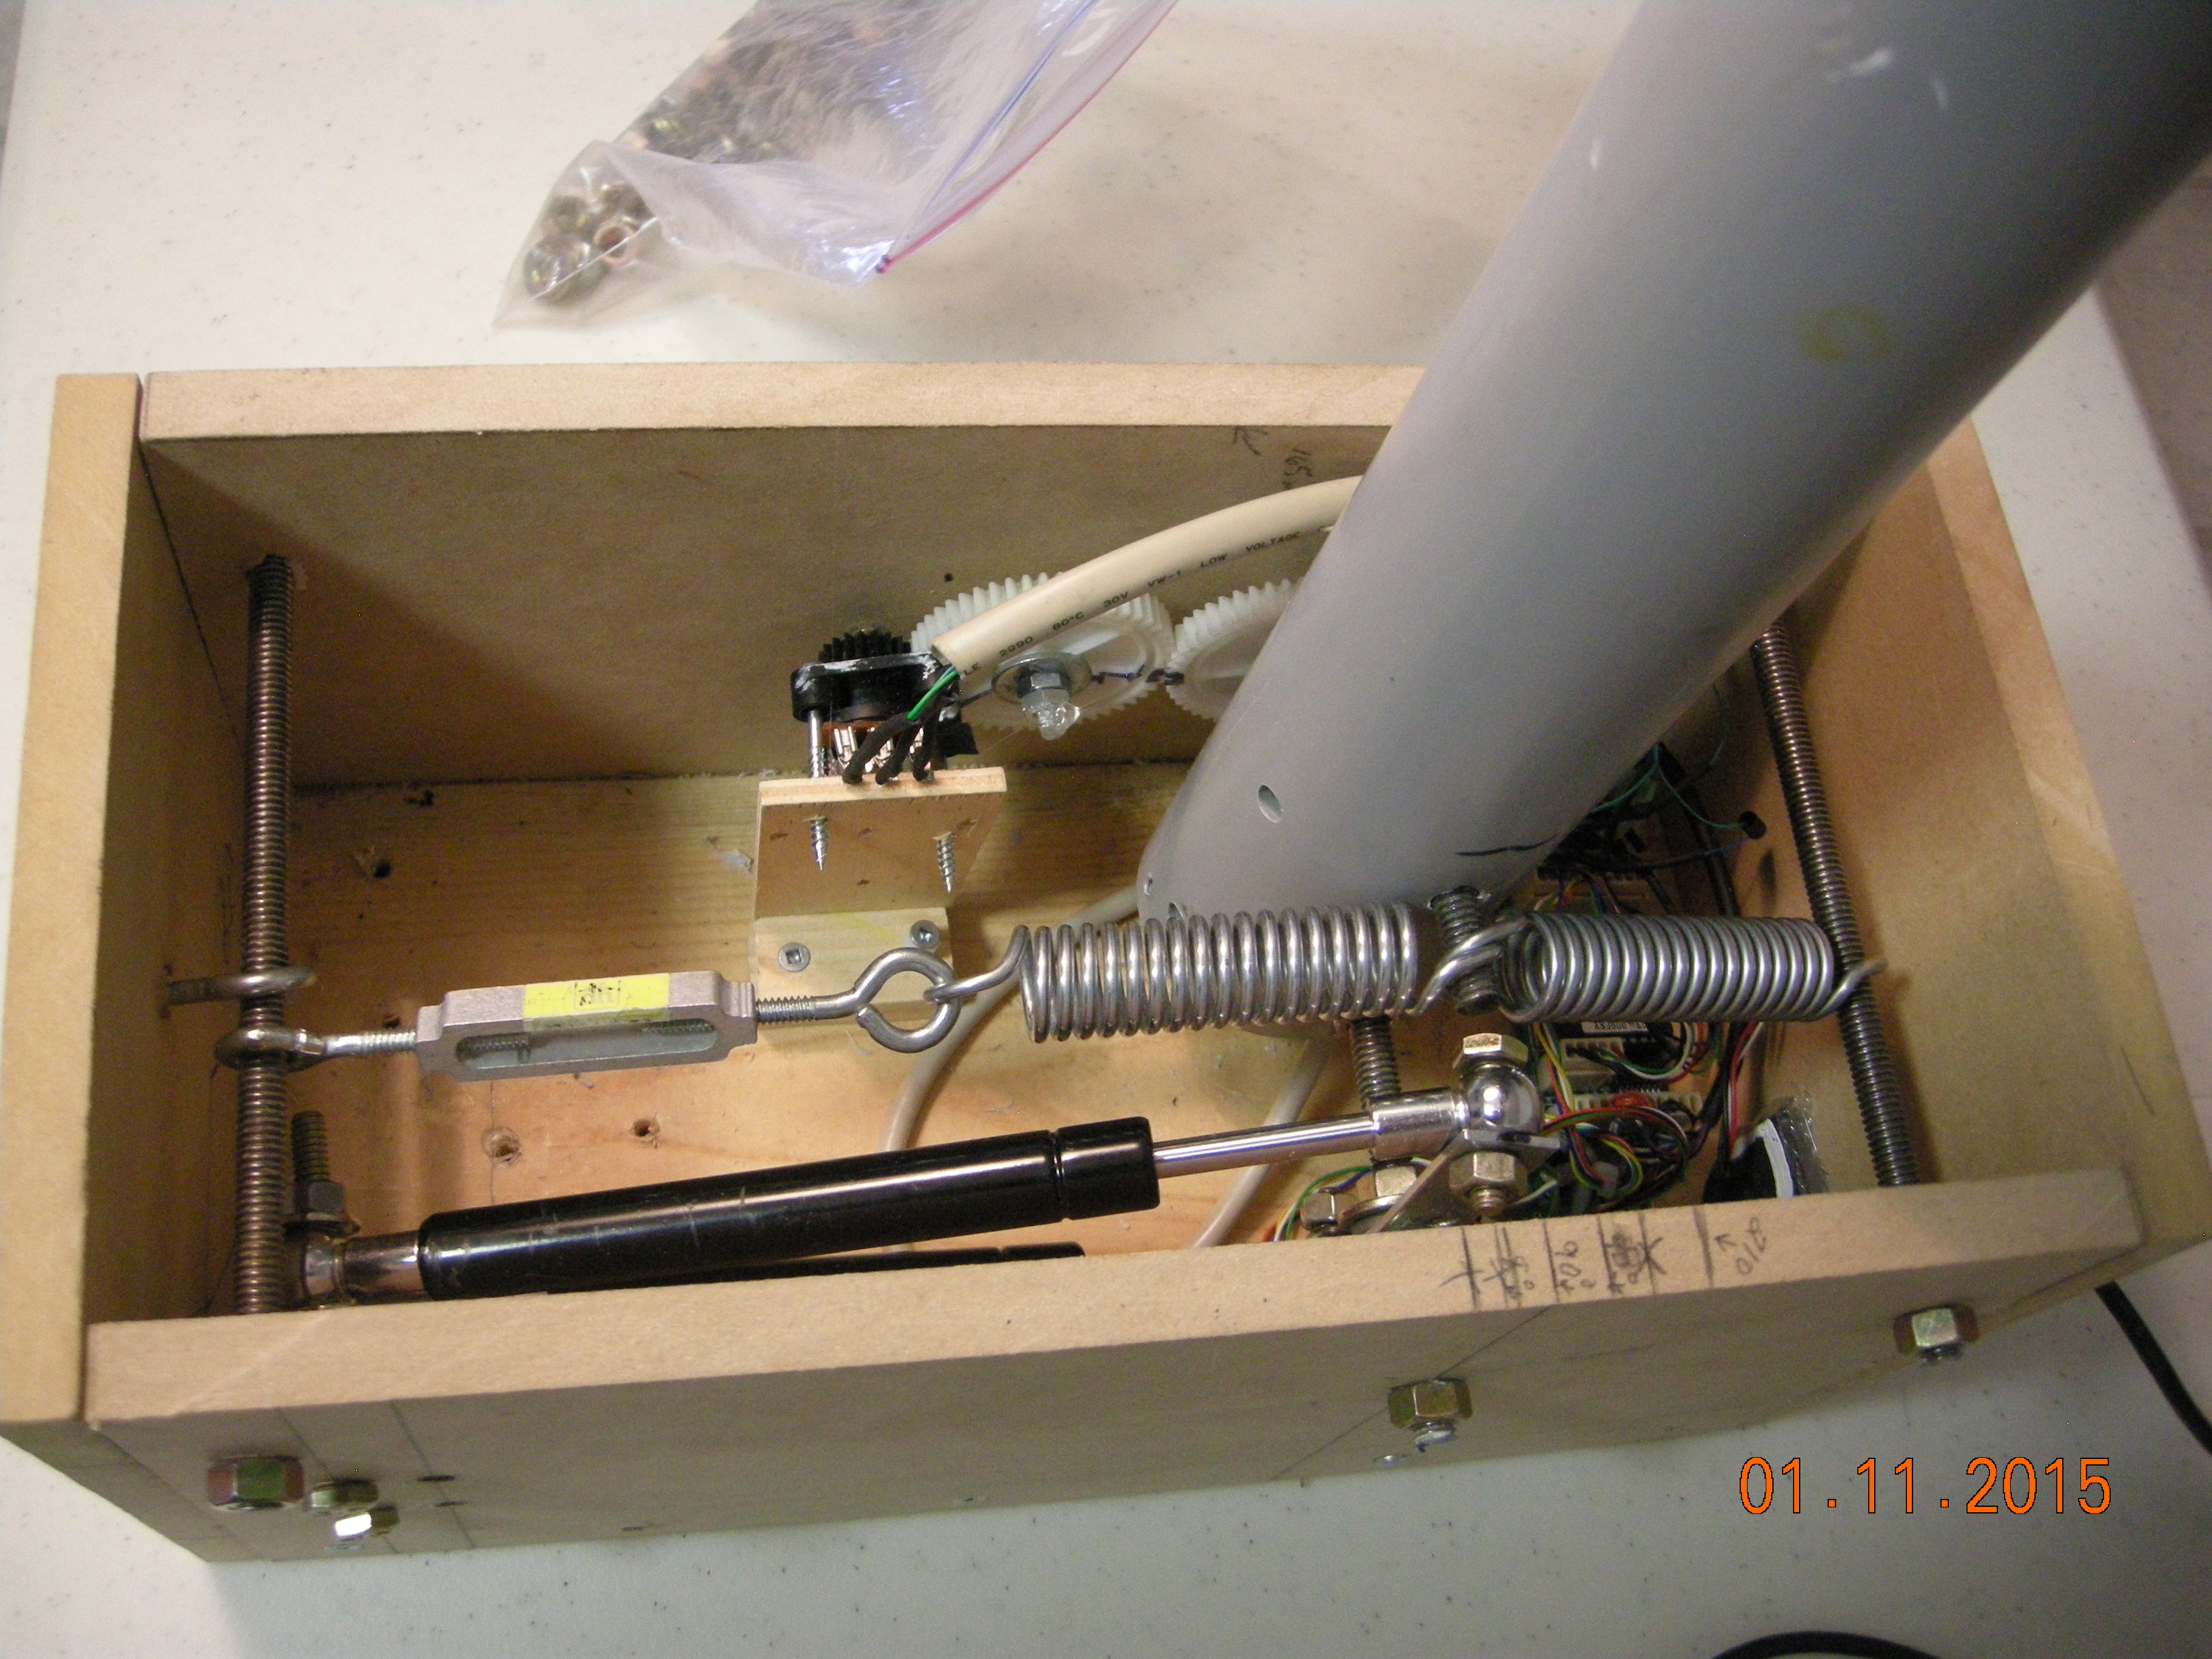
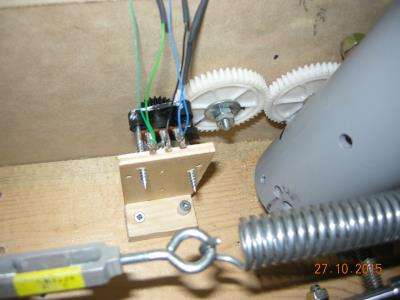
Gears from old HP printer. Springs and turnbuckle from hardware store. Springs center yoke.. turnbuckle adjusts to 8 degrees forward. 60N dampers.
| 
Pitch pot in place with a simple mount.
|
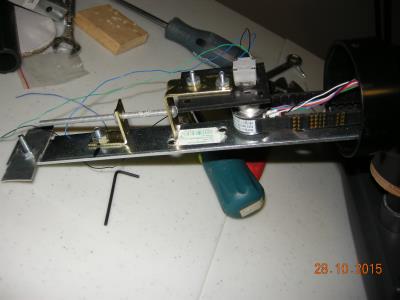
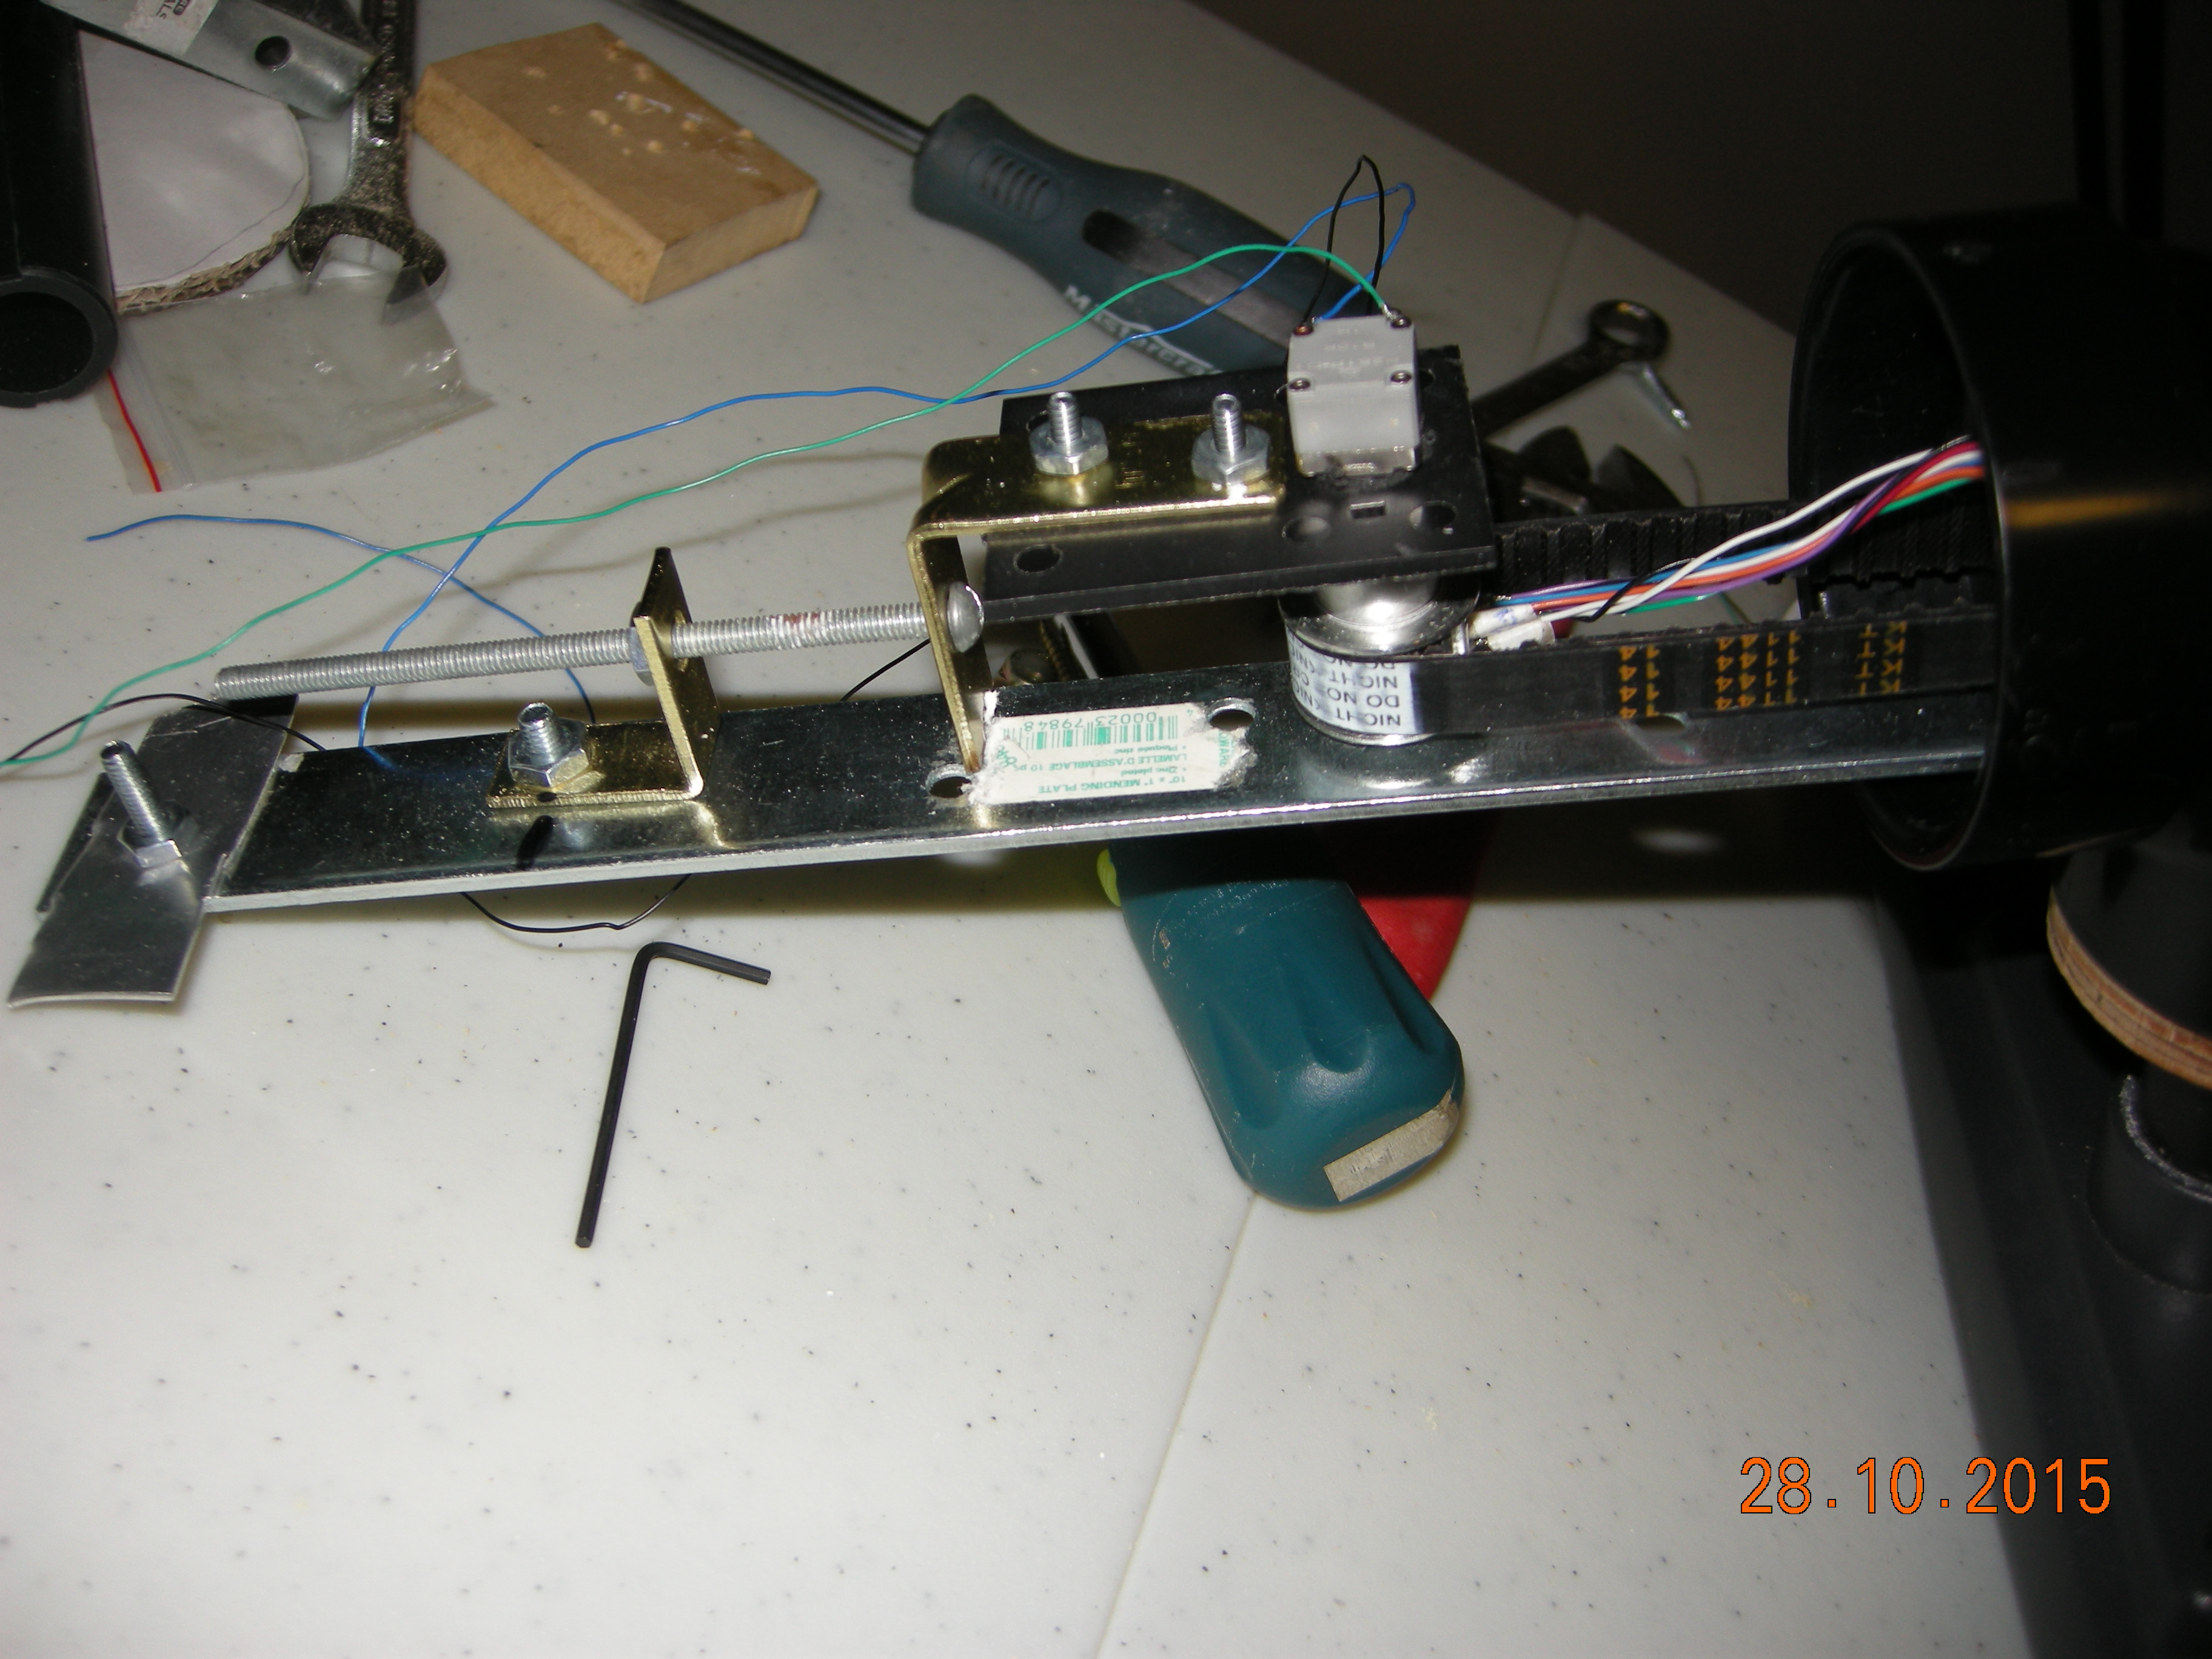
I used the design at Ian Sissons site. URL is in my Links page for more info..
| 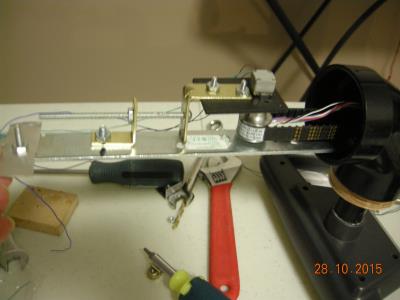
Long bolt is used as a tensioner for the belt.
|

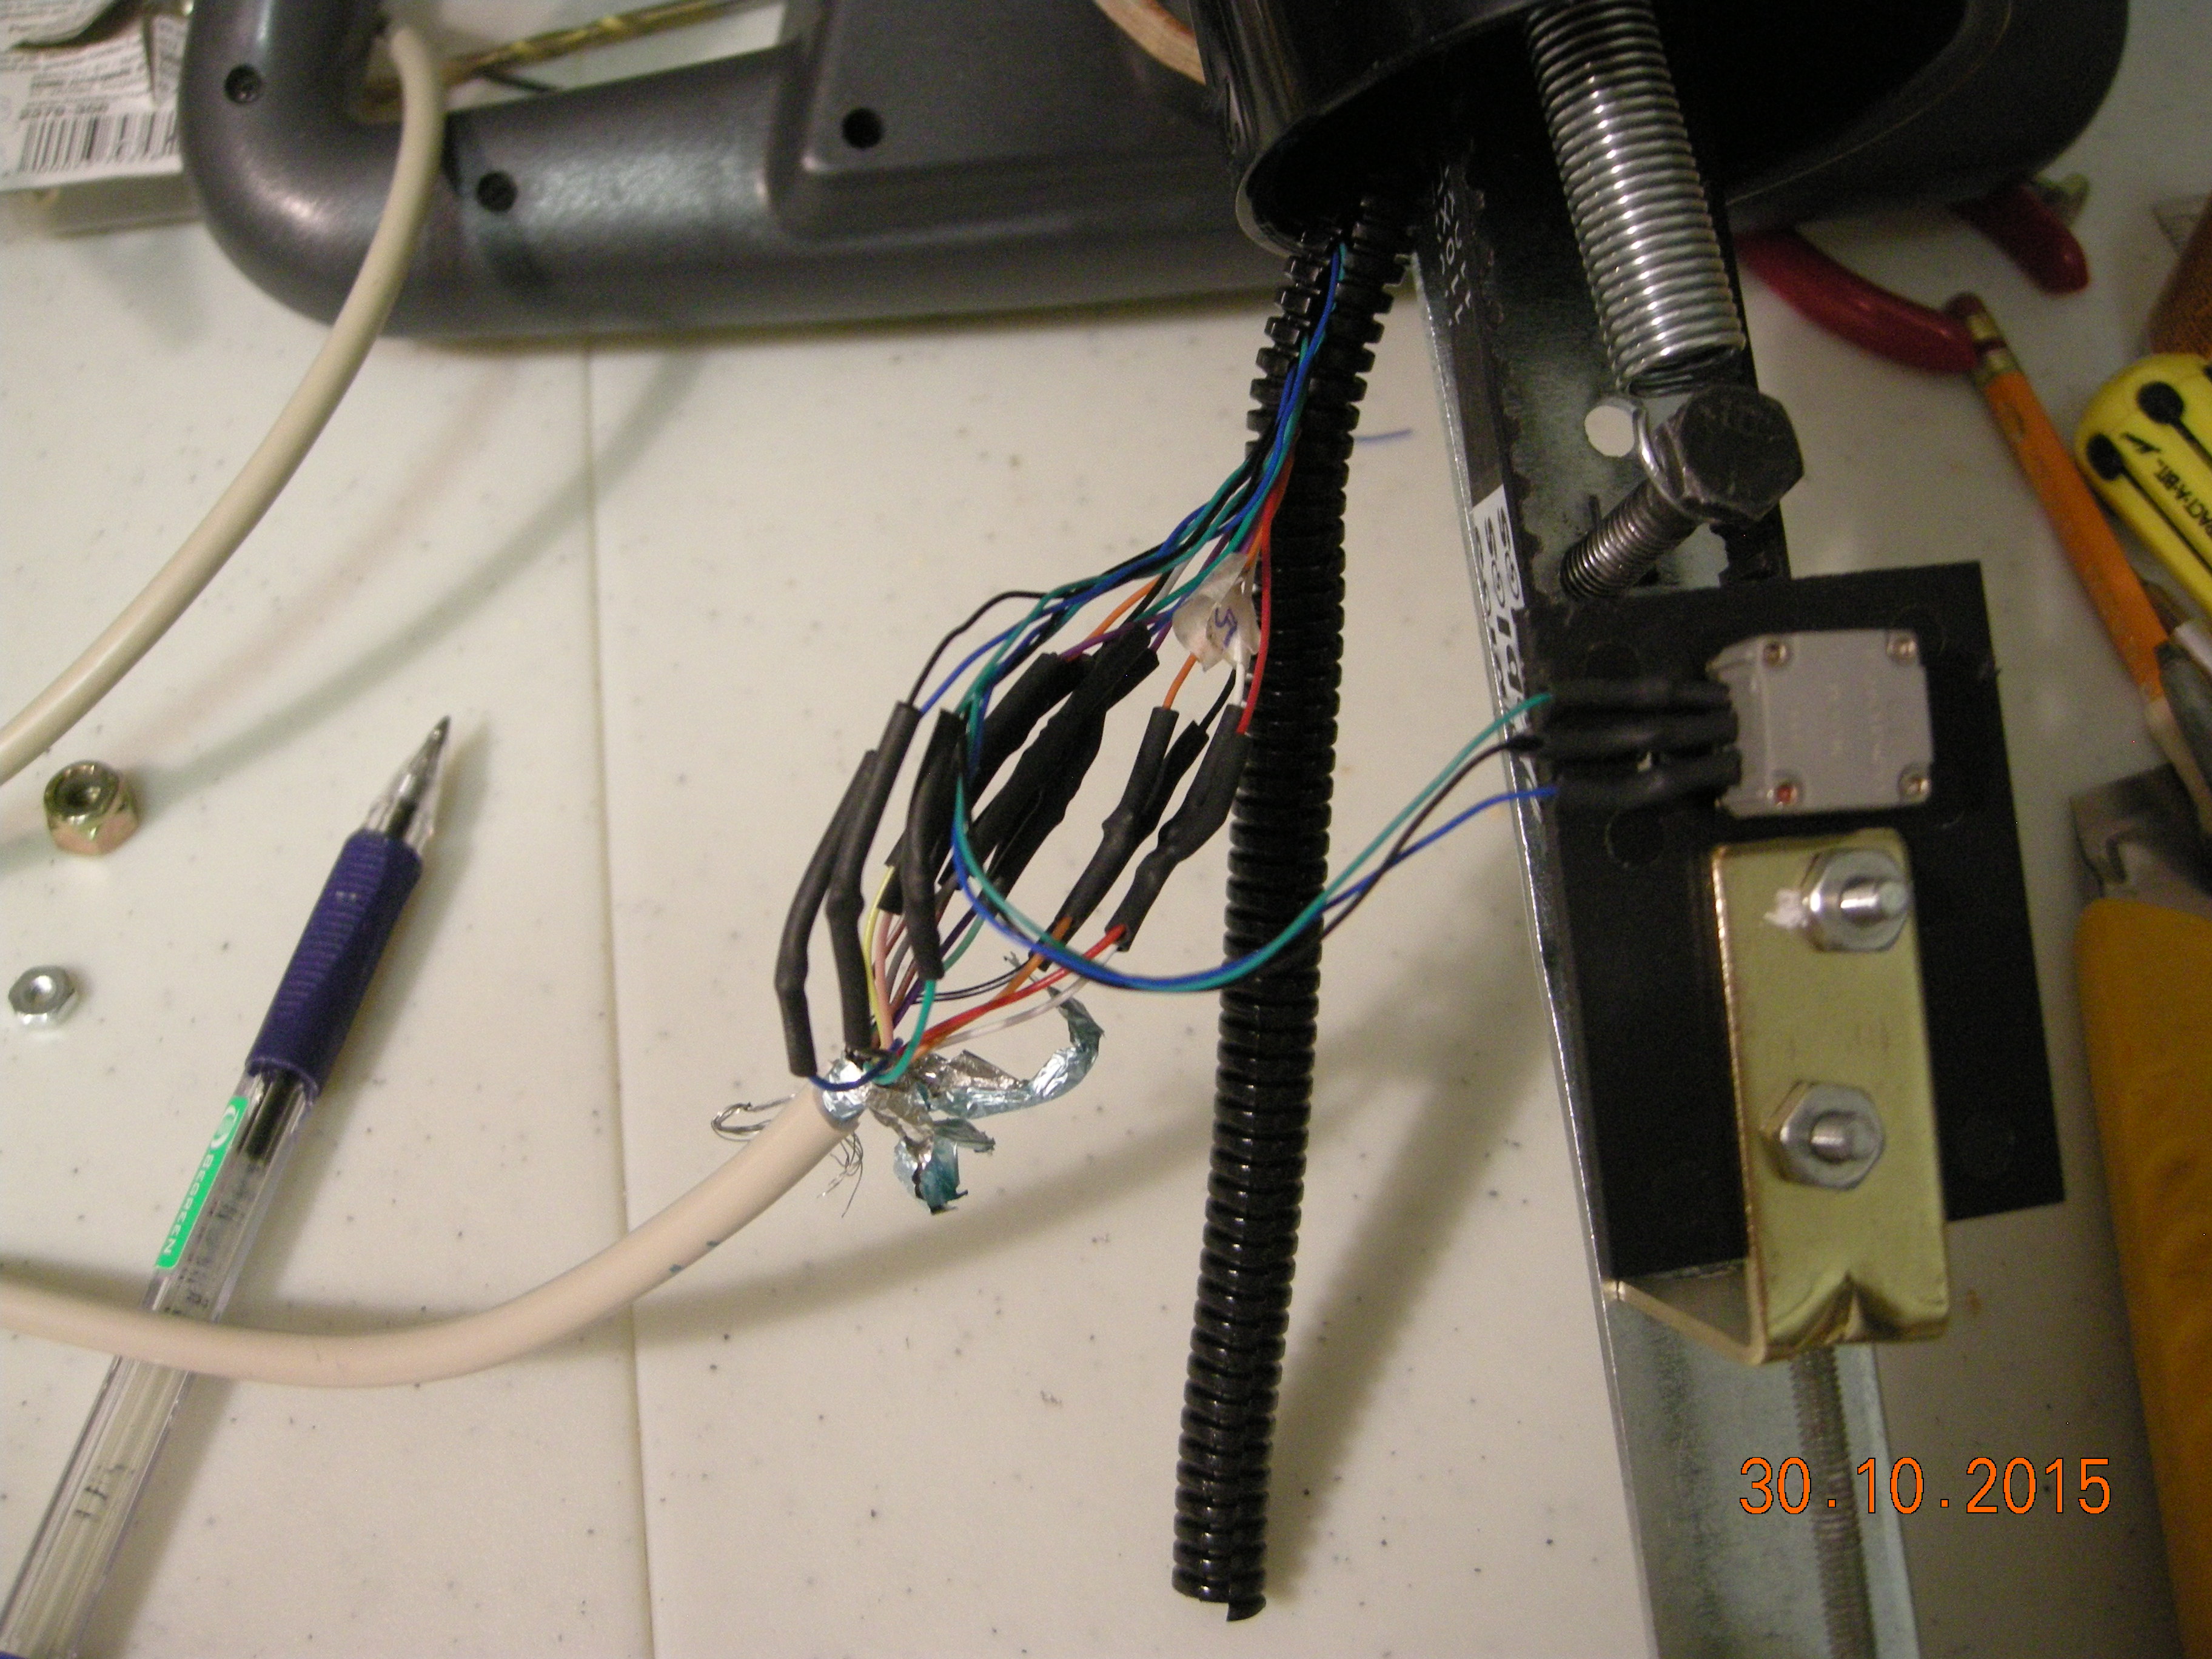
Soldering the connections. 14 conductors. Bolt and spring in place. Spring slightly long..may install a shorter one in future.
| 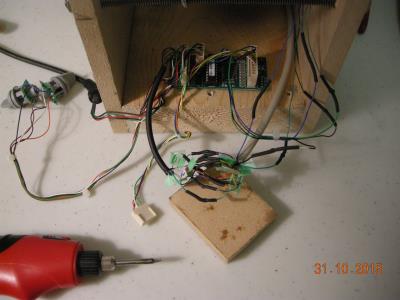
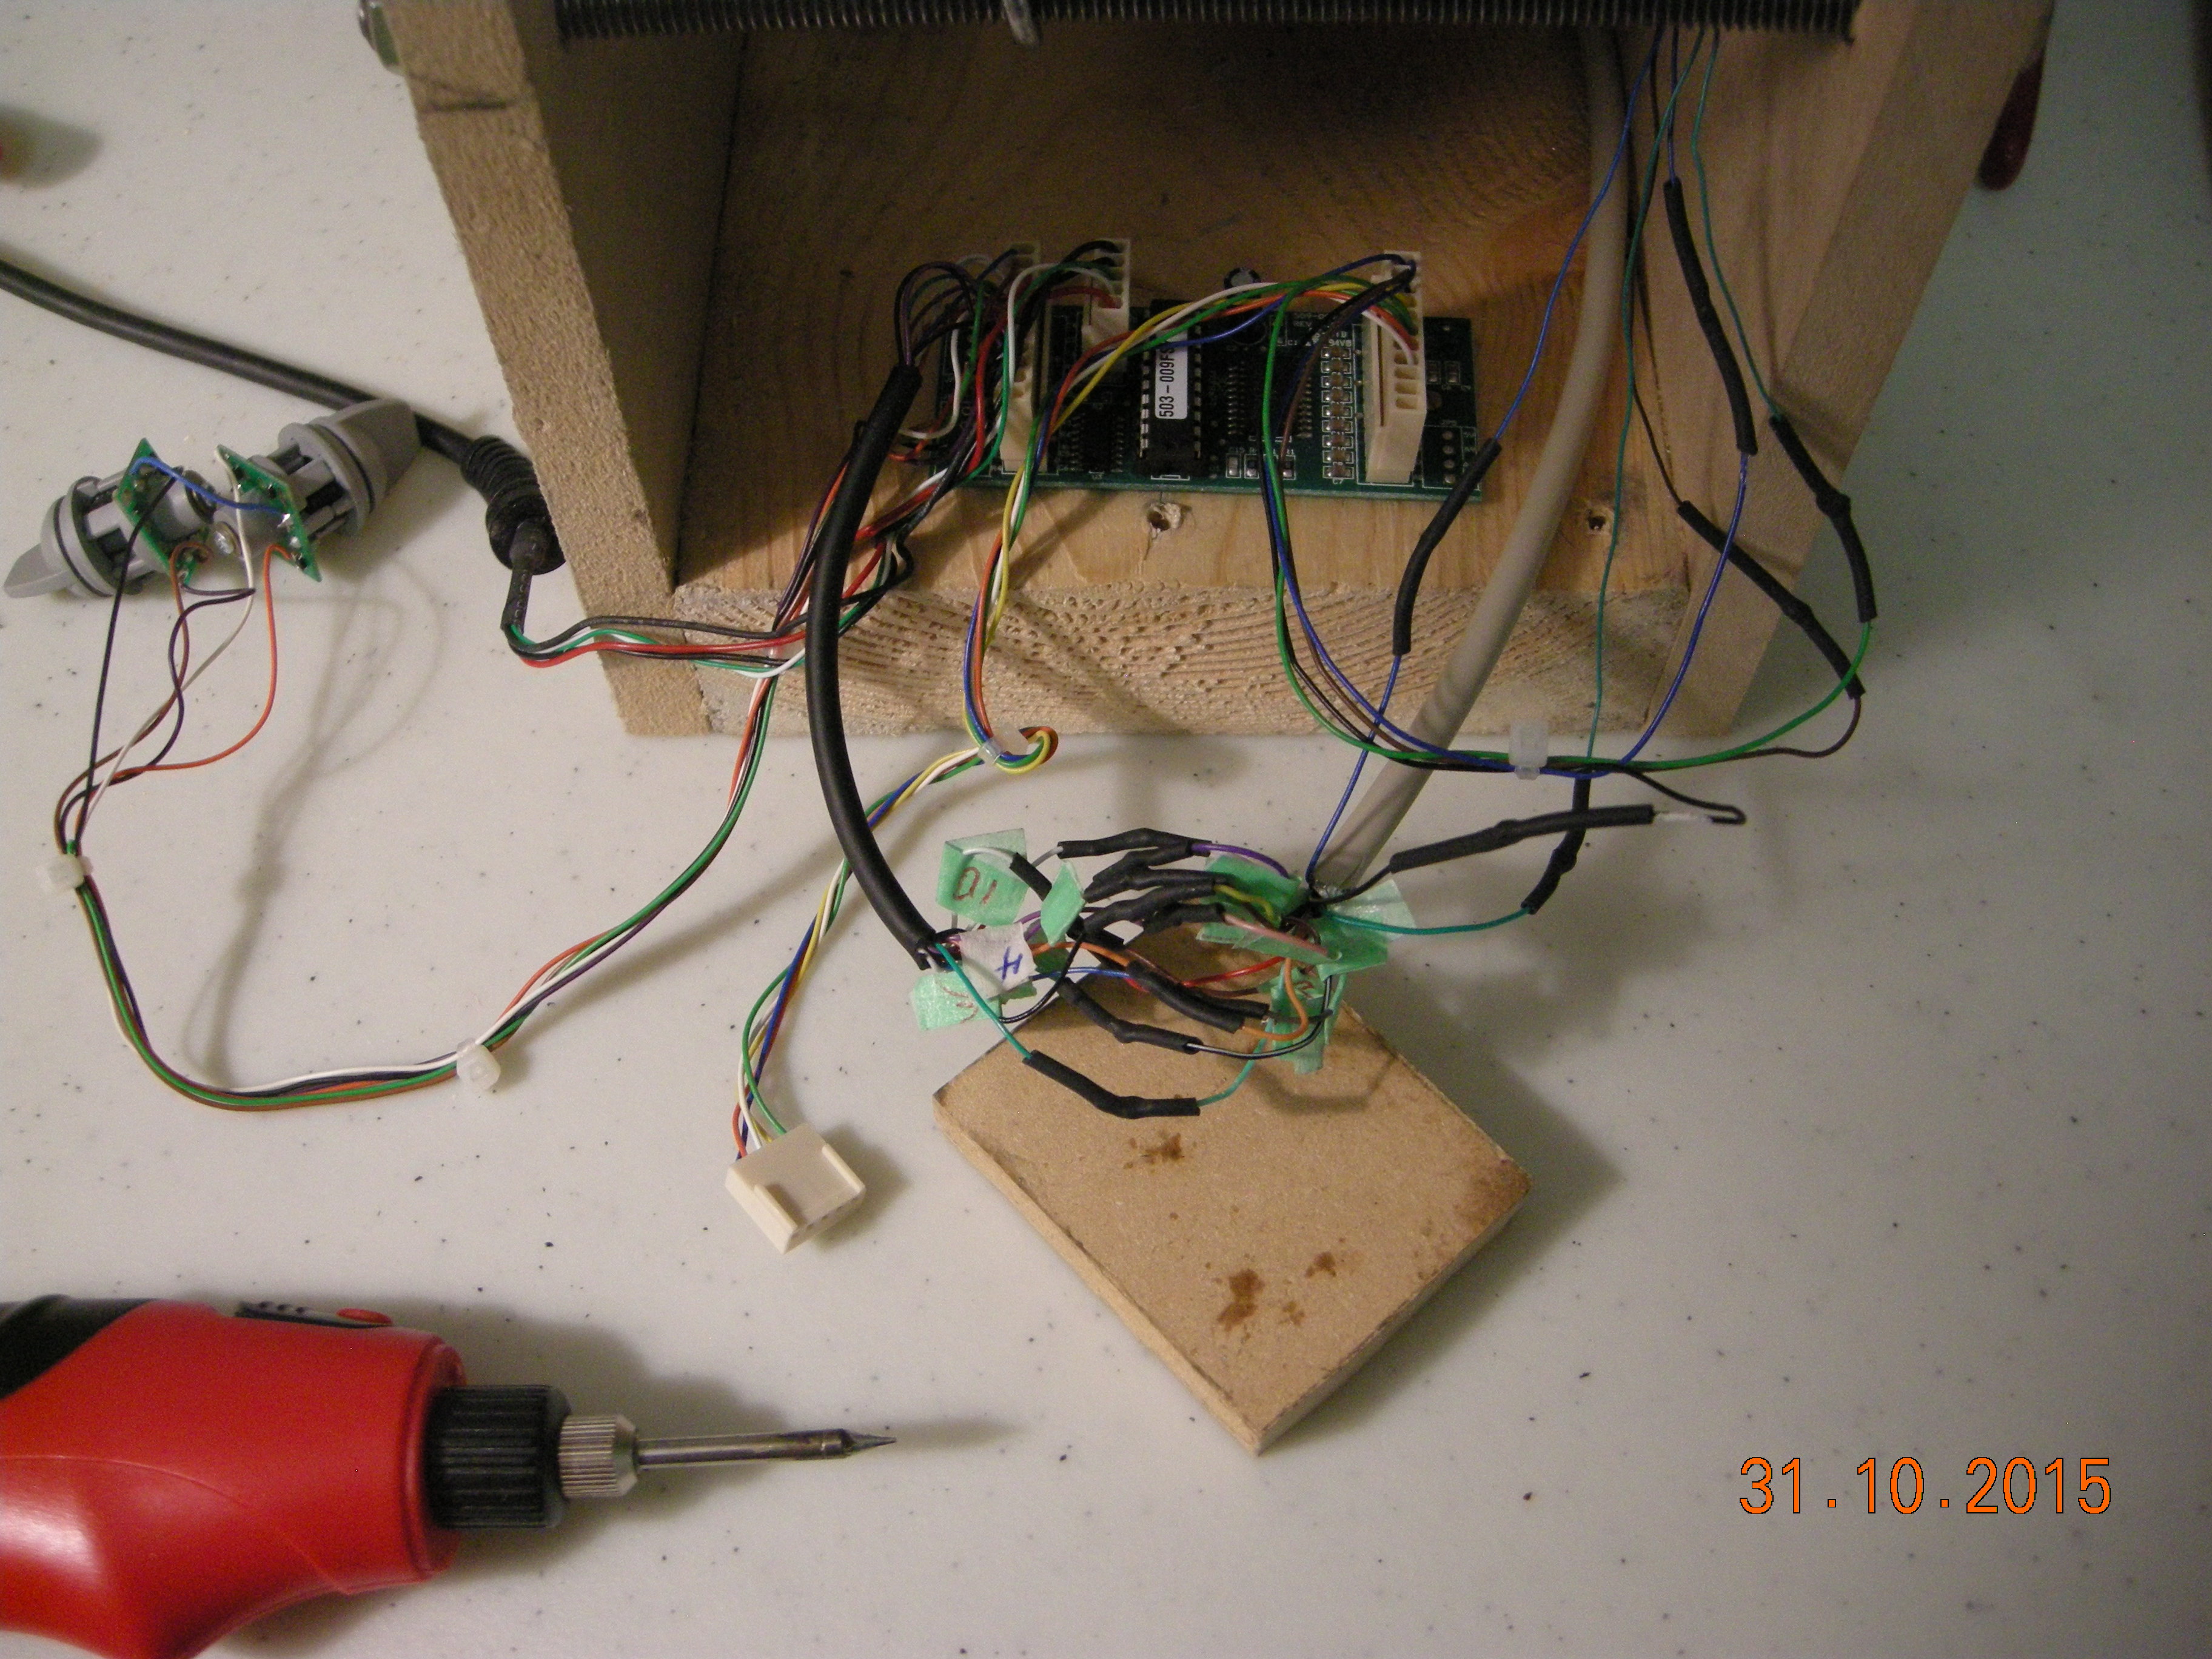
Soldering the connections to the circuit board.
|
Cut out the plastic cord retainer and installed where USB cord exits.
| 
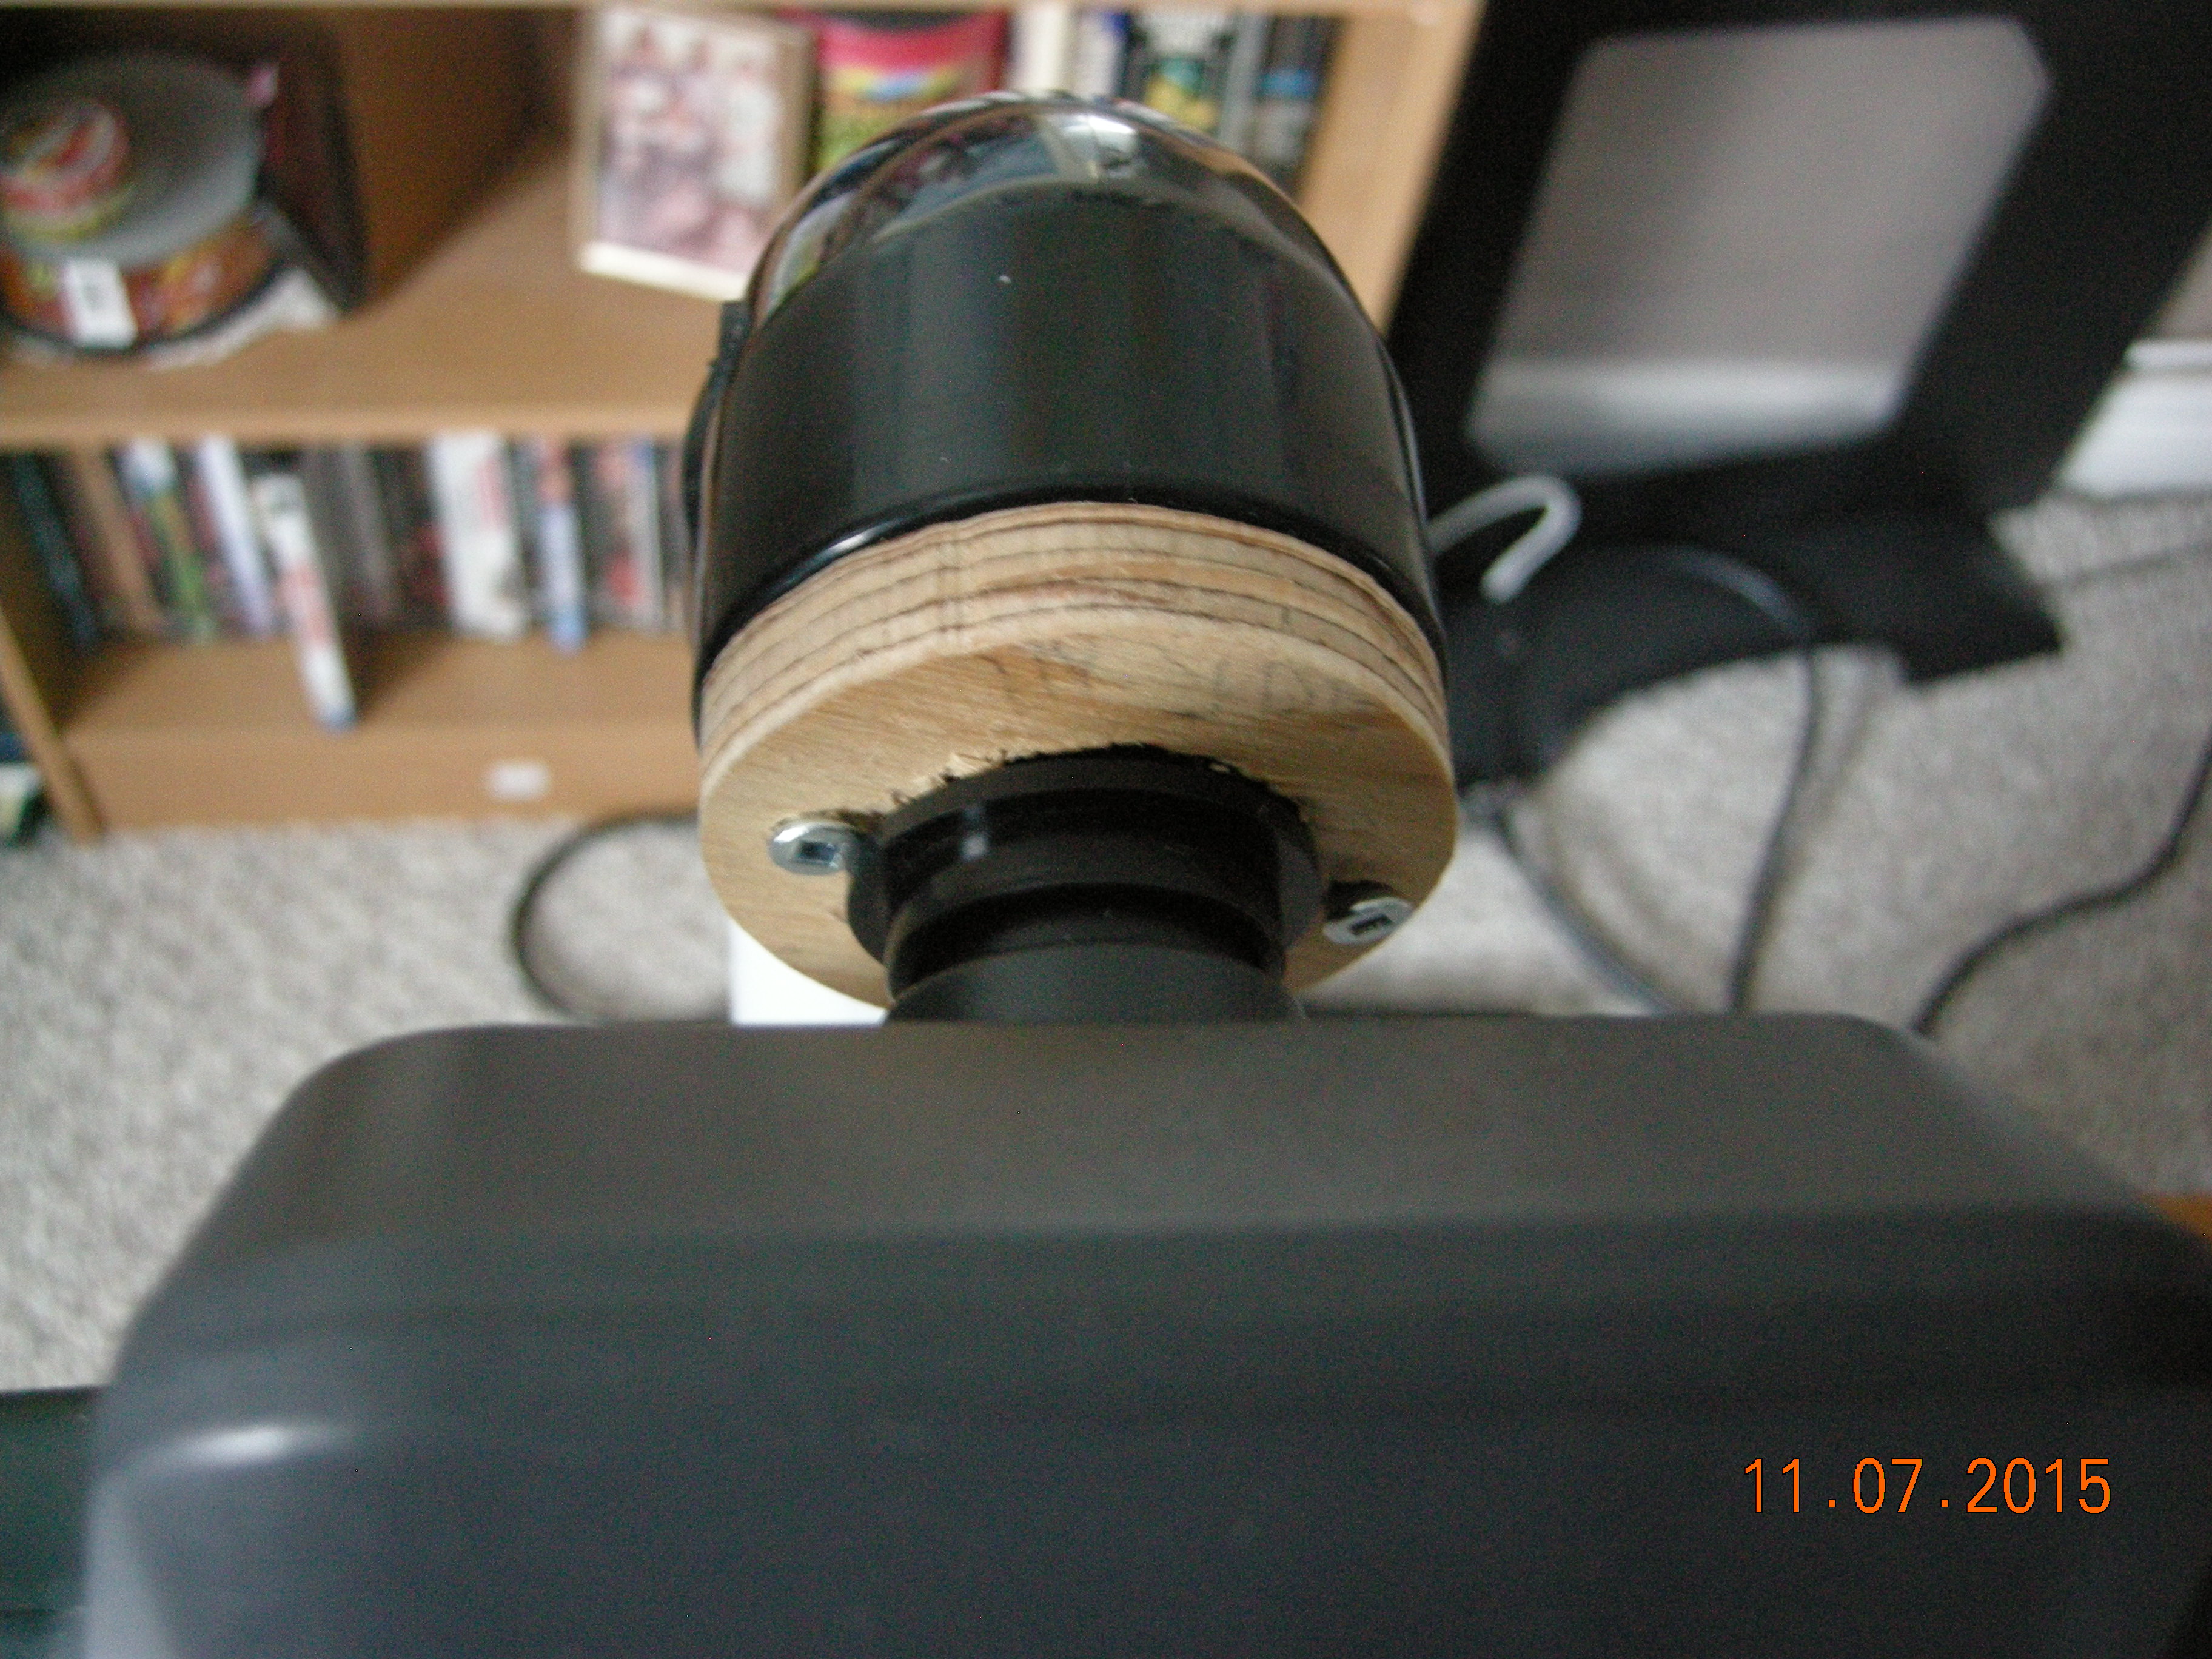
Everything in place .
|
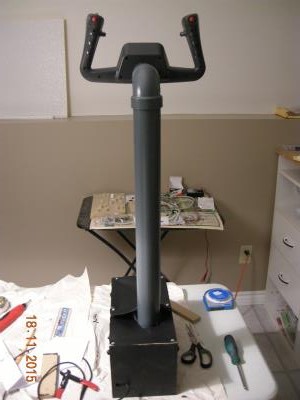
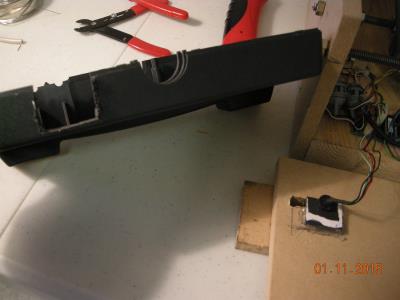
Rear View painted in RAL7011
| 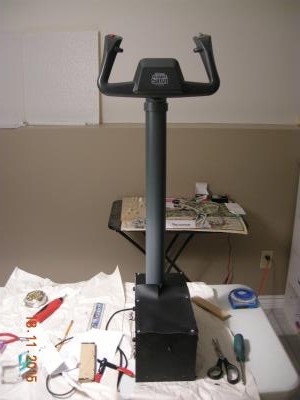
Front View . Bottom covered in black vinyl
|