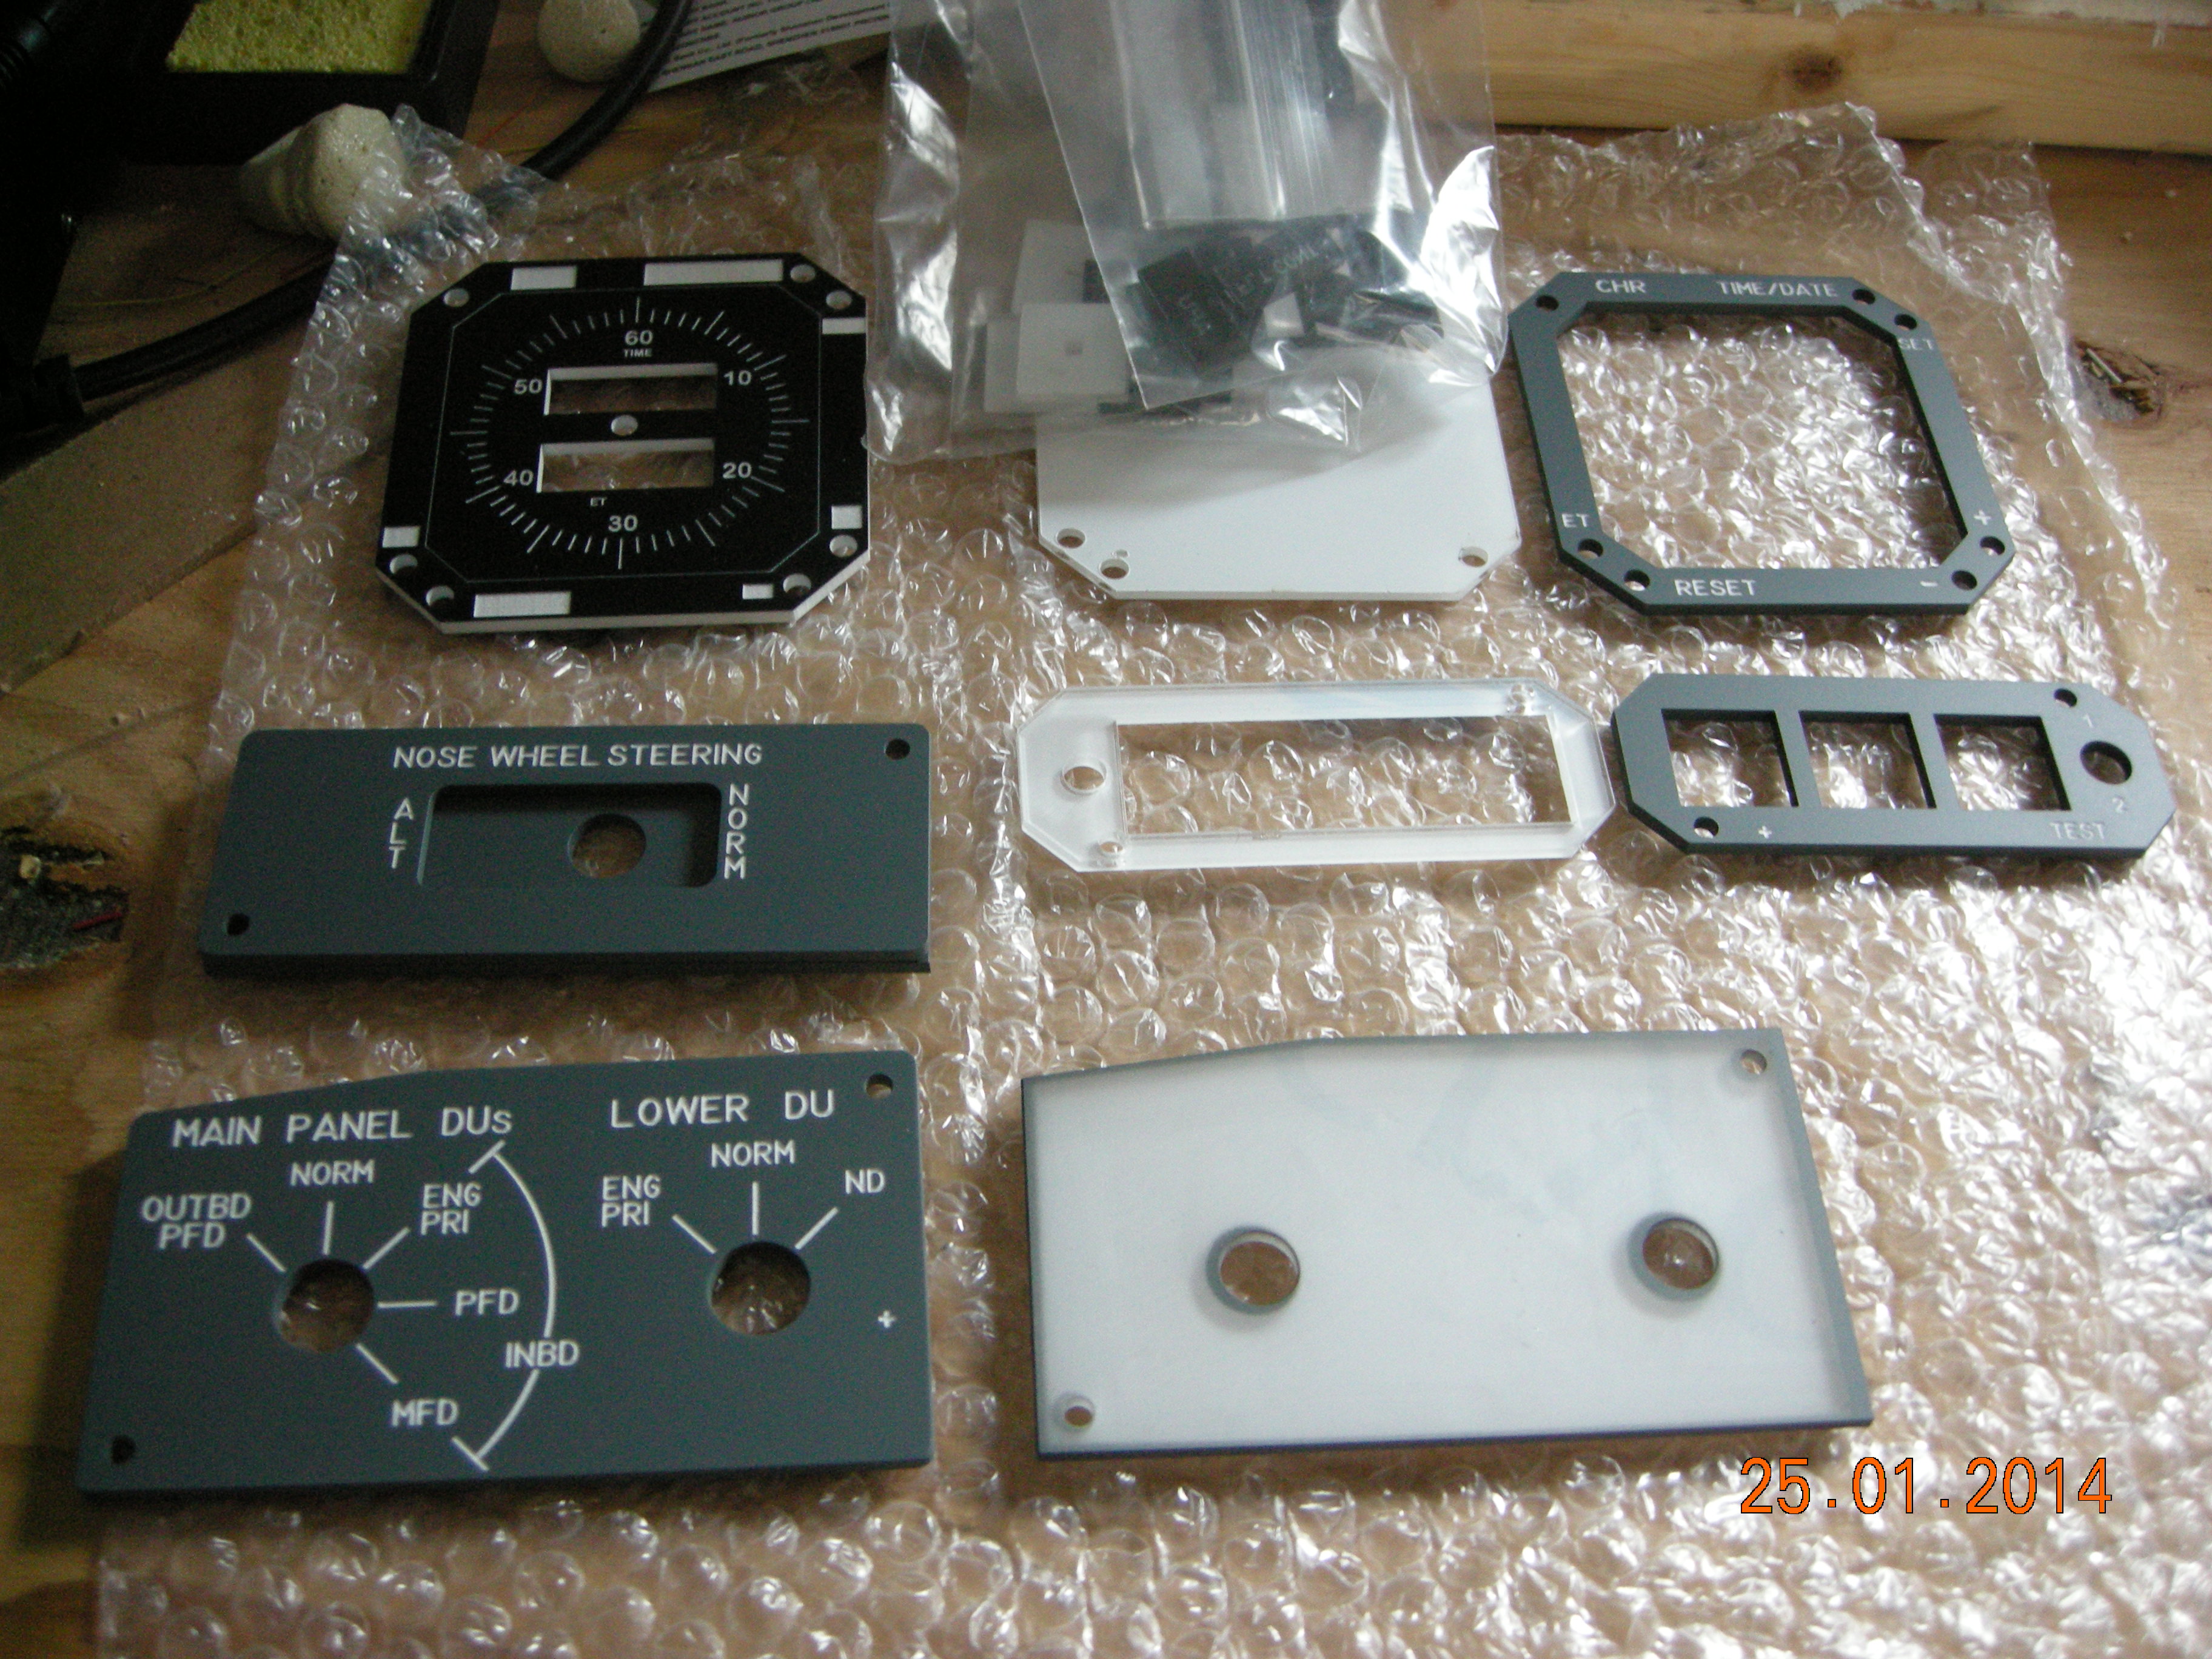
Captains Annunciaters from CockpitSimParts
| 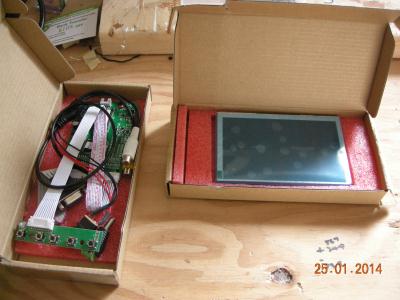
5 inch display for Captains Chrono. Due to plan change, this will now be F/O Chrono
|
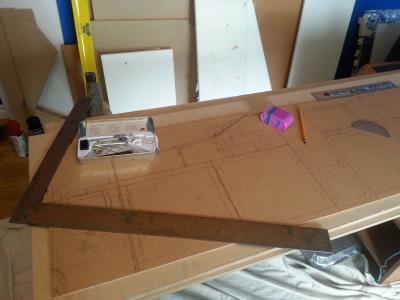
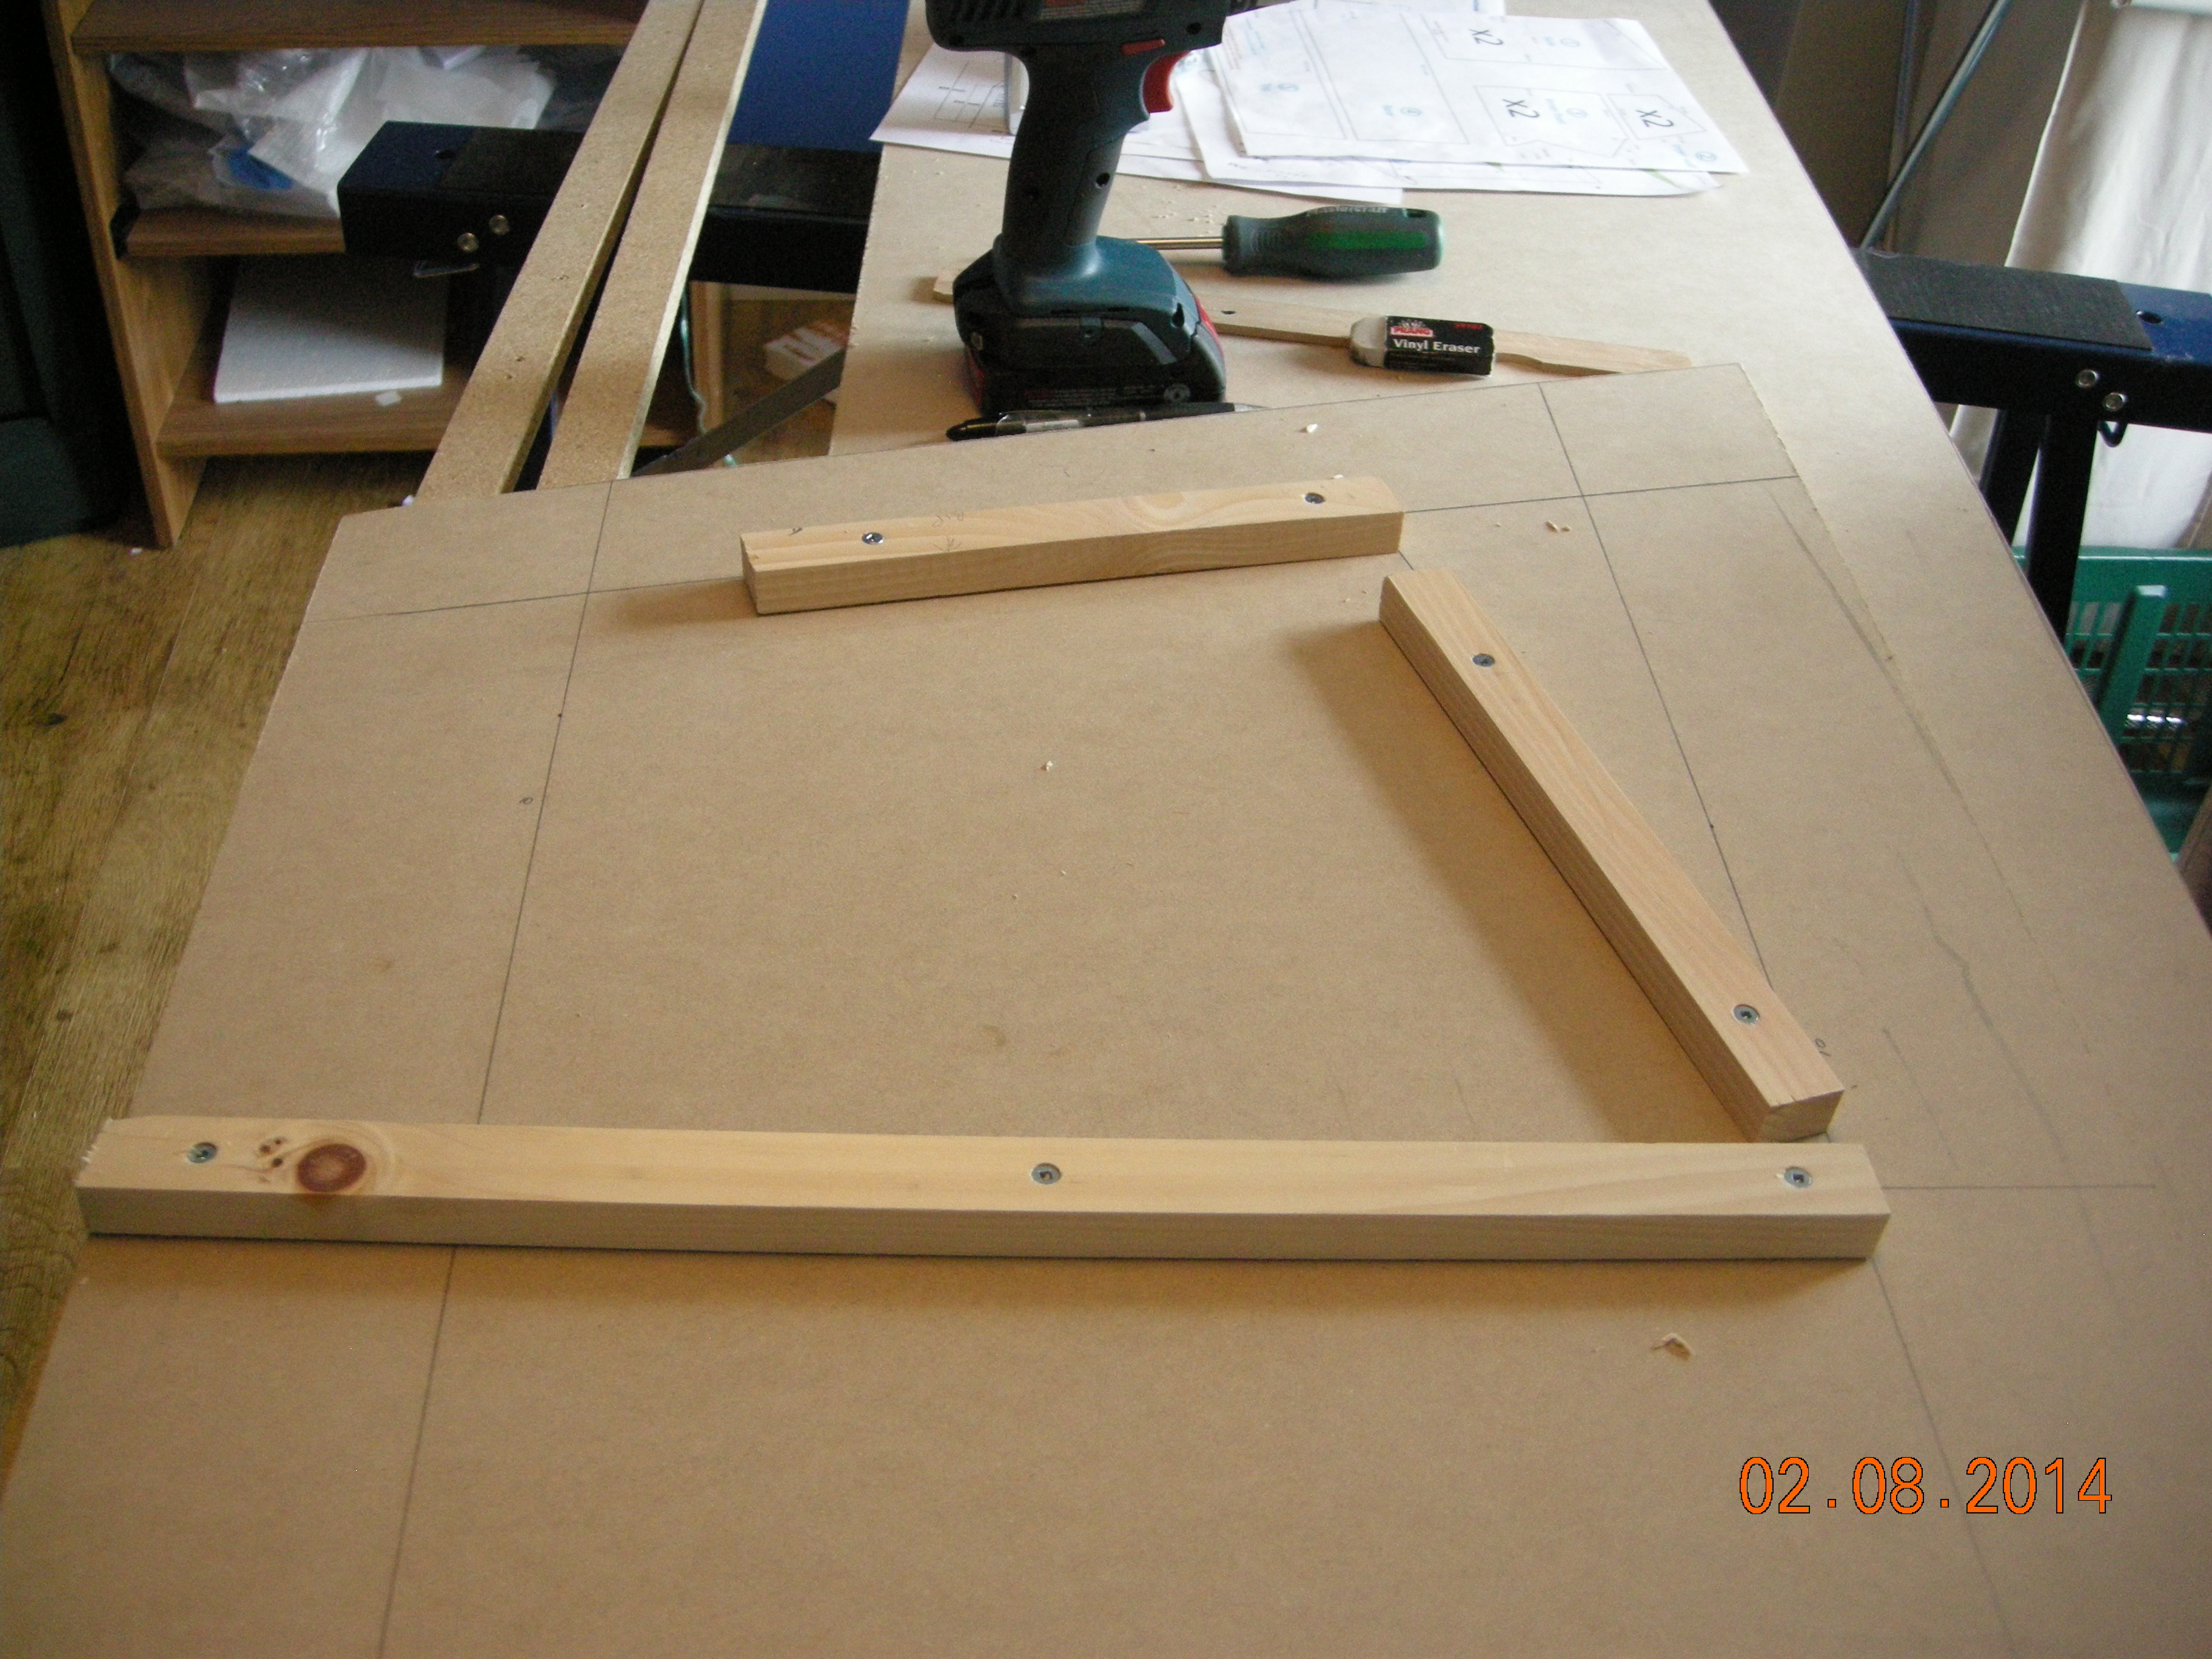
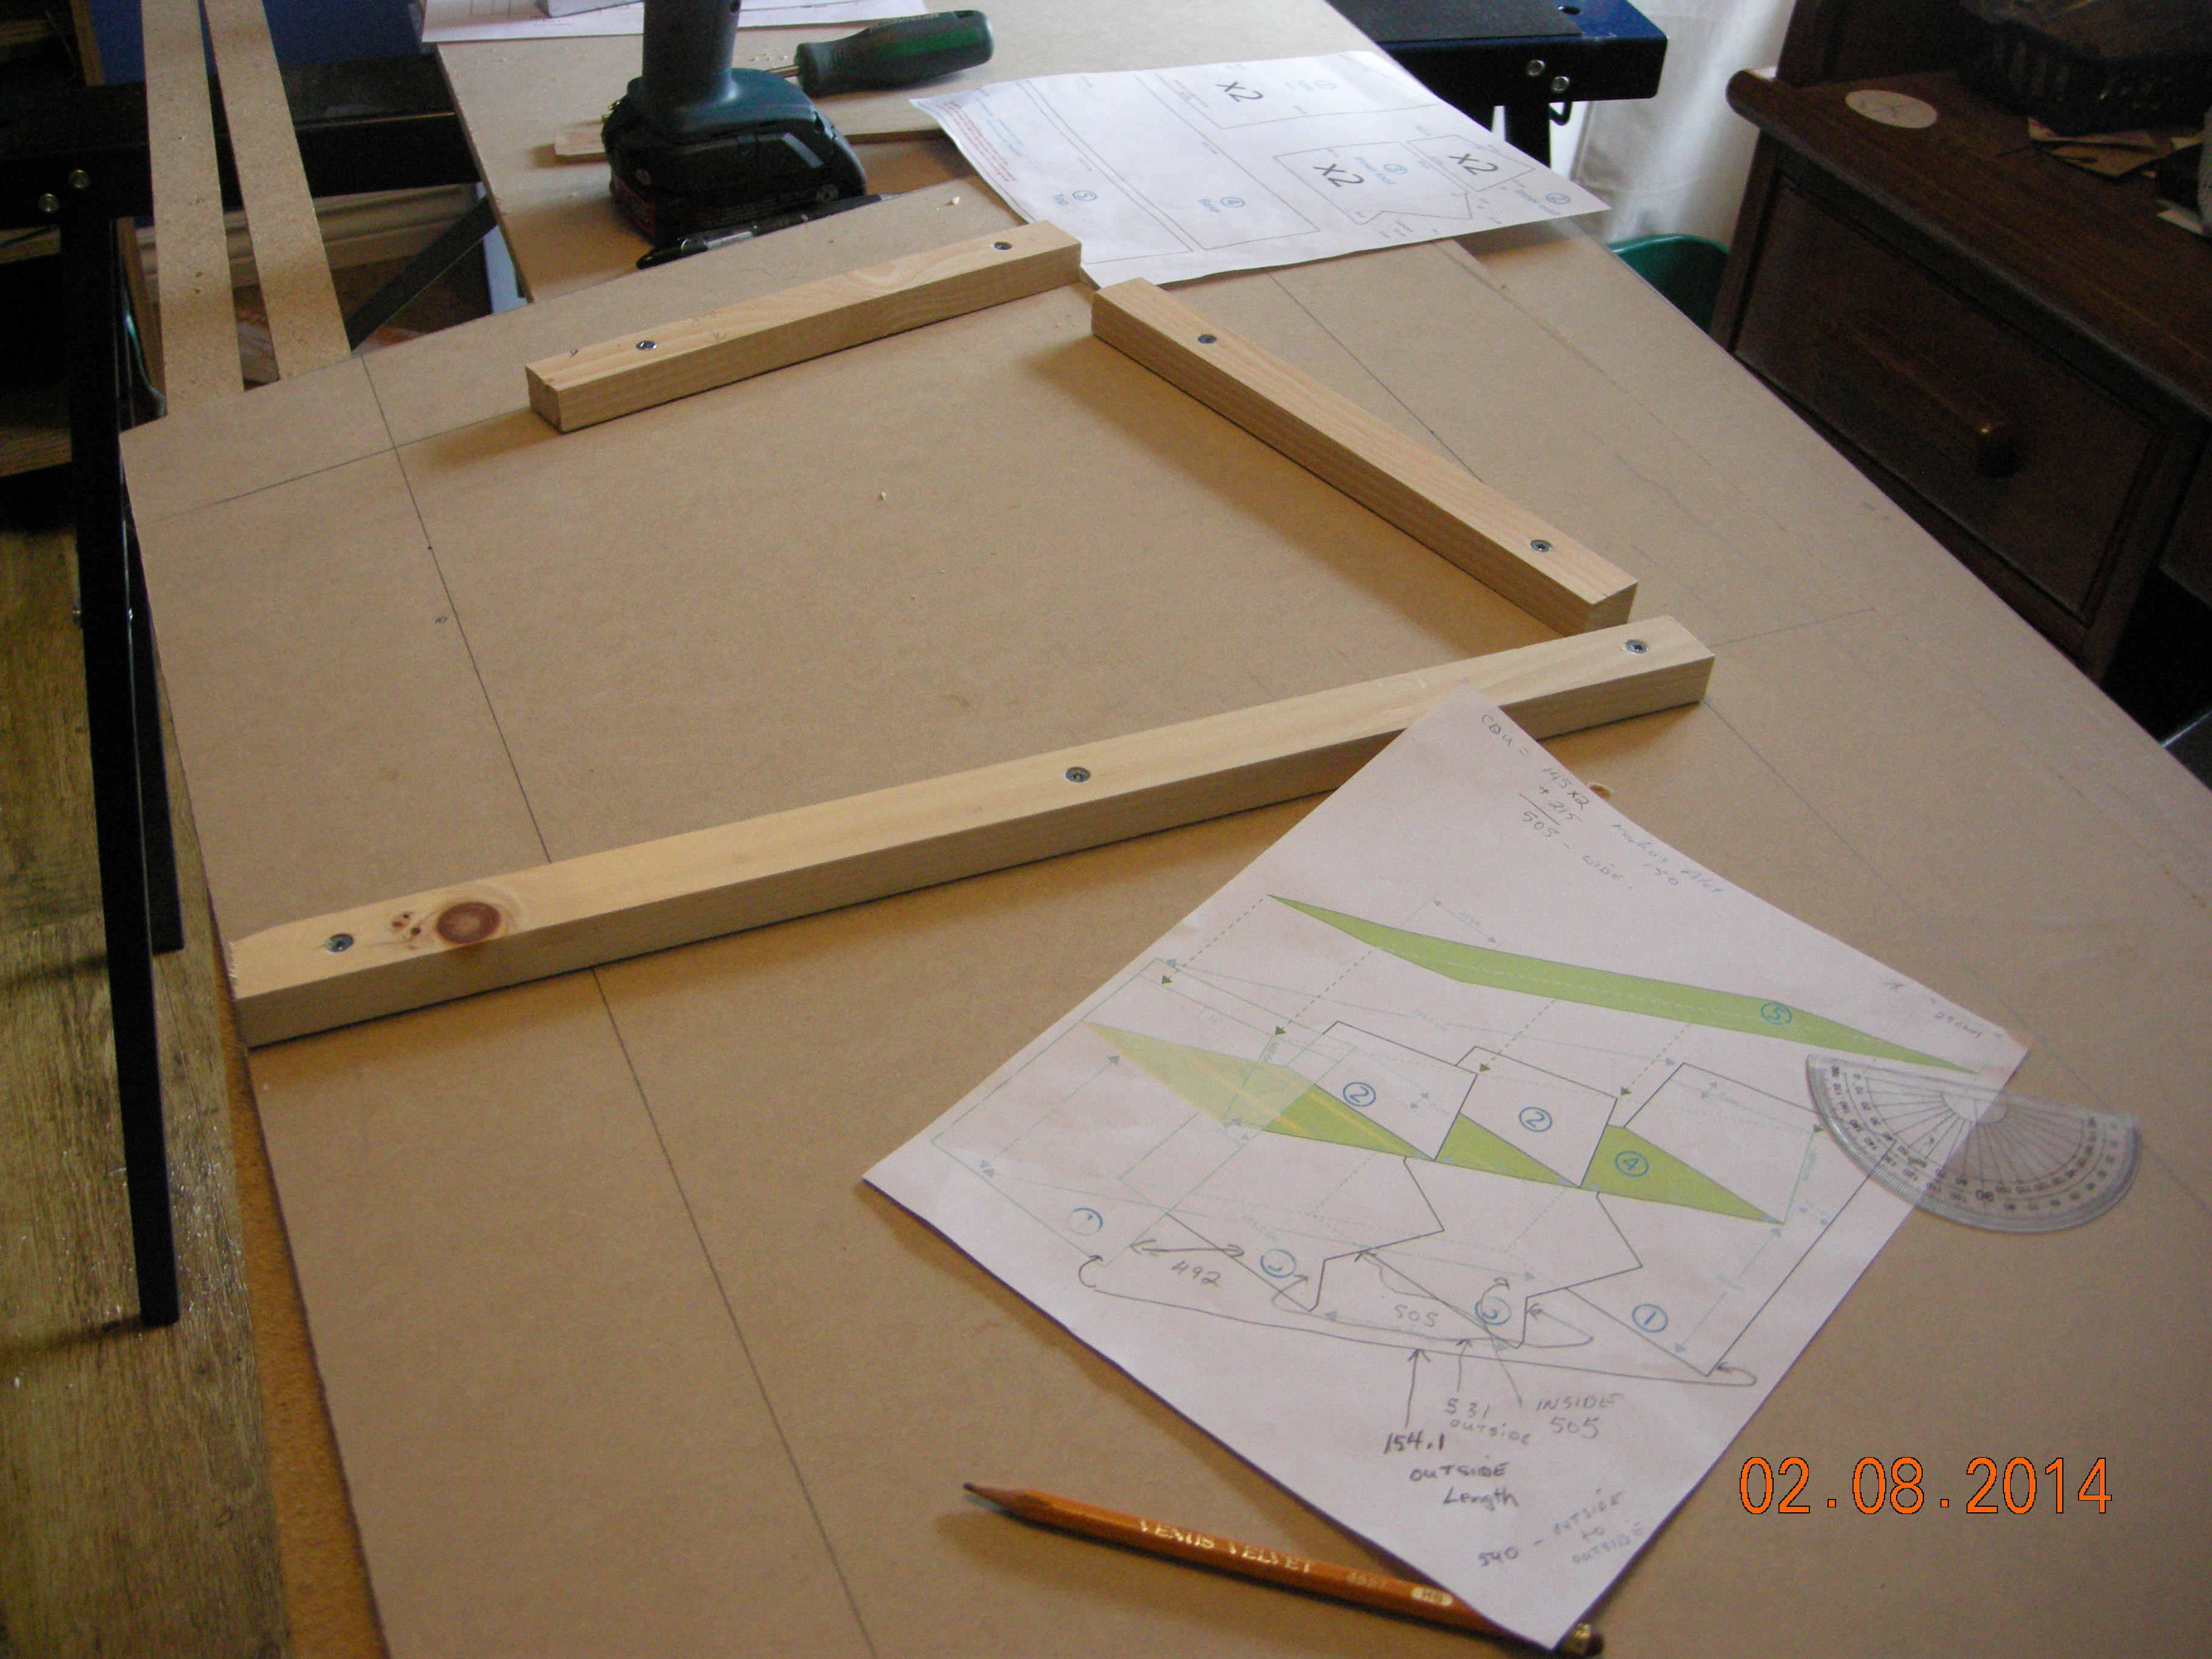
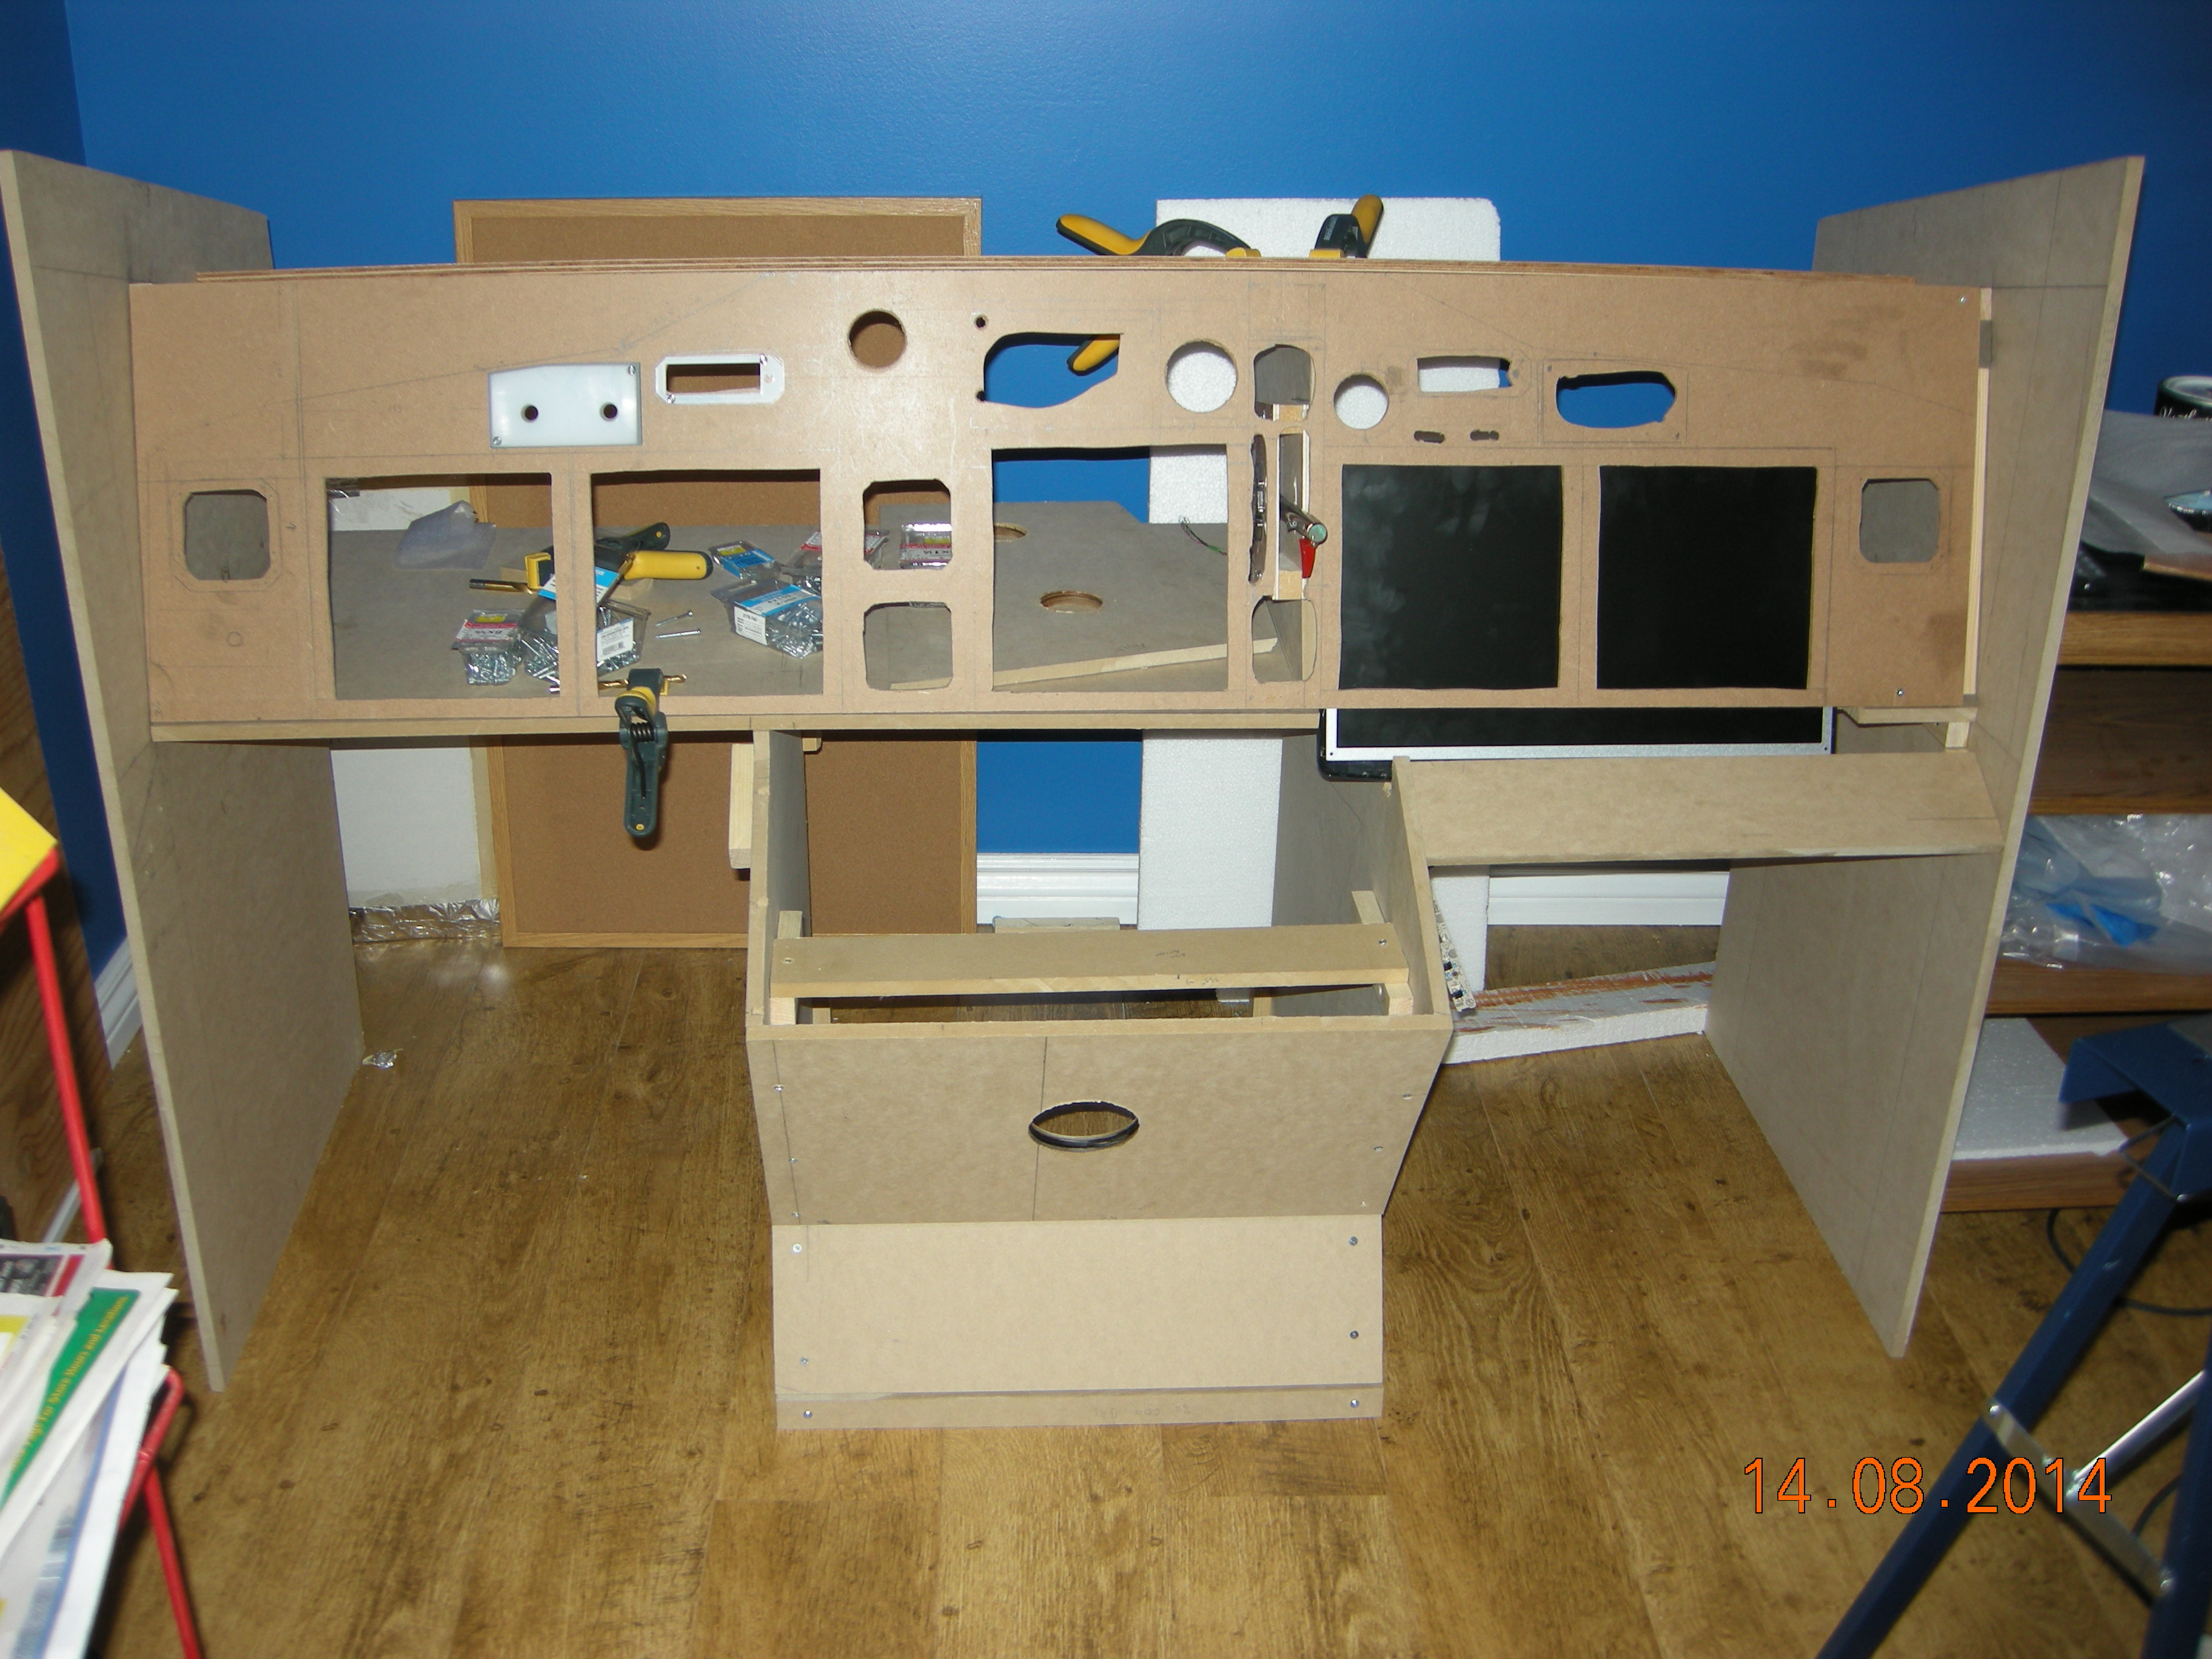
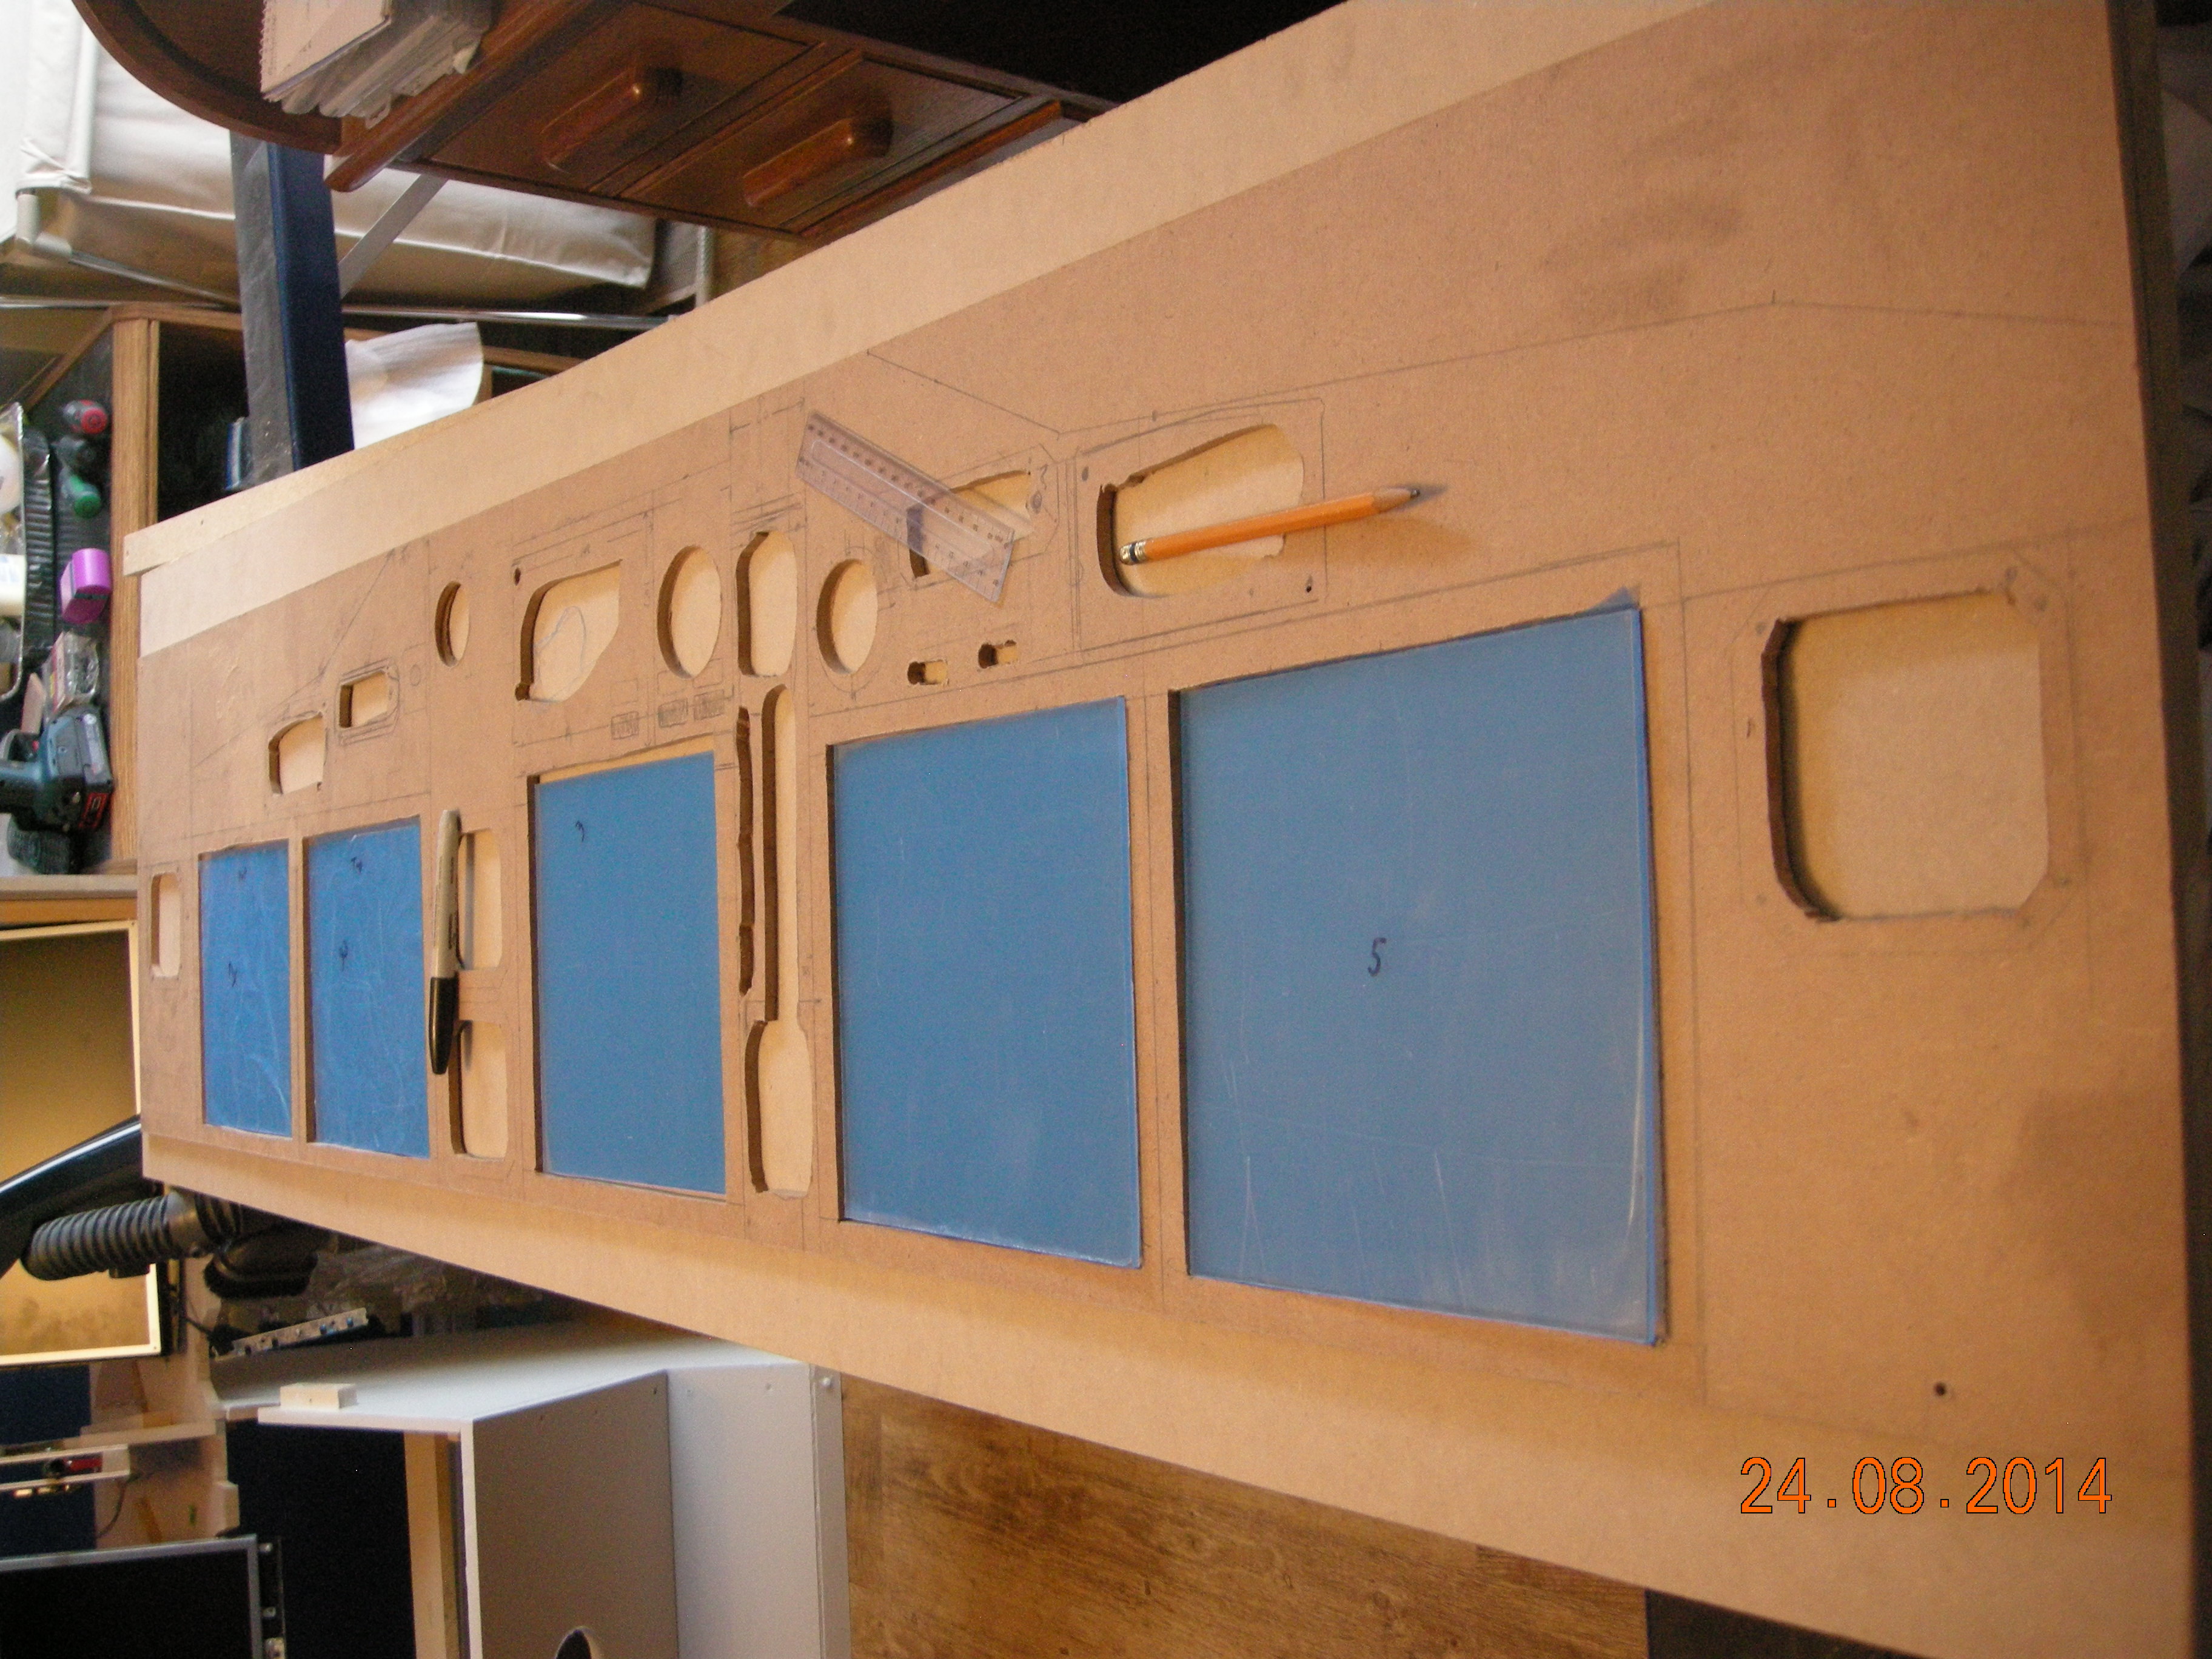
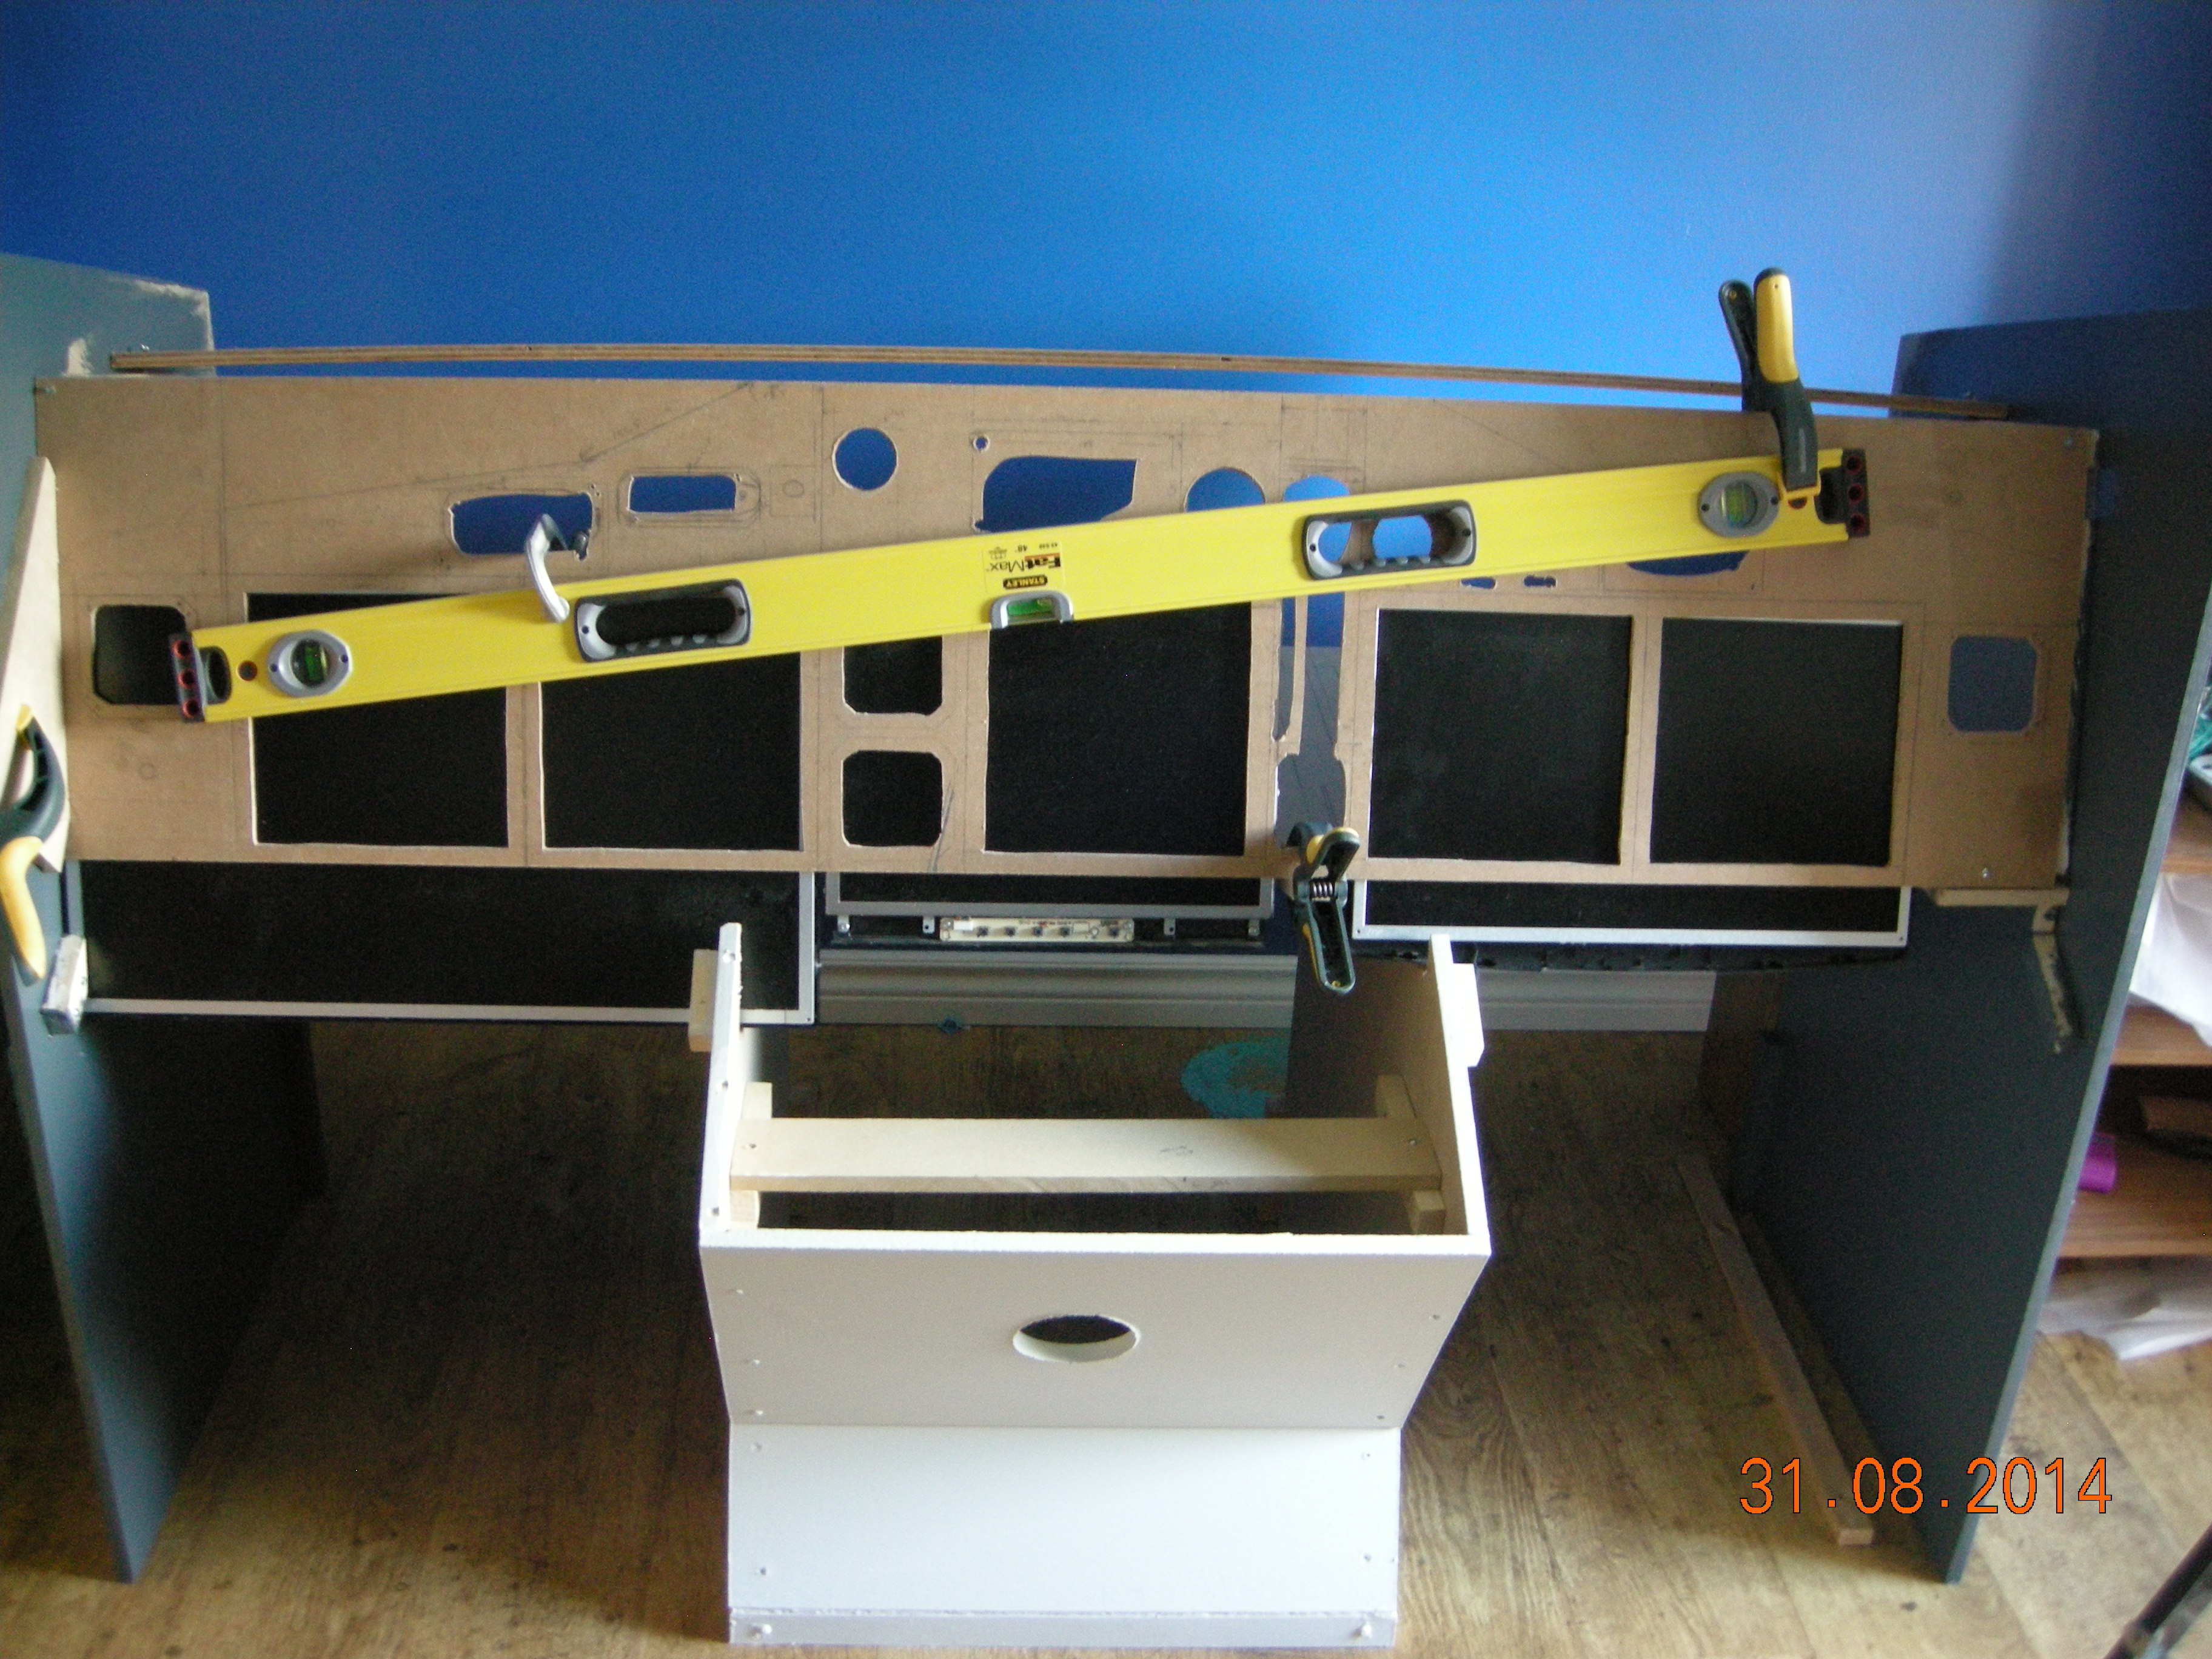
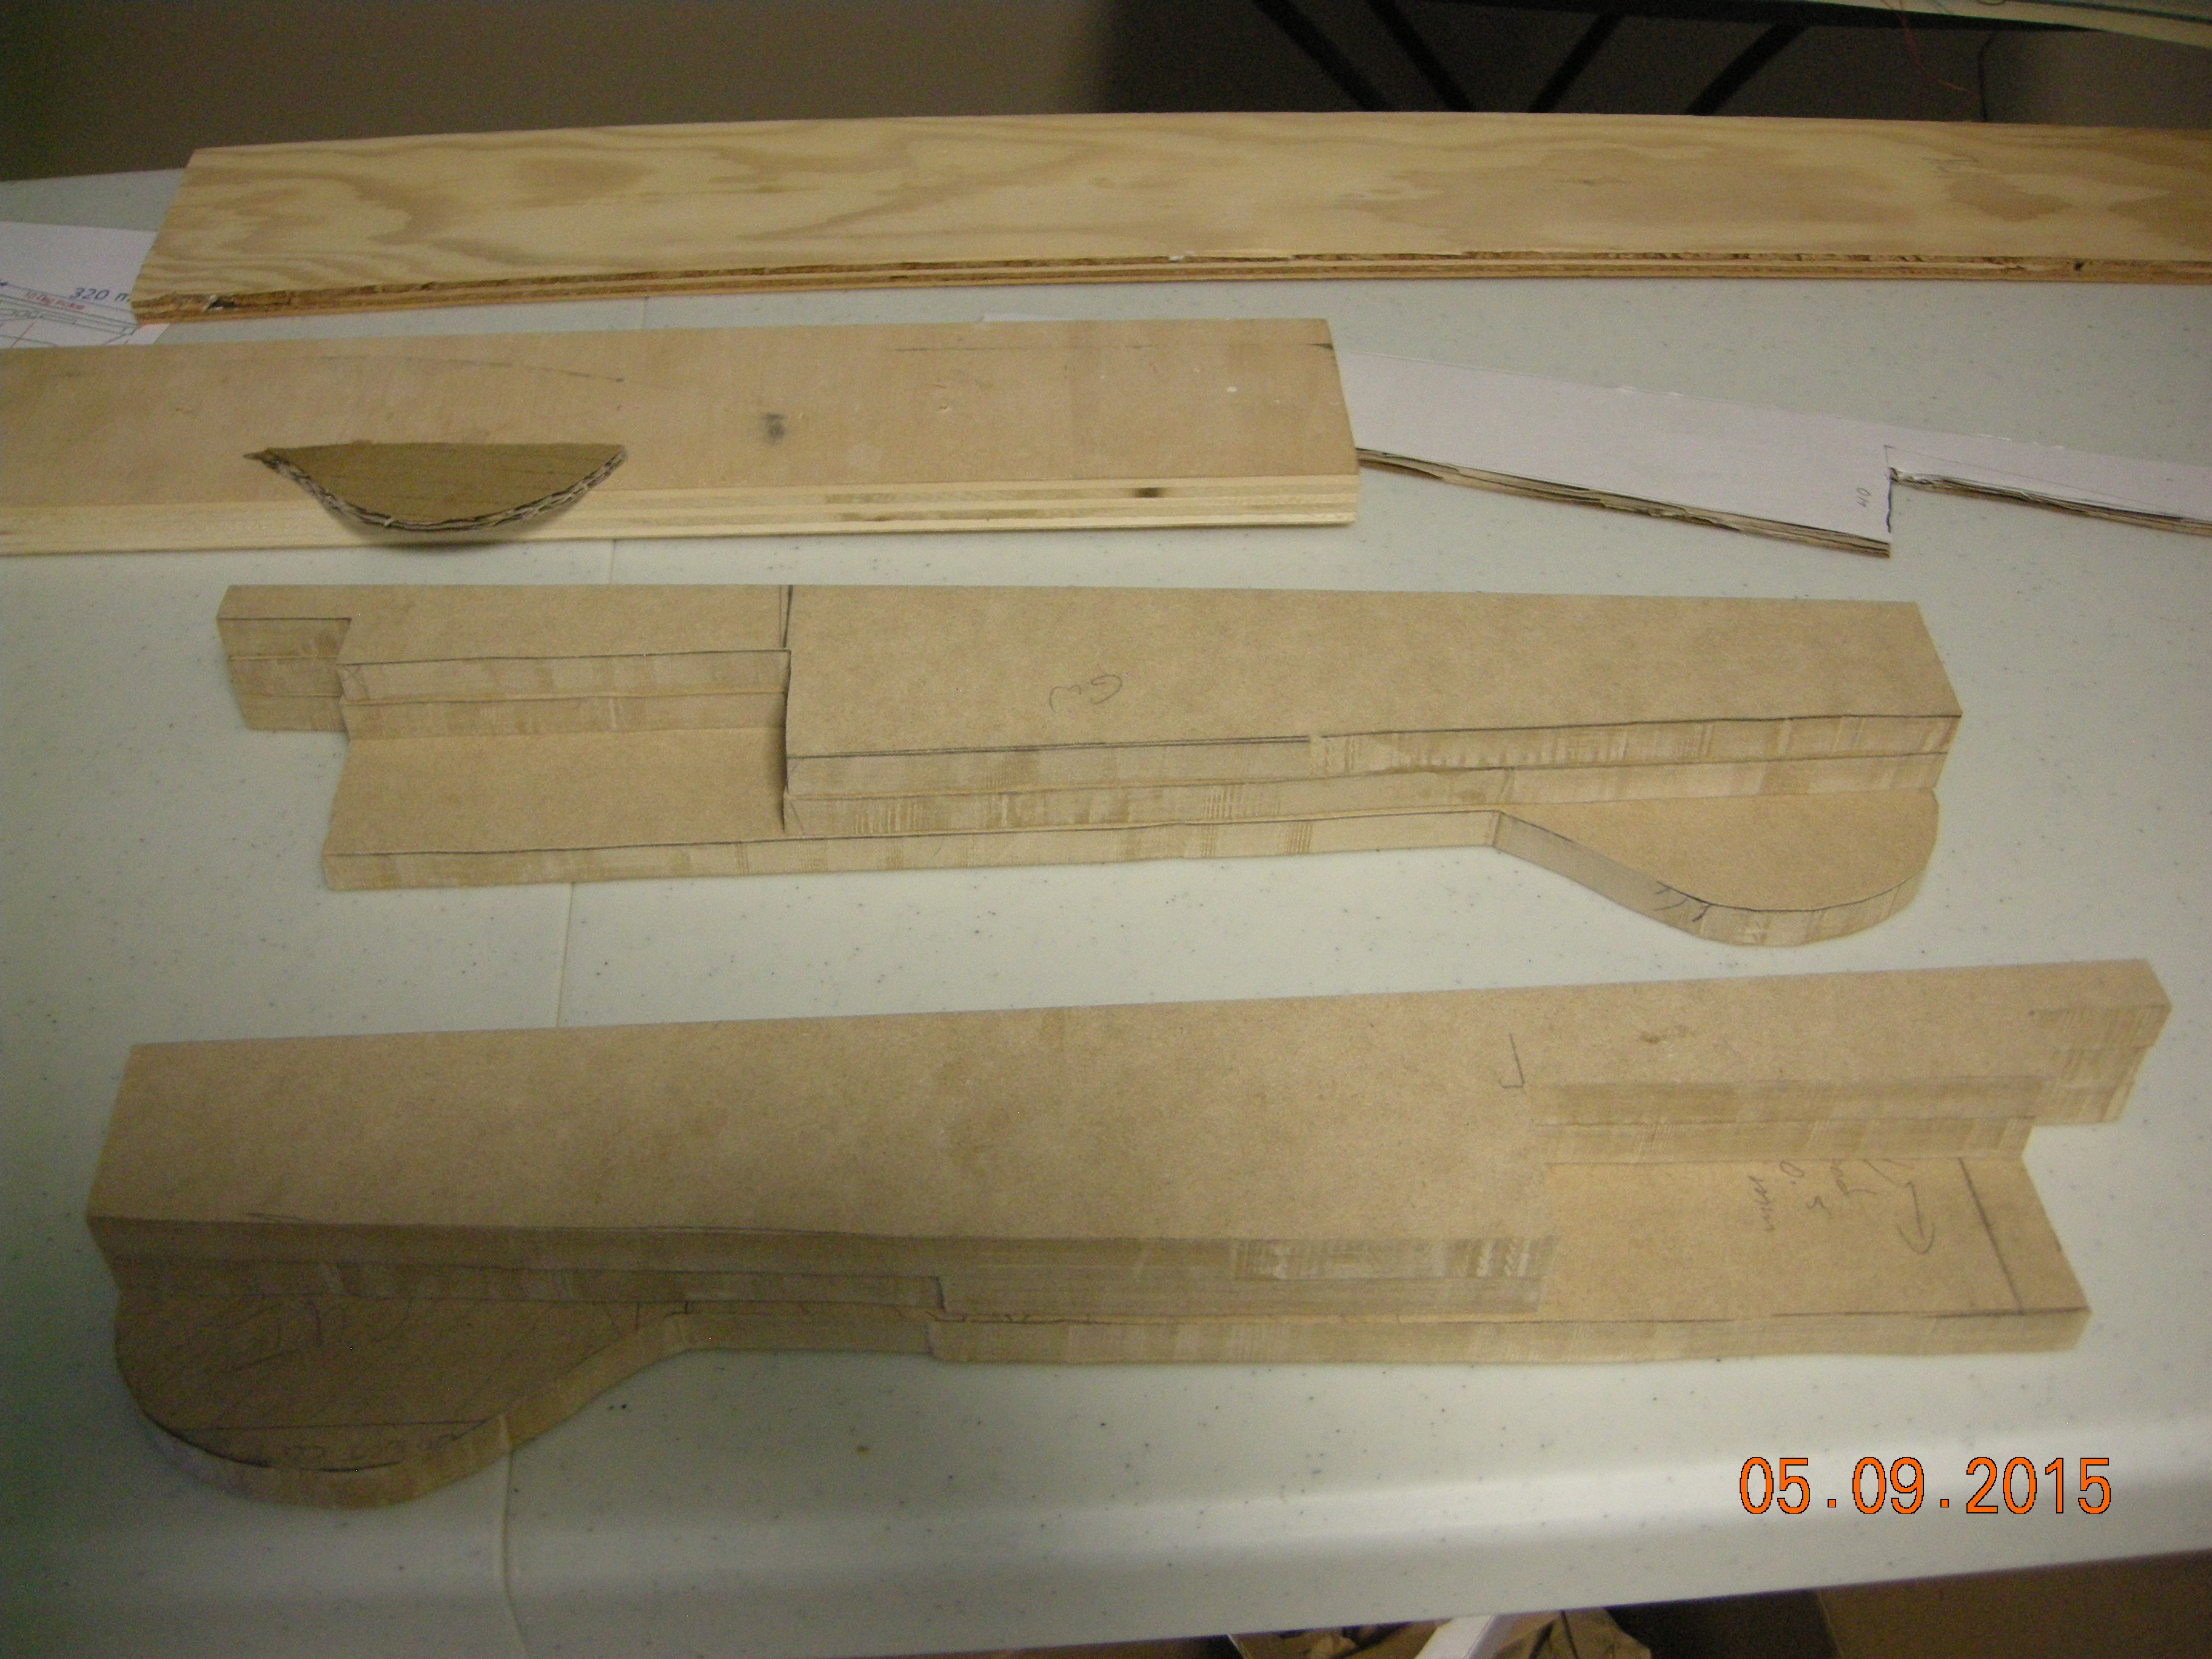
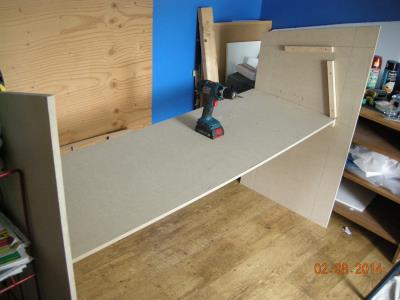
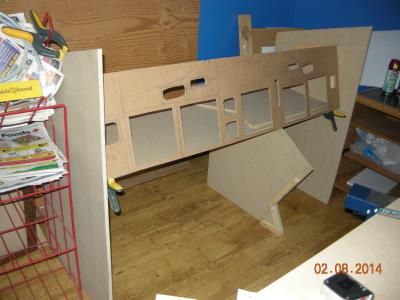
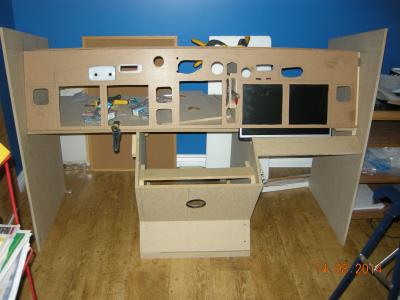
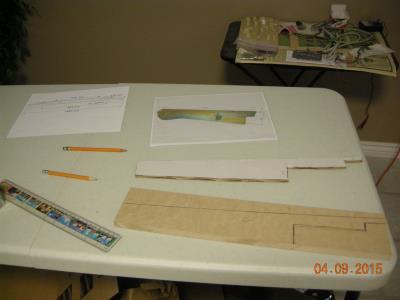
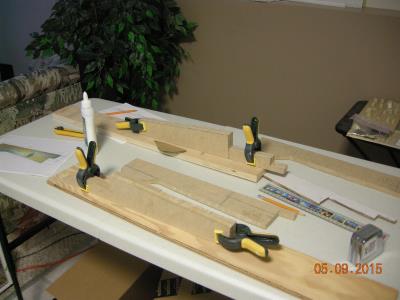
Laying out the MIP design on 1/8 inch hardboard
| 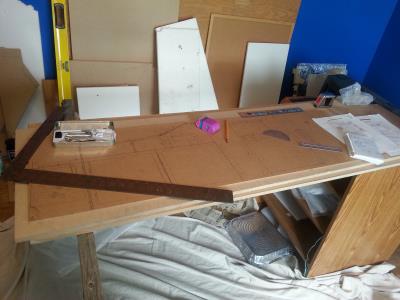
Carefully drawn out from Marcus Pilot.com measurements
|

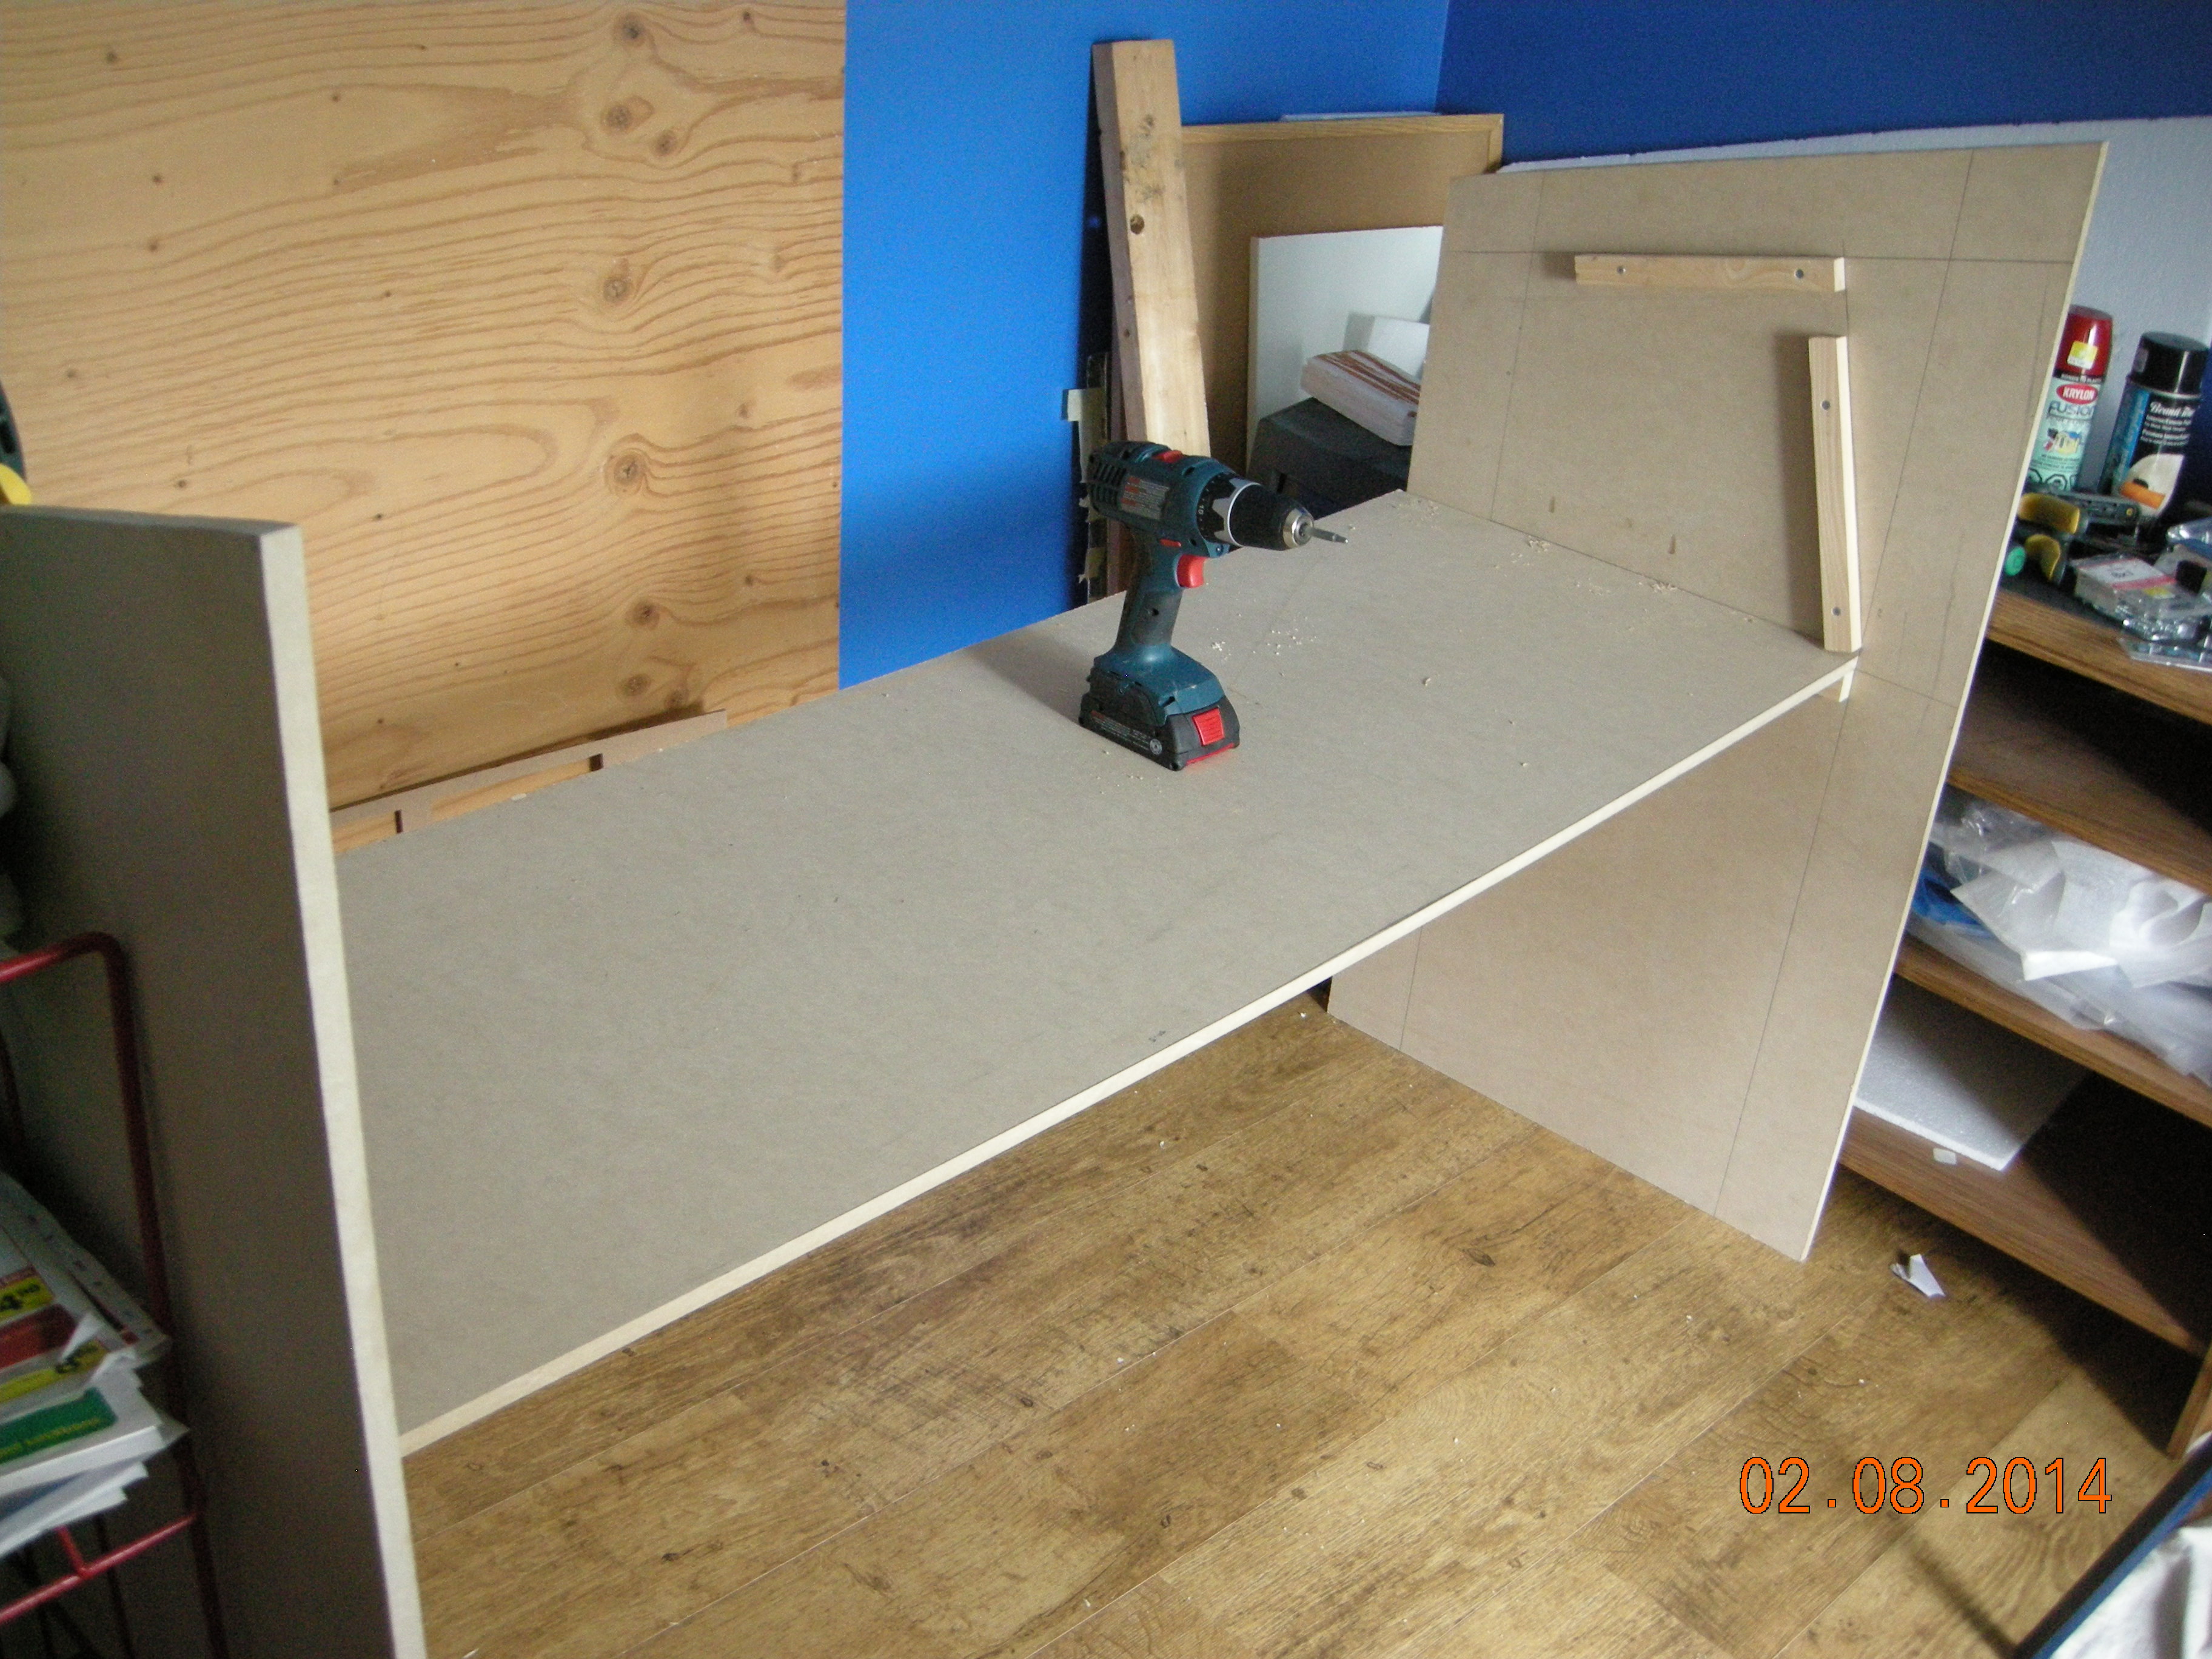
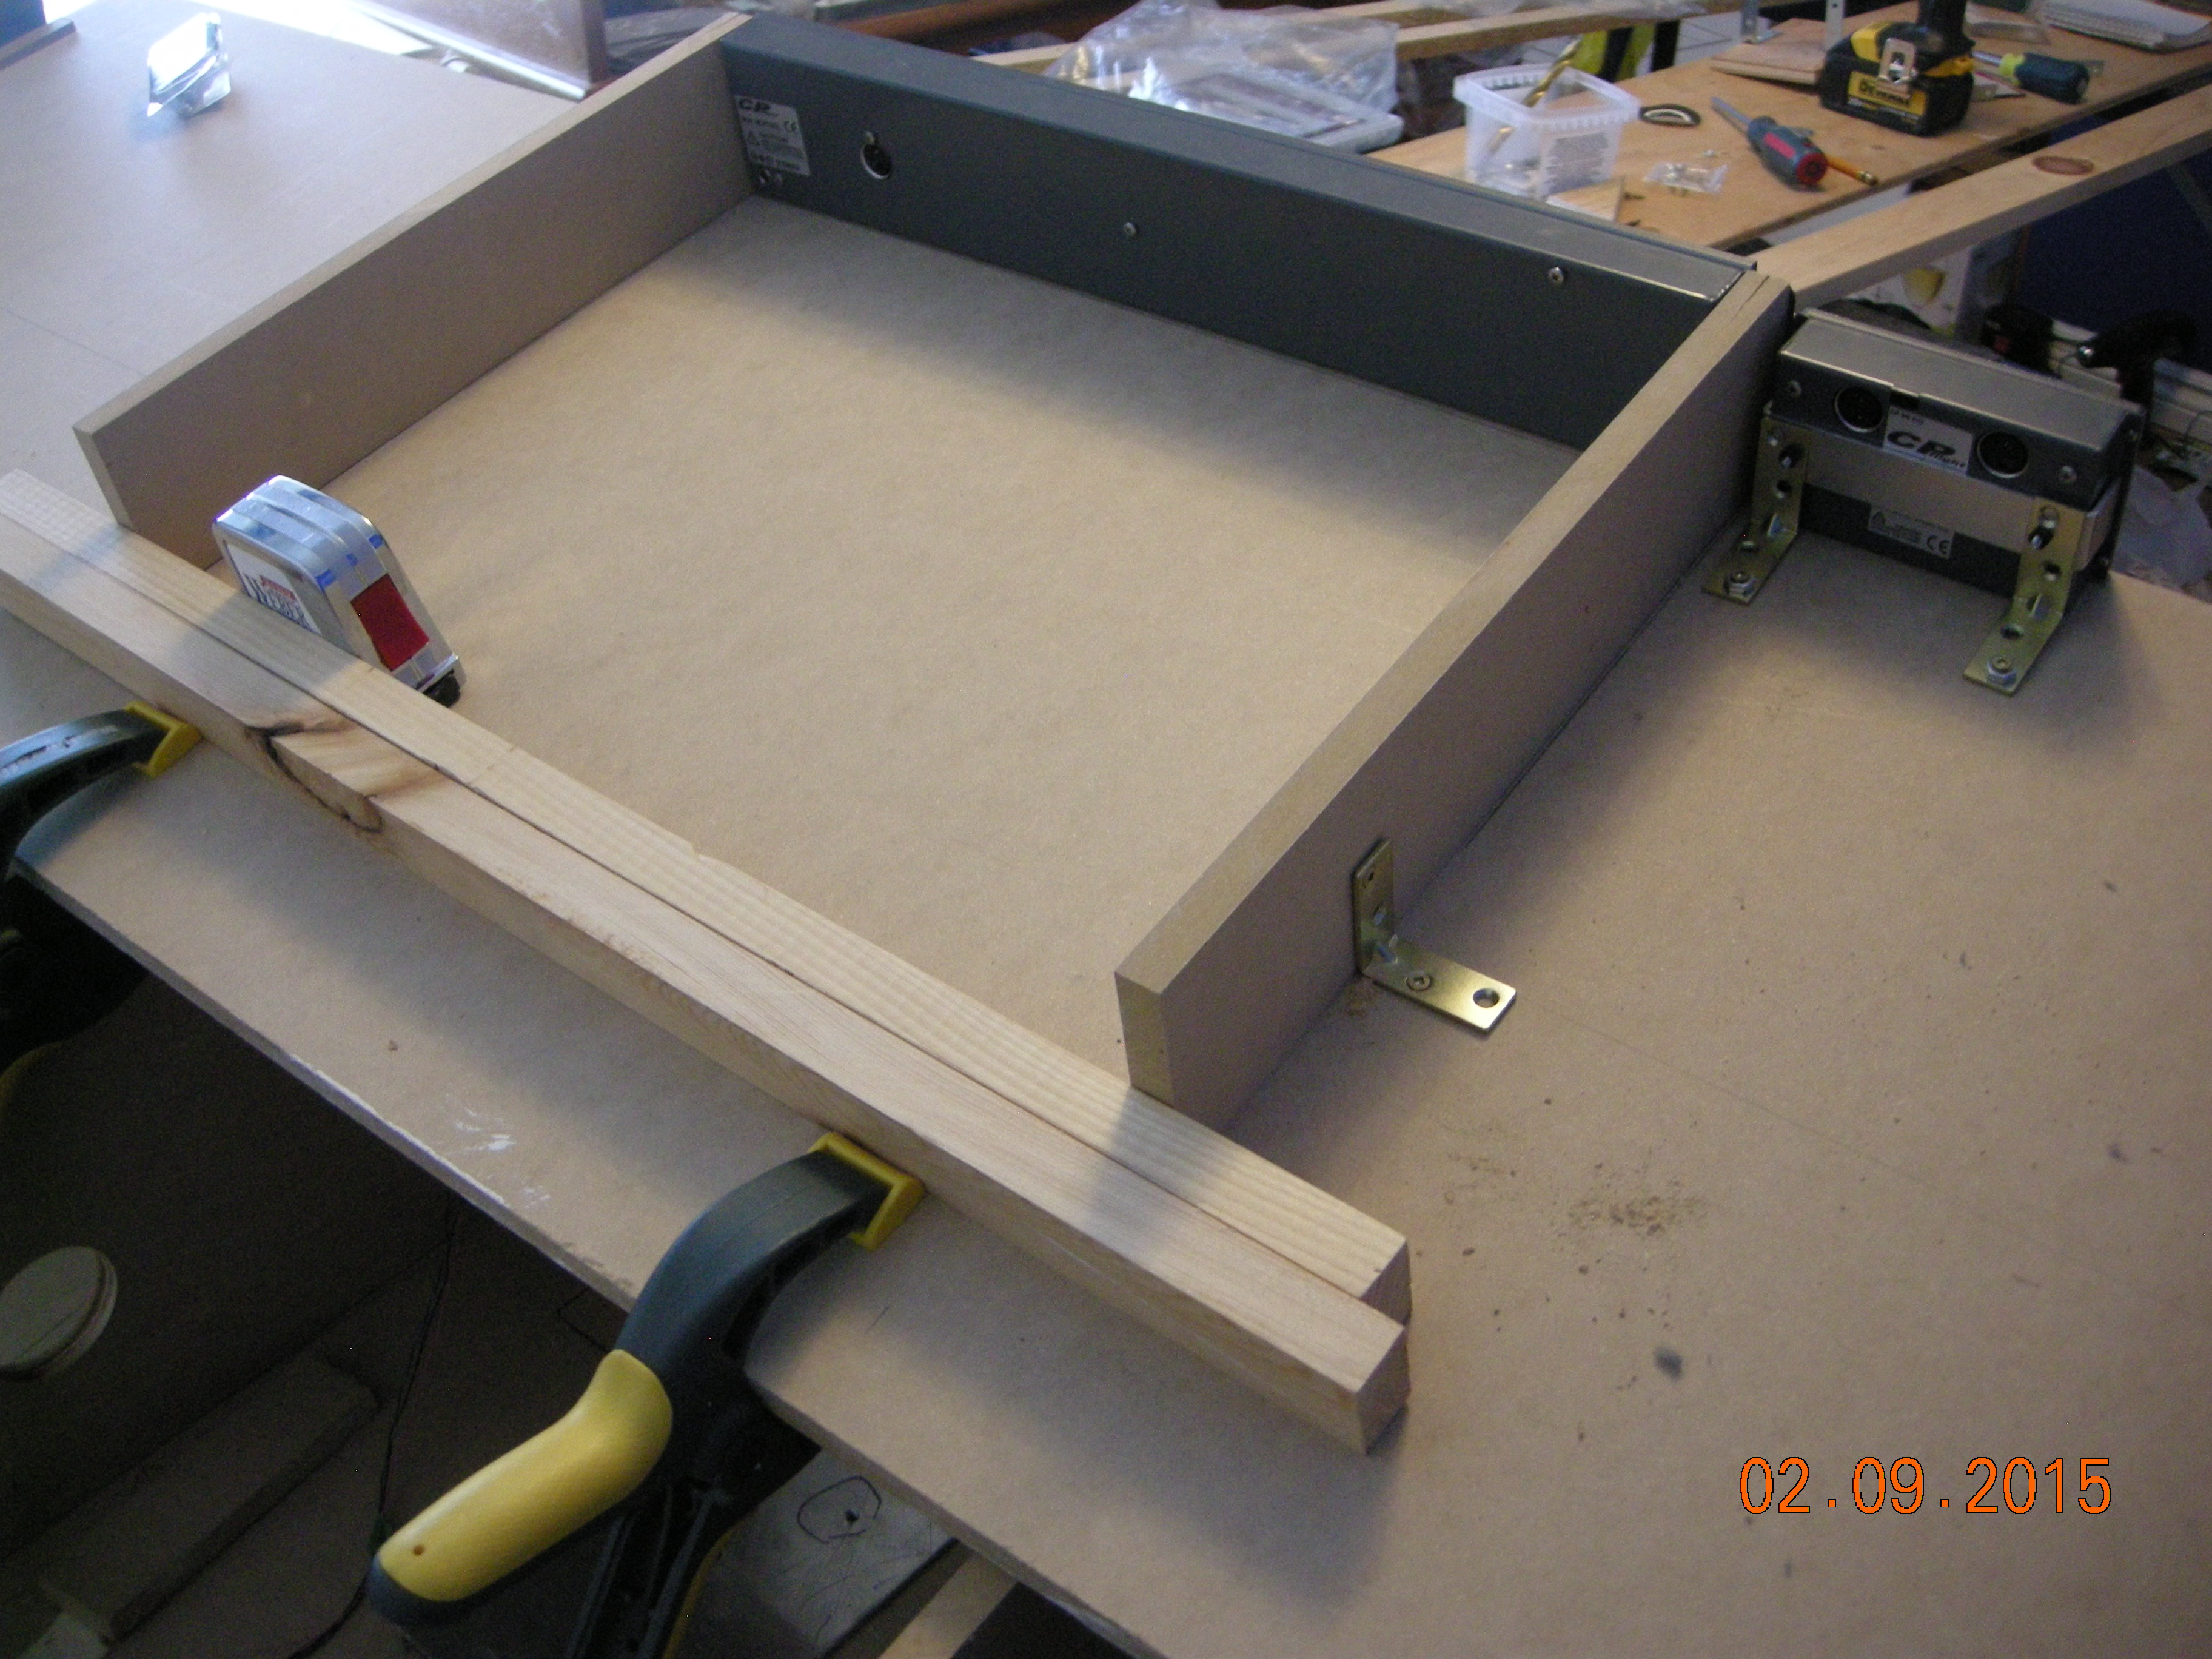
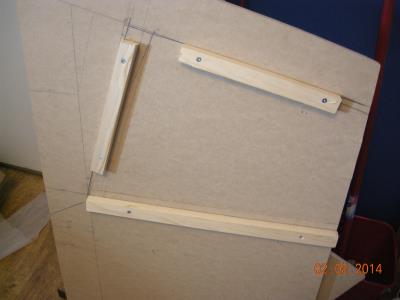
1/2 by 1 inch panel supports, screwed and glued in place.
| 
Many will recognize the plans from Peter's "Build a Boeing" site.
|
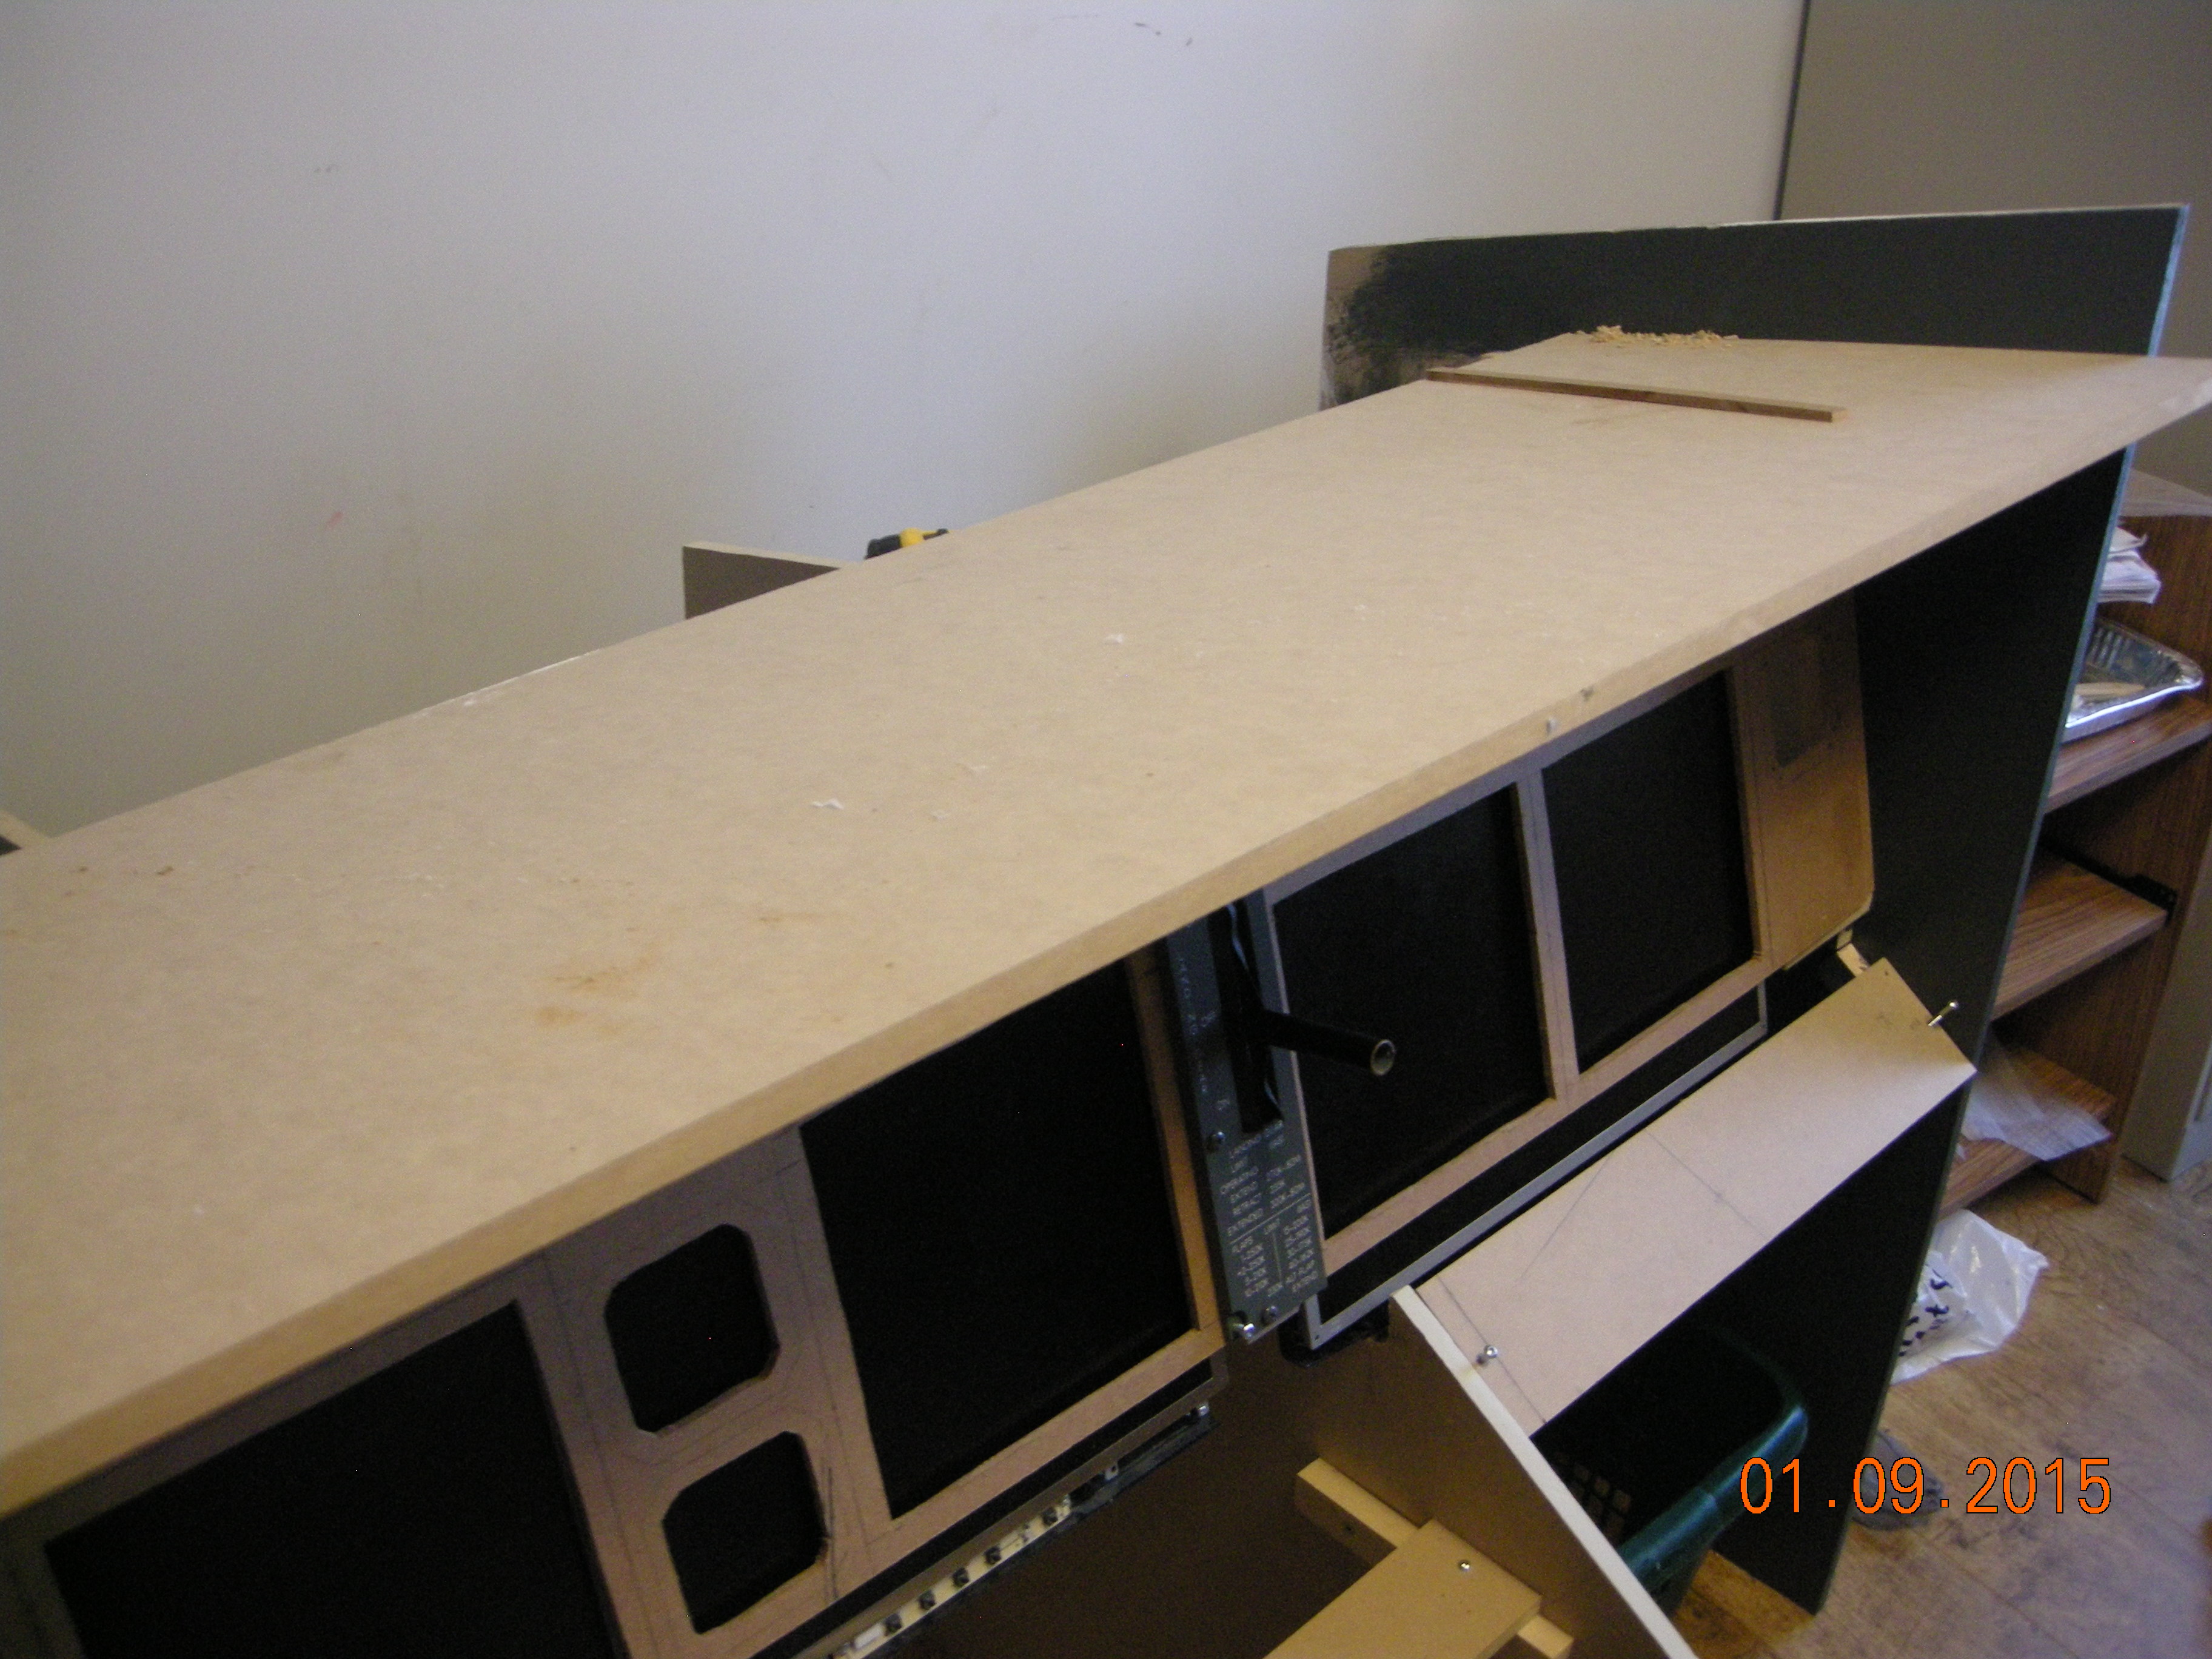
Port side of MIP stand
| 
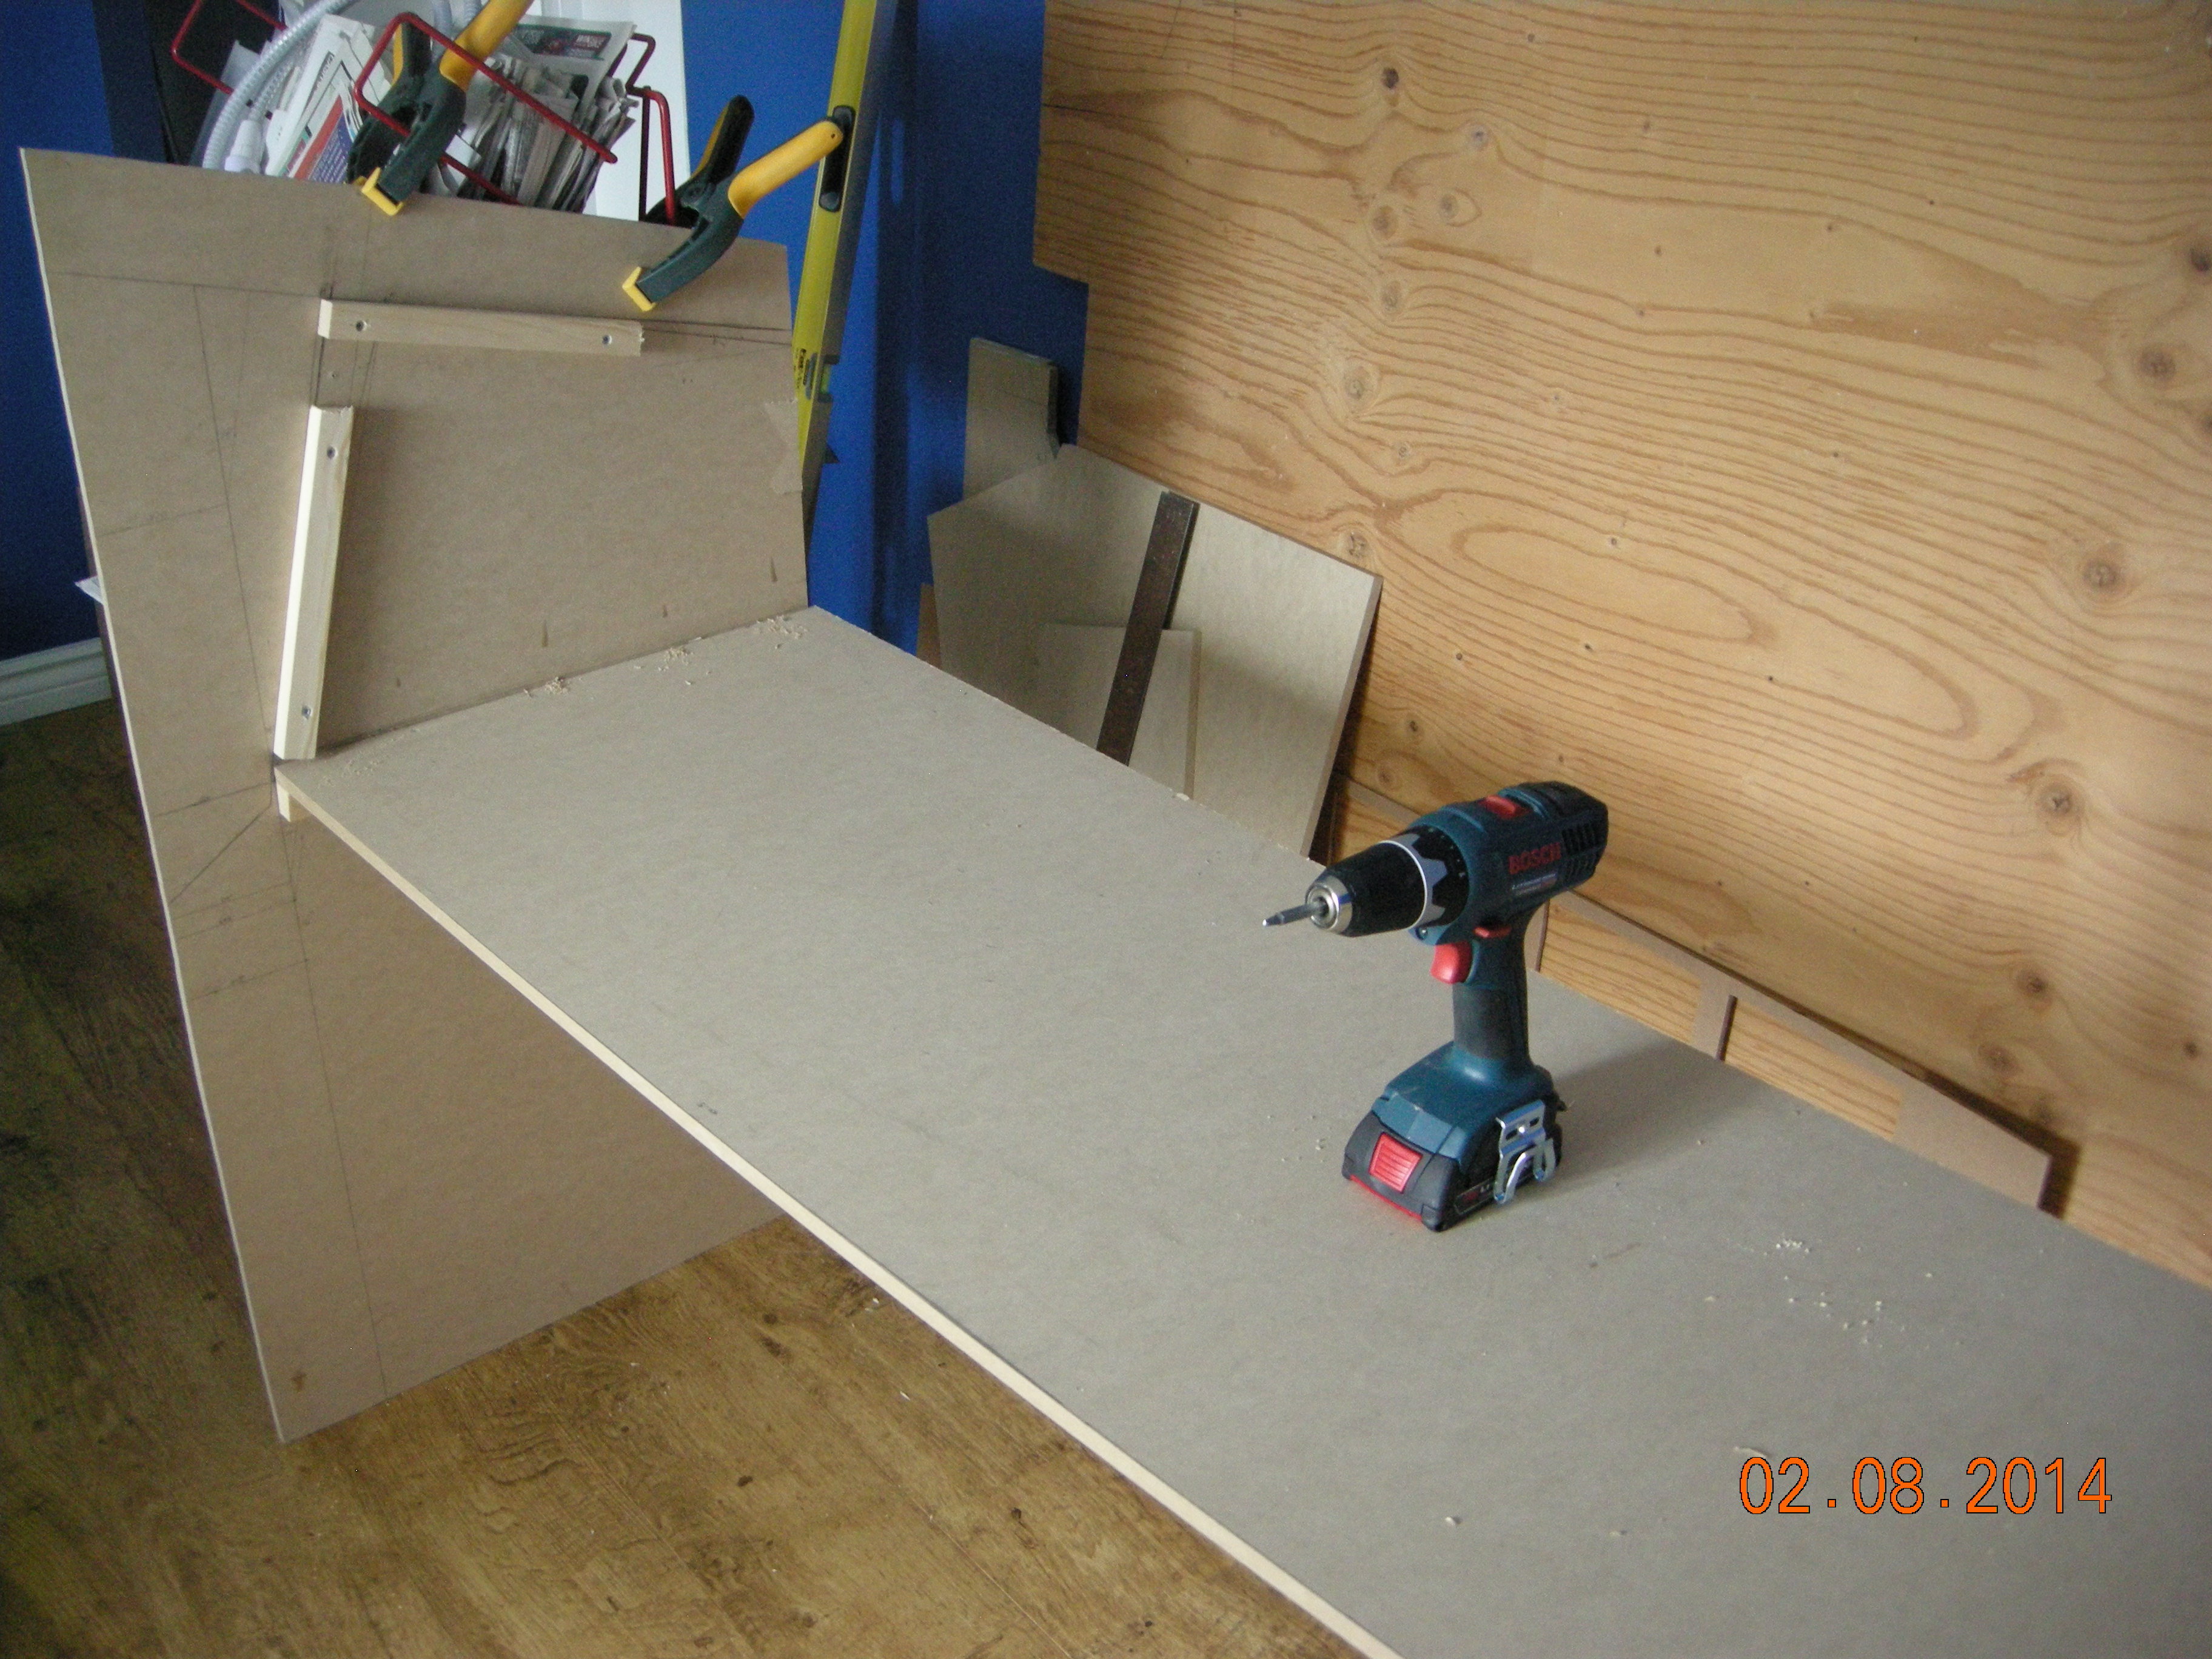
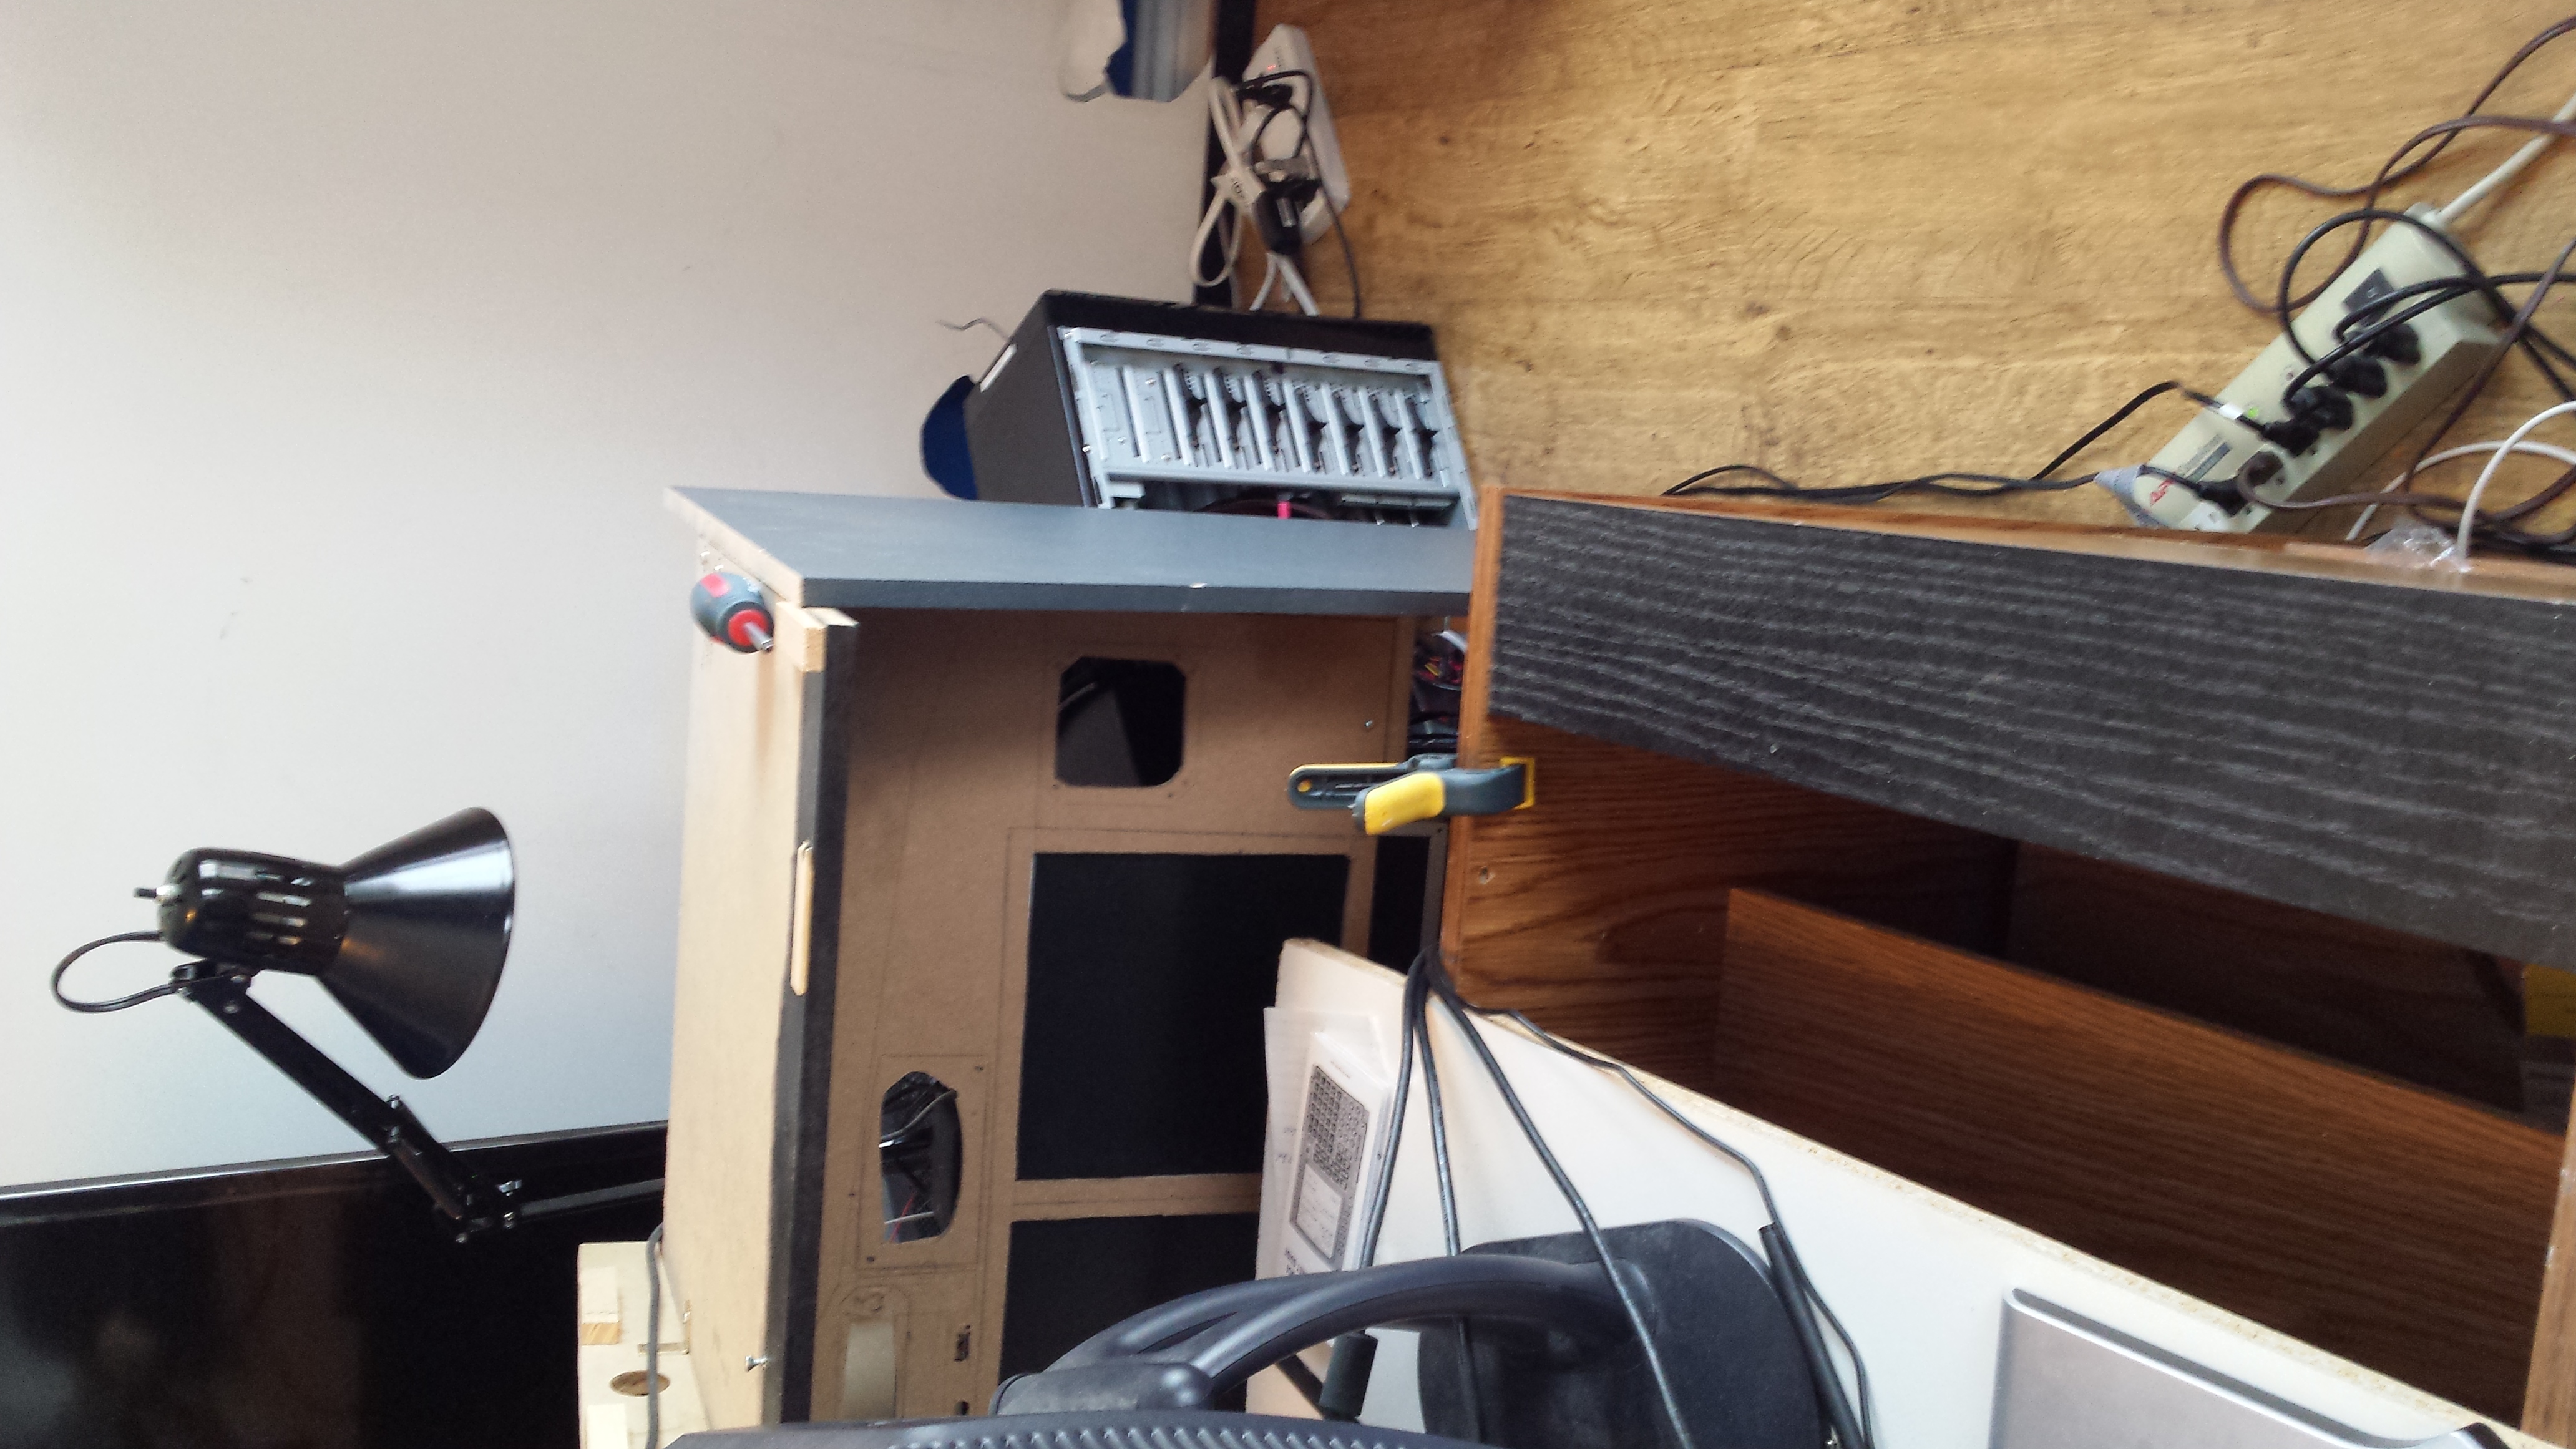
Both ends of stand in place. Base attached. Be sure to support the structure.
|

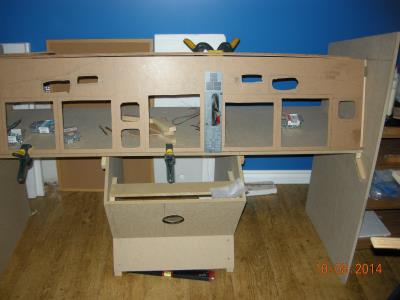
Port side of MIP stand fastened in place
| 
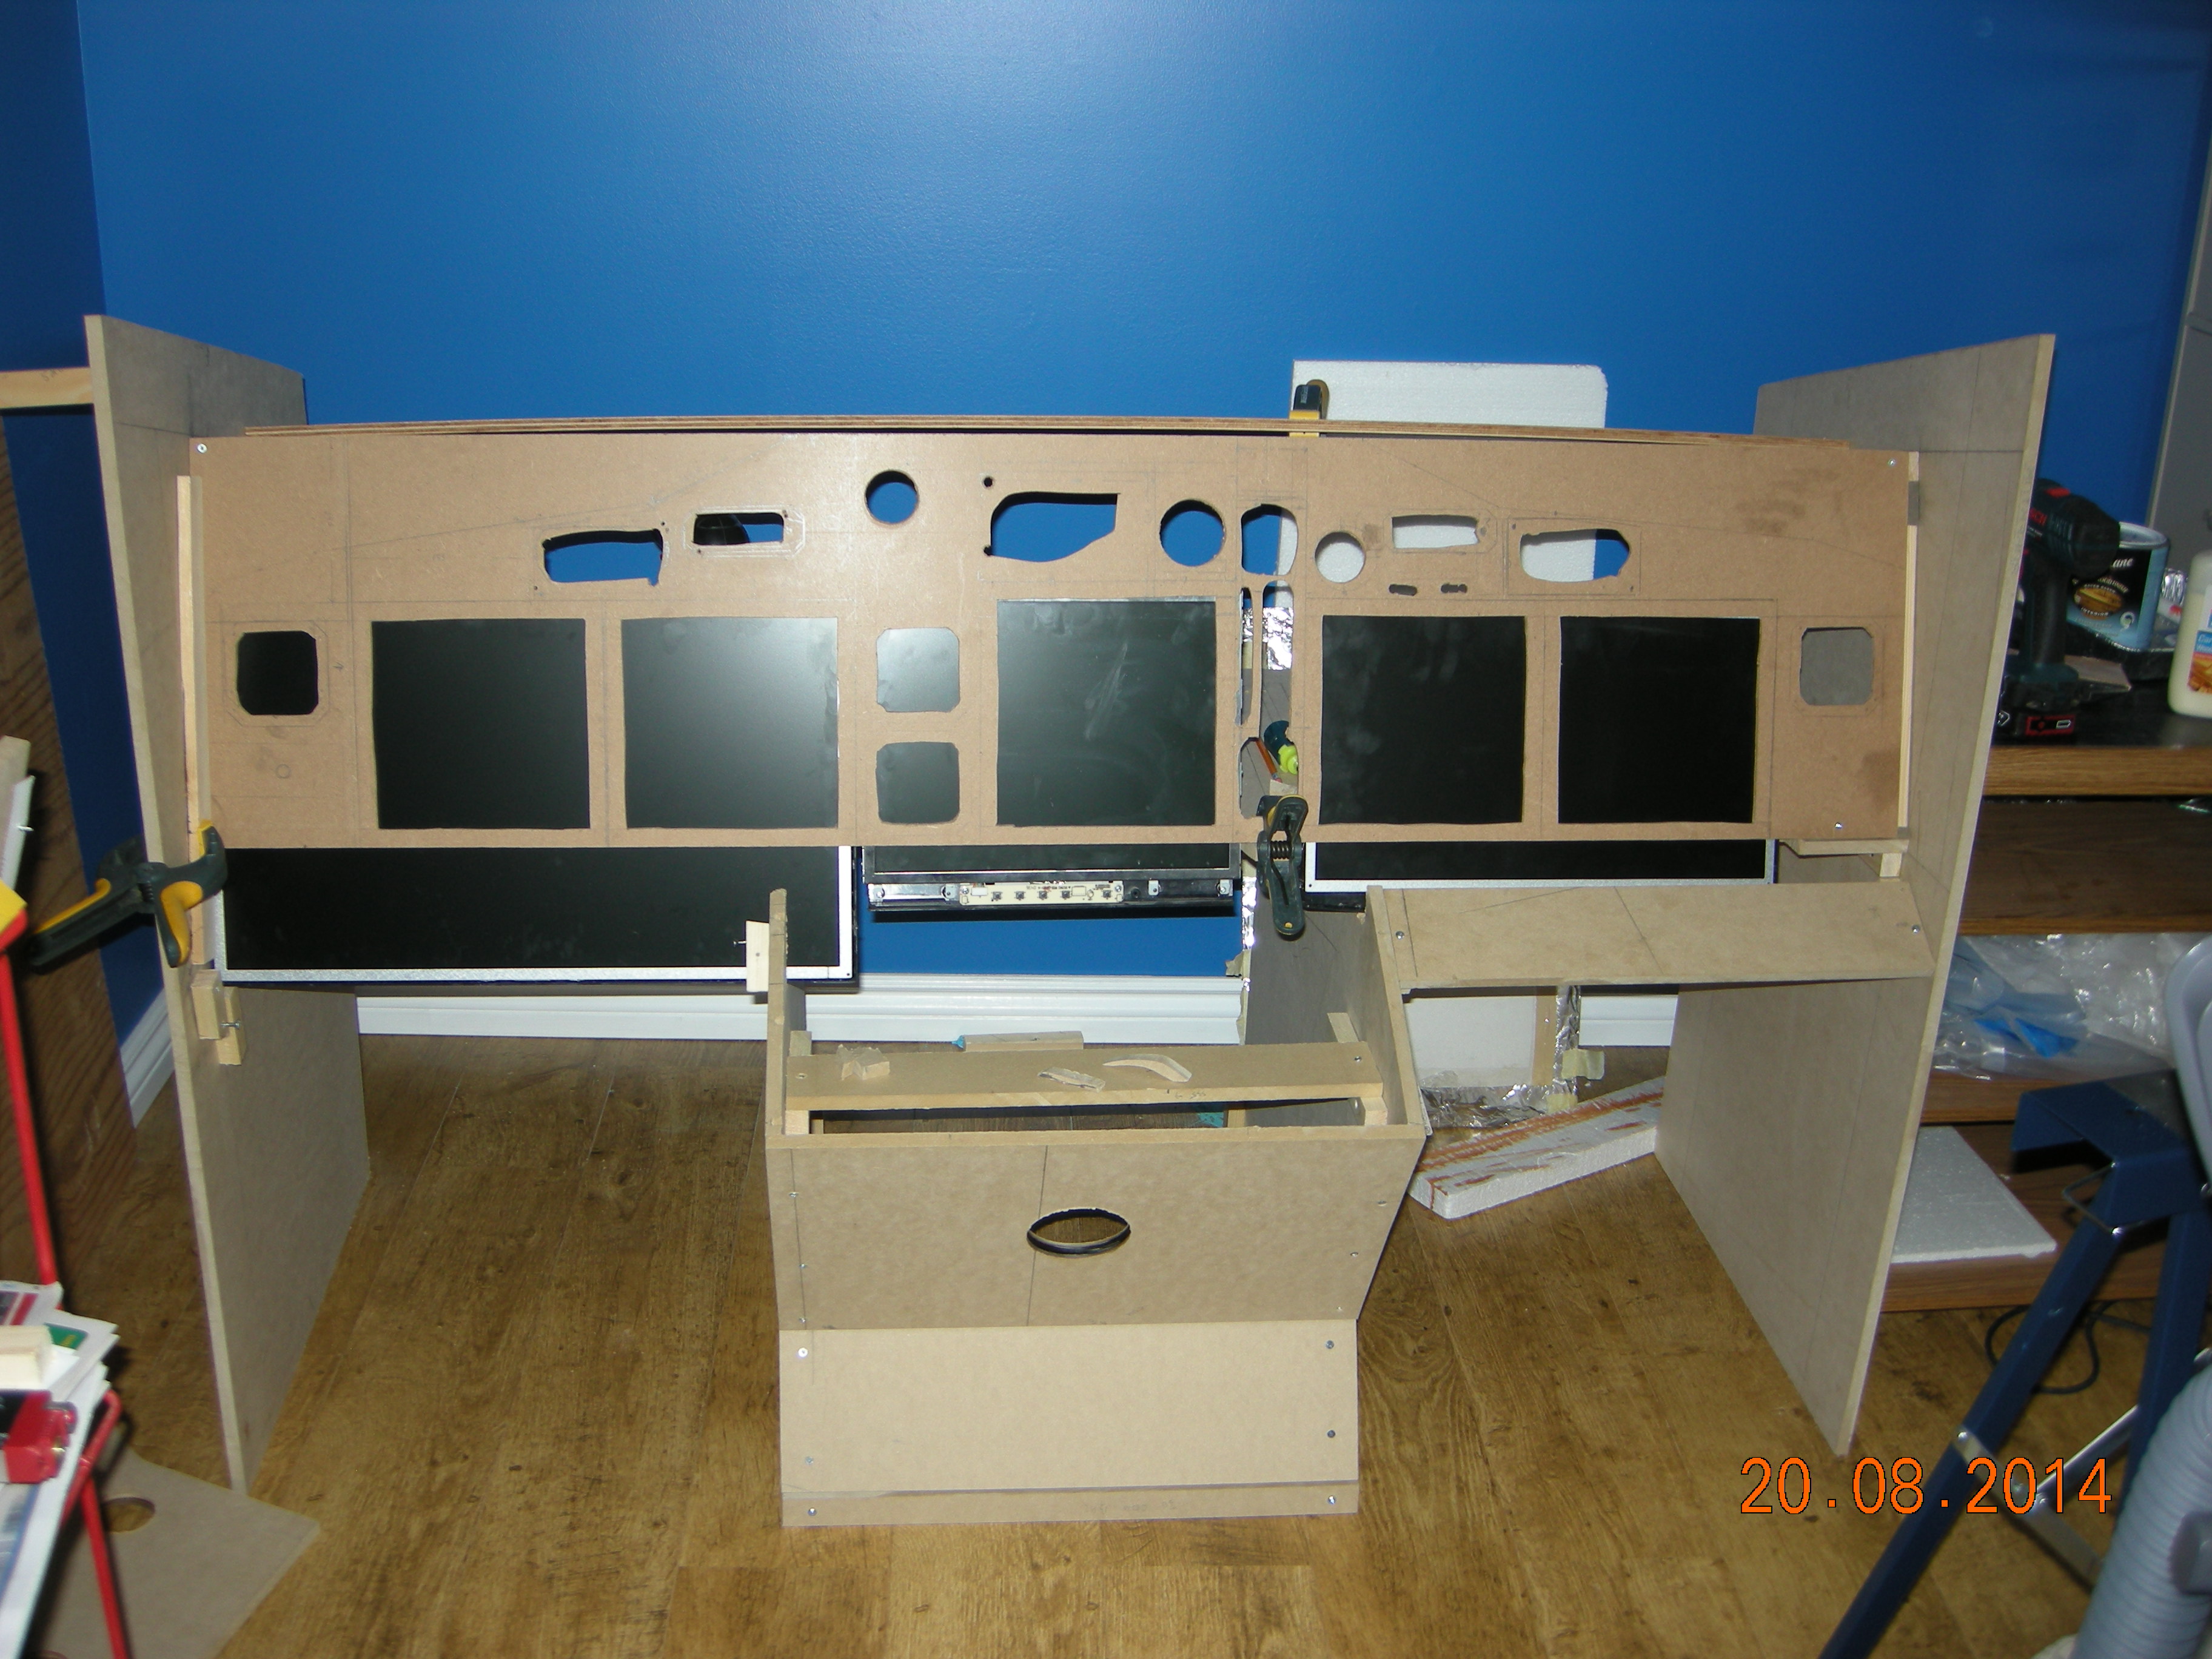
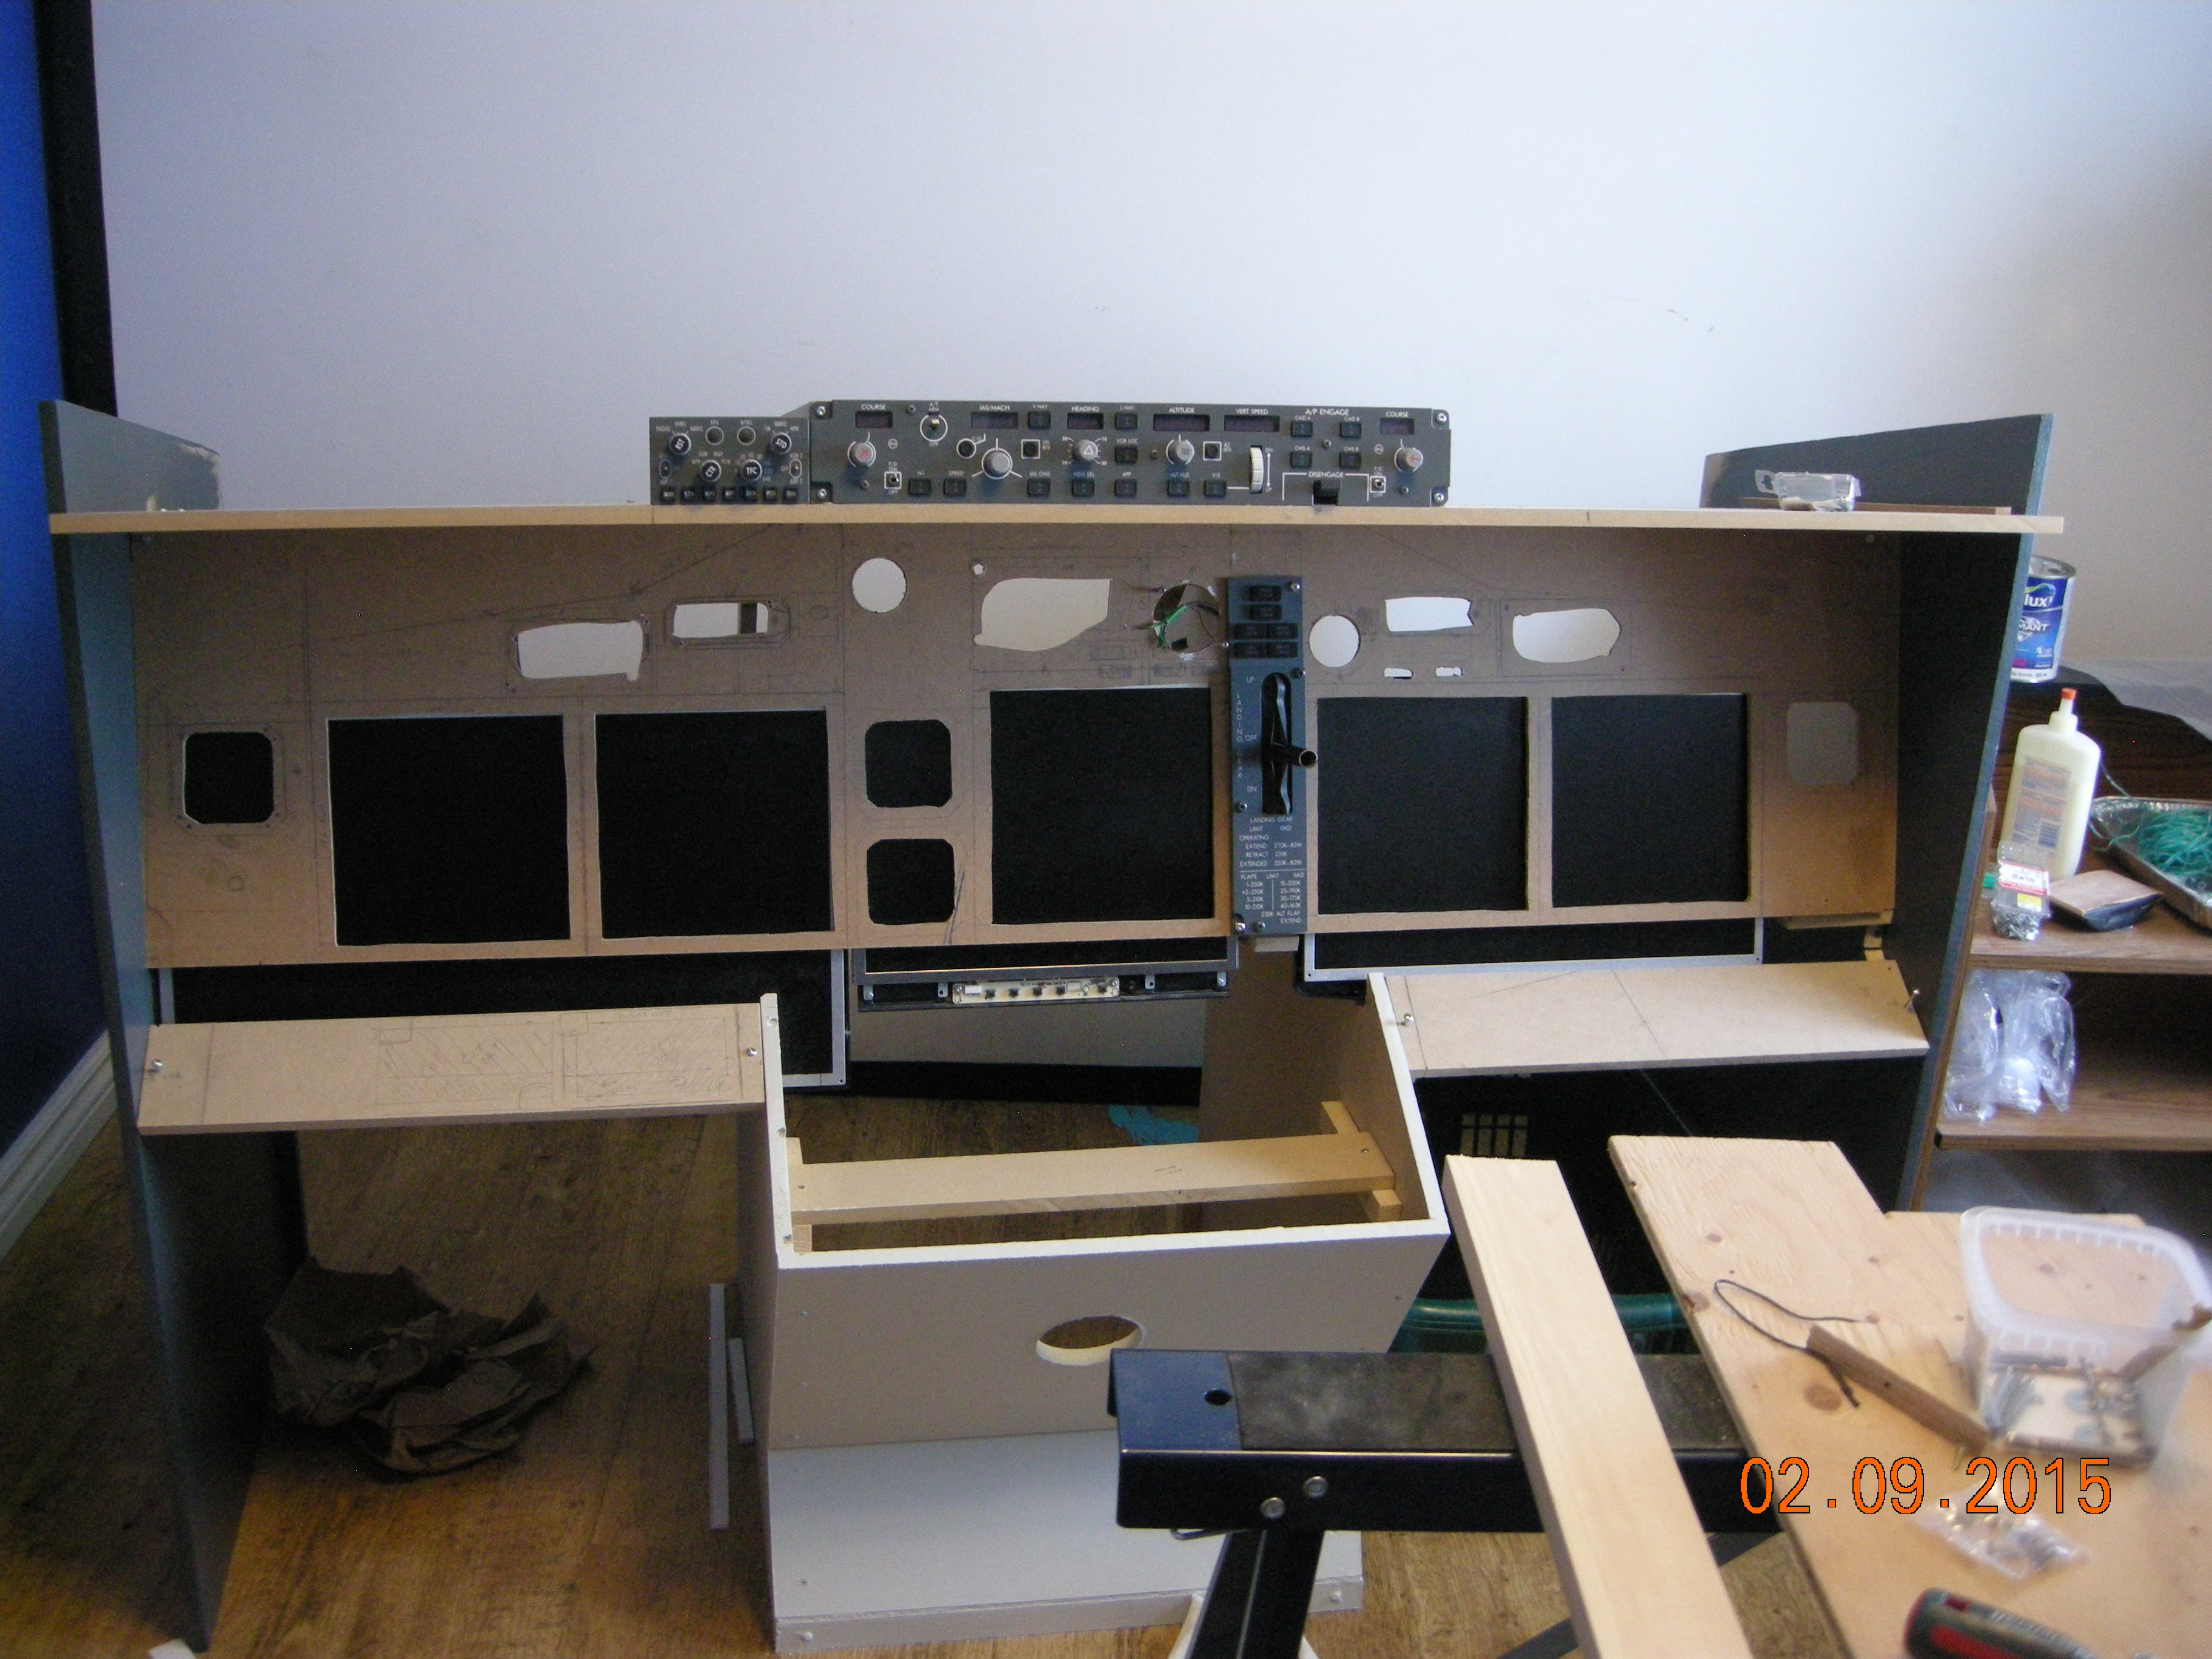
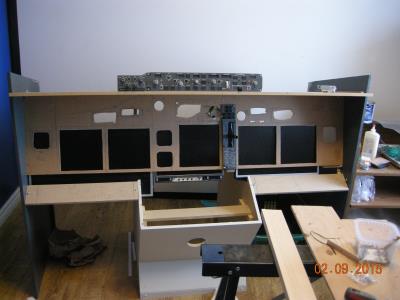
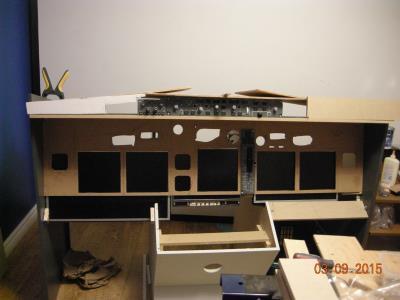
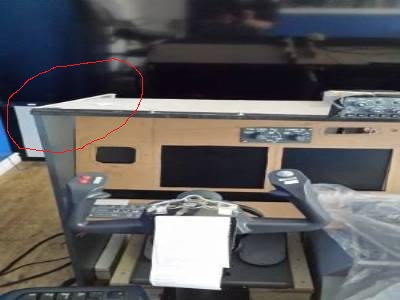
MIP panel temporarily in place. Base is resting on starboard side of CDU Bay.
|
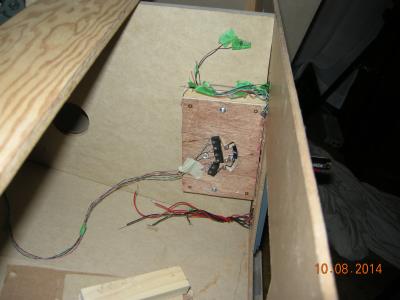
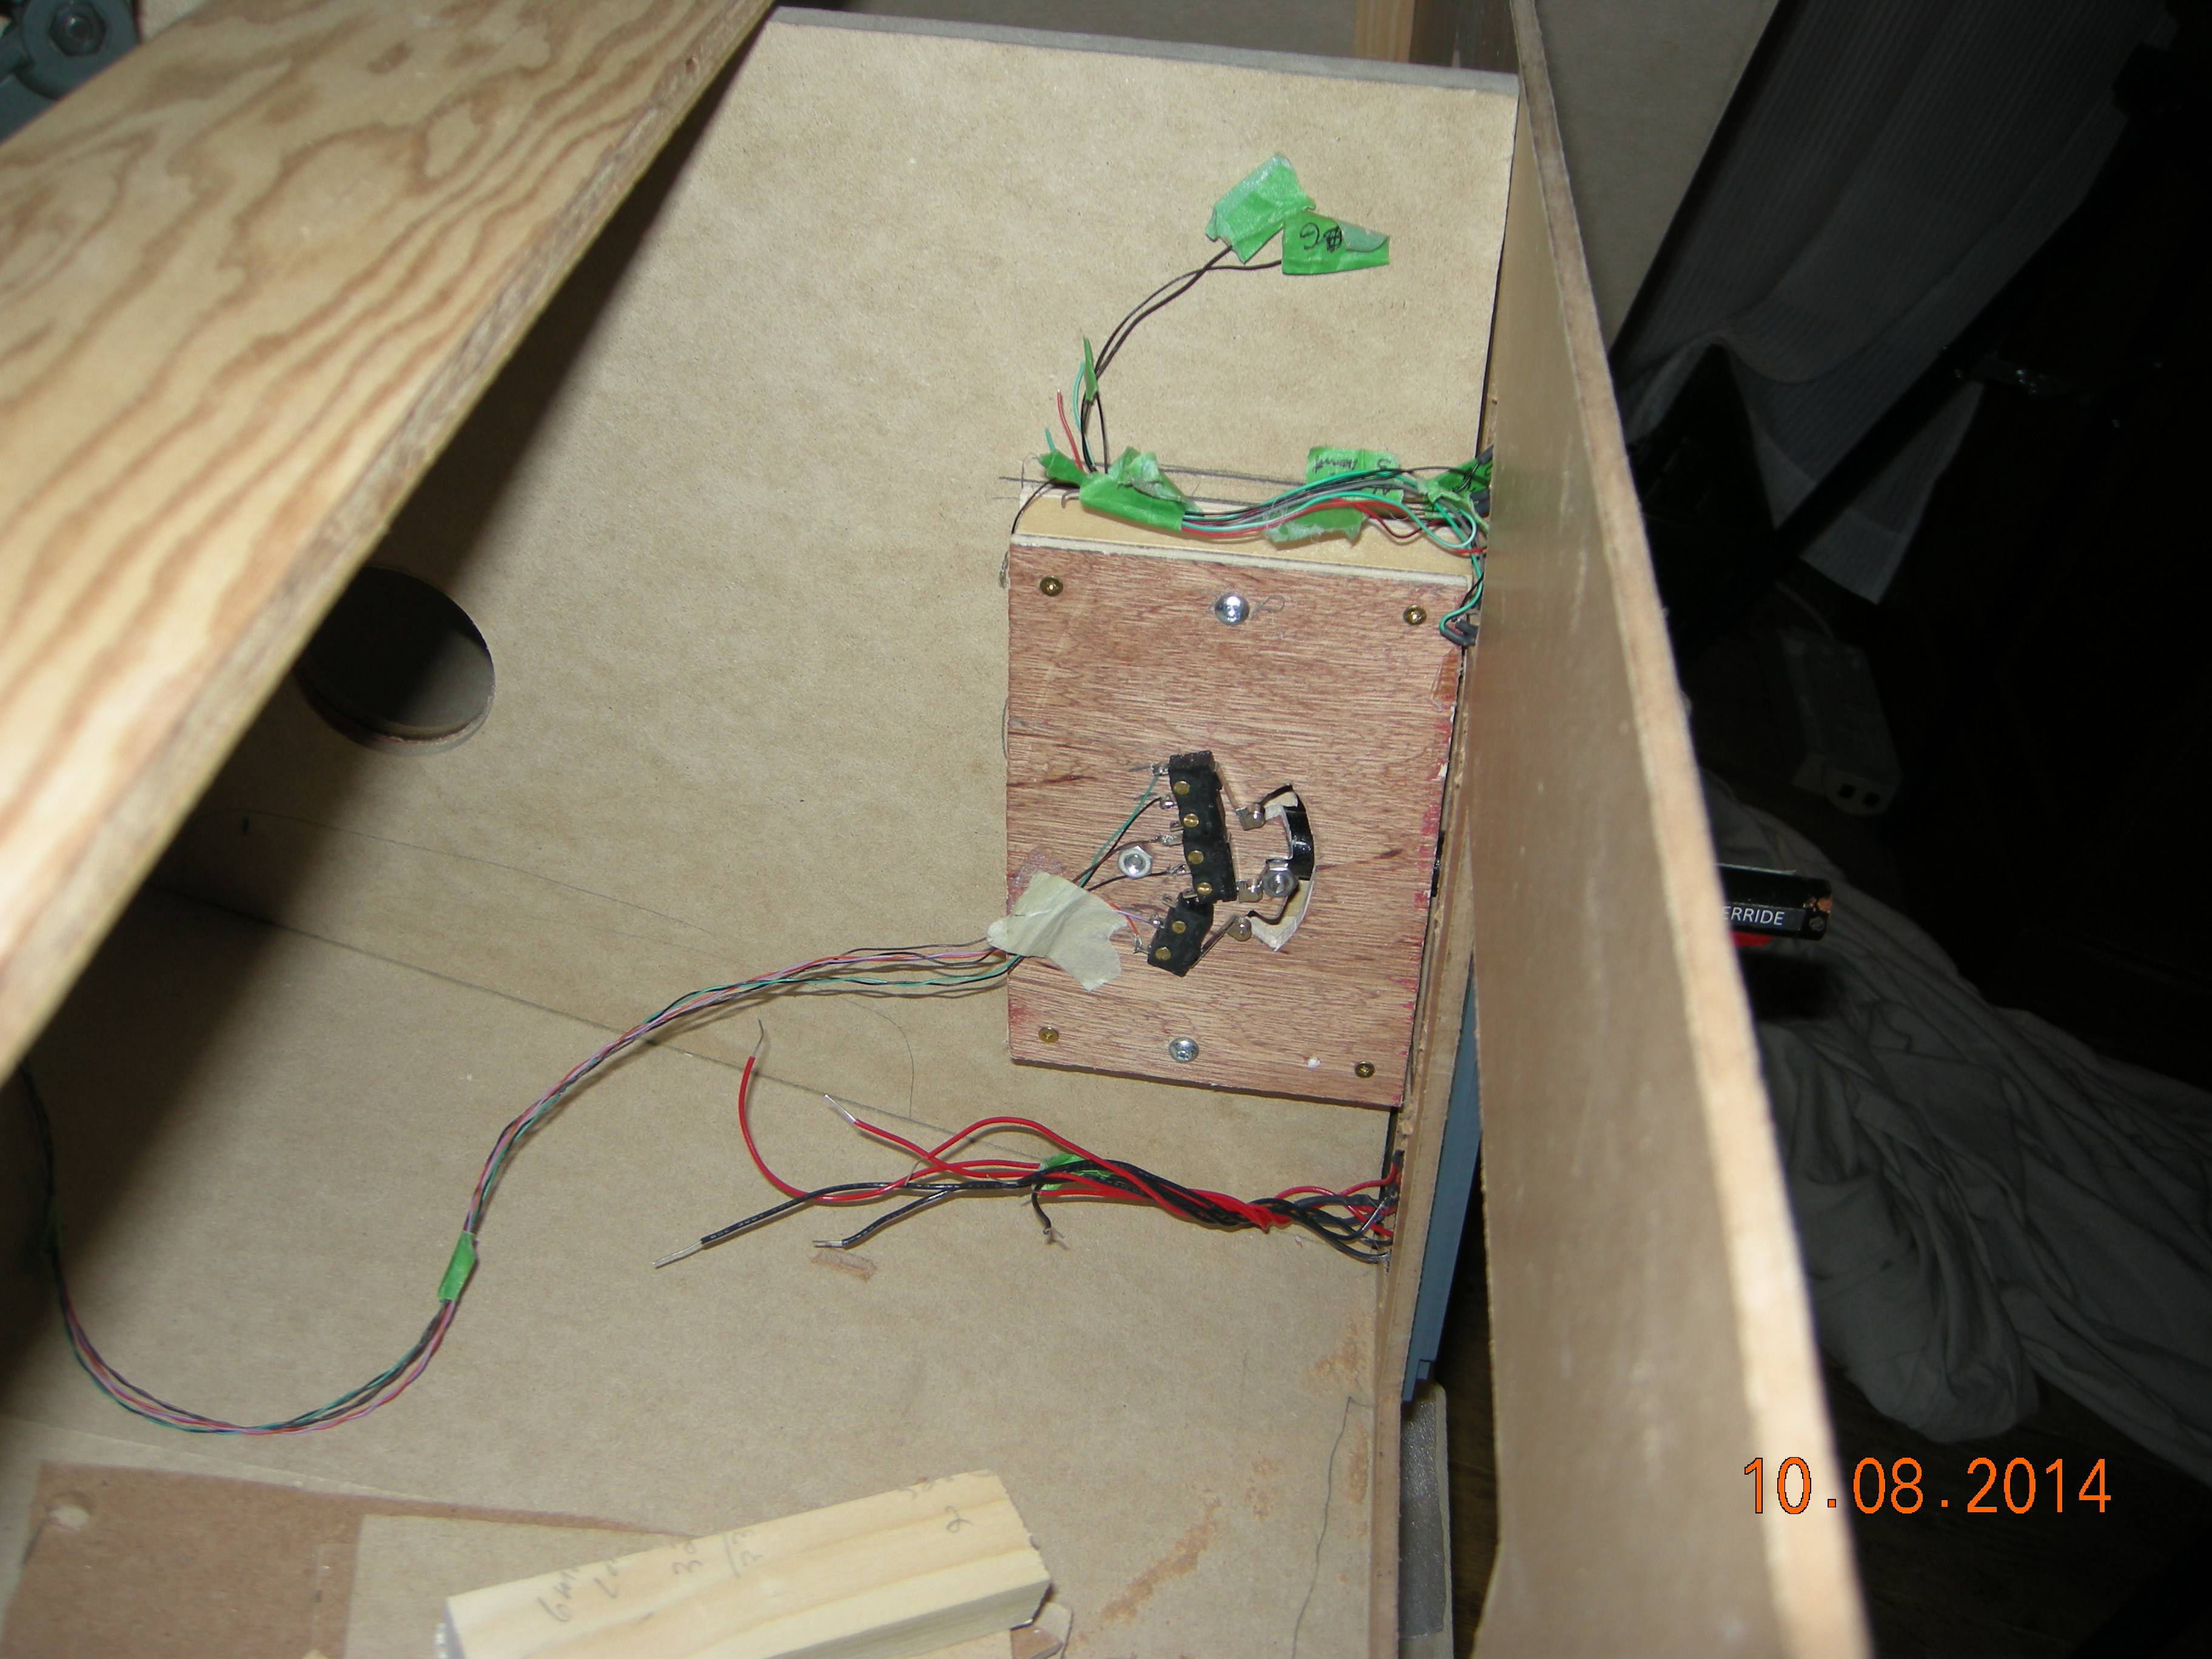
Mounted back side of Landing Gear. Several screws.
| 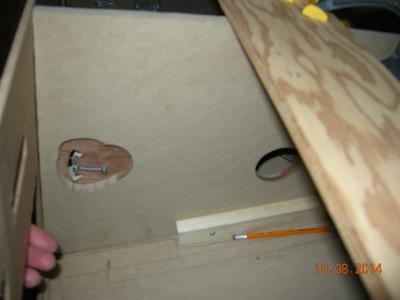
Had to cut a hole for protruding hardware..
|
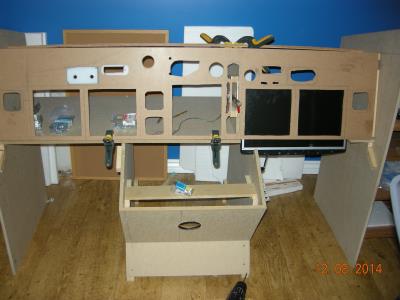
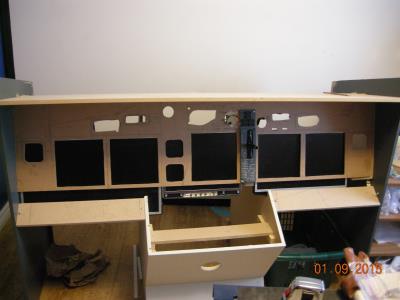
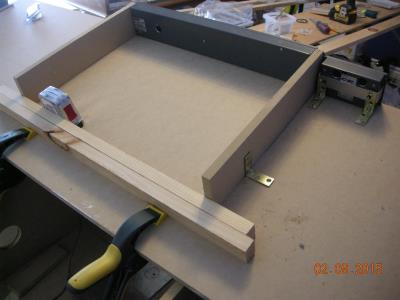
CDU Bay in place. Cuttout for Upper EICAS too big. Will correct in V2.
| 
Lining Up Landing Gear face plate.
|
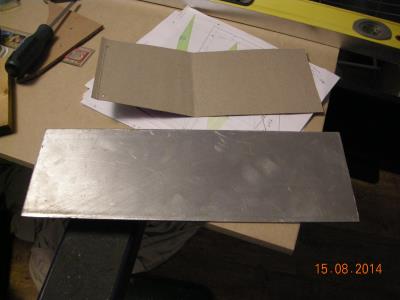
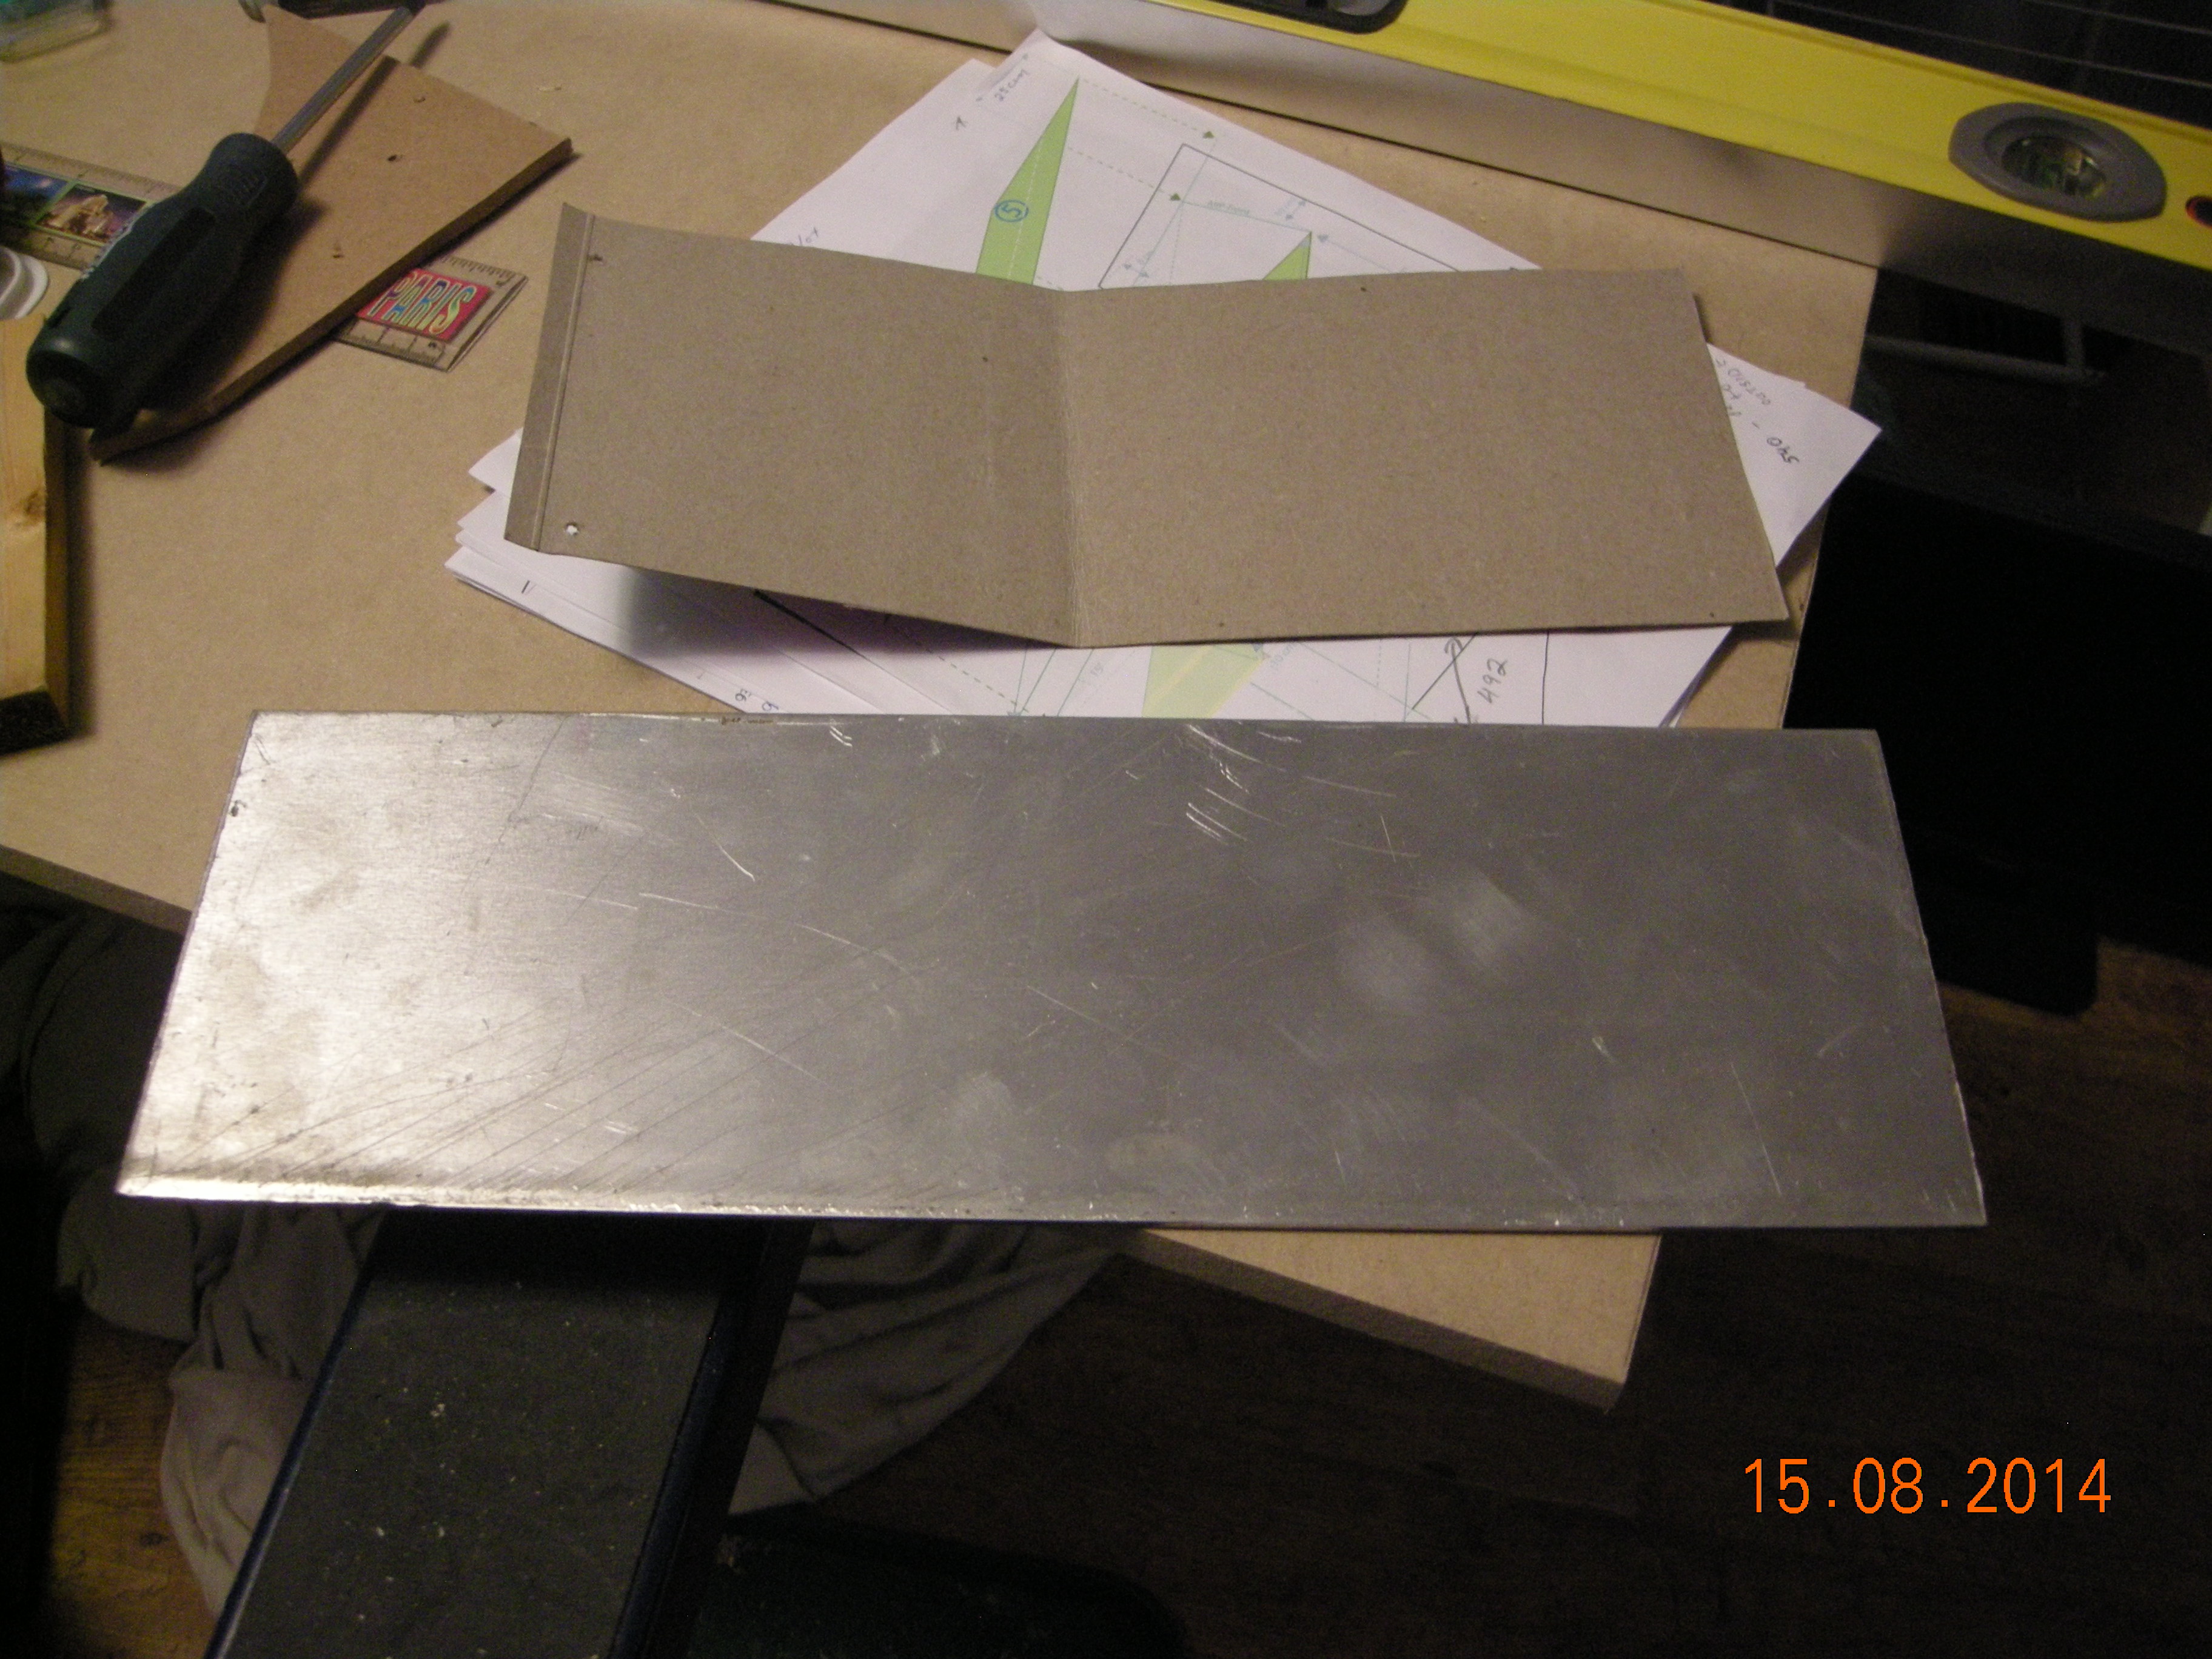
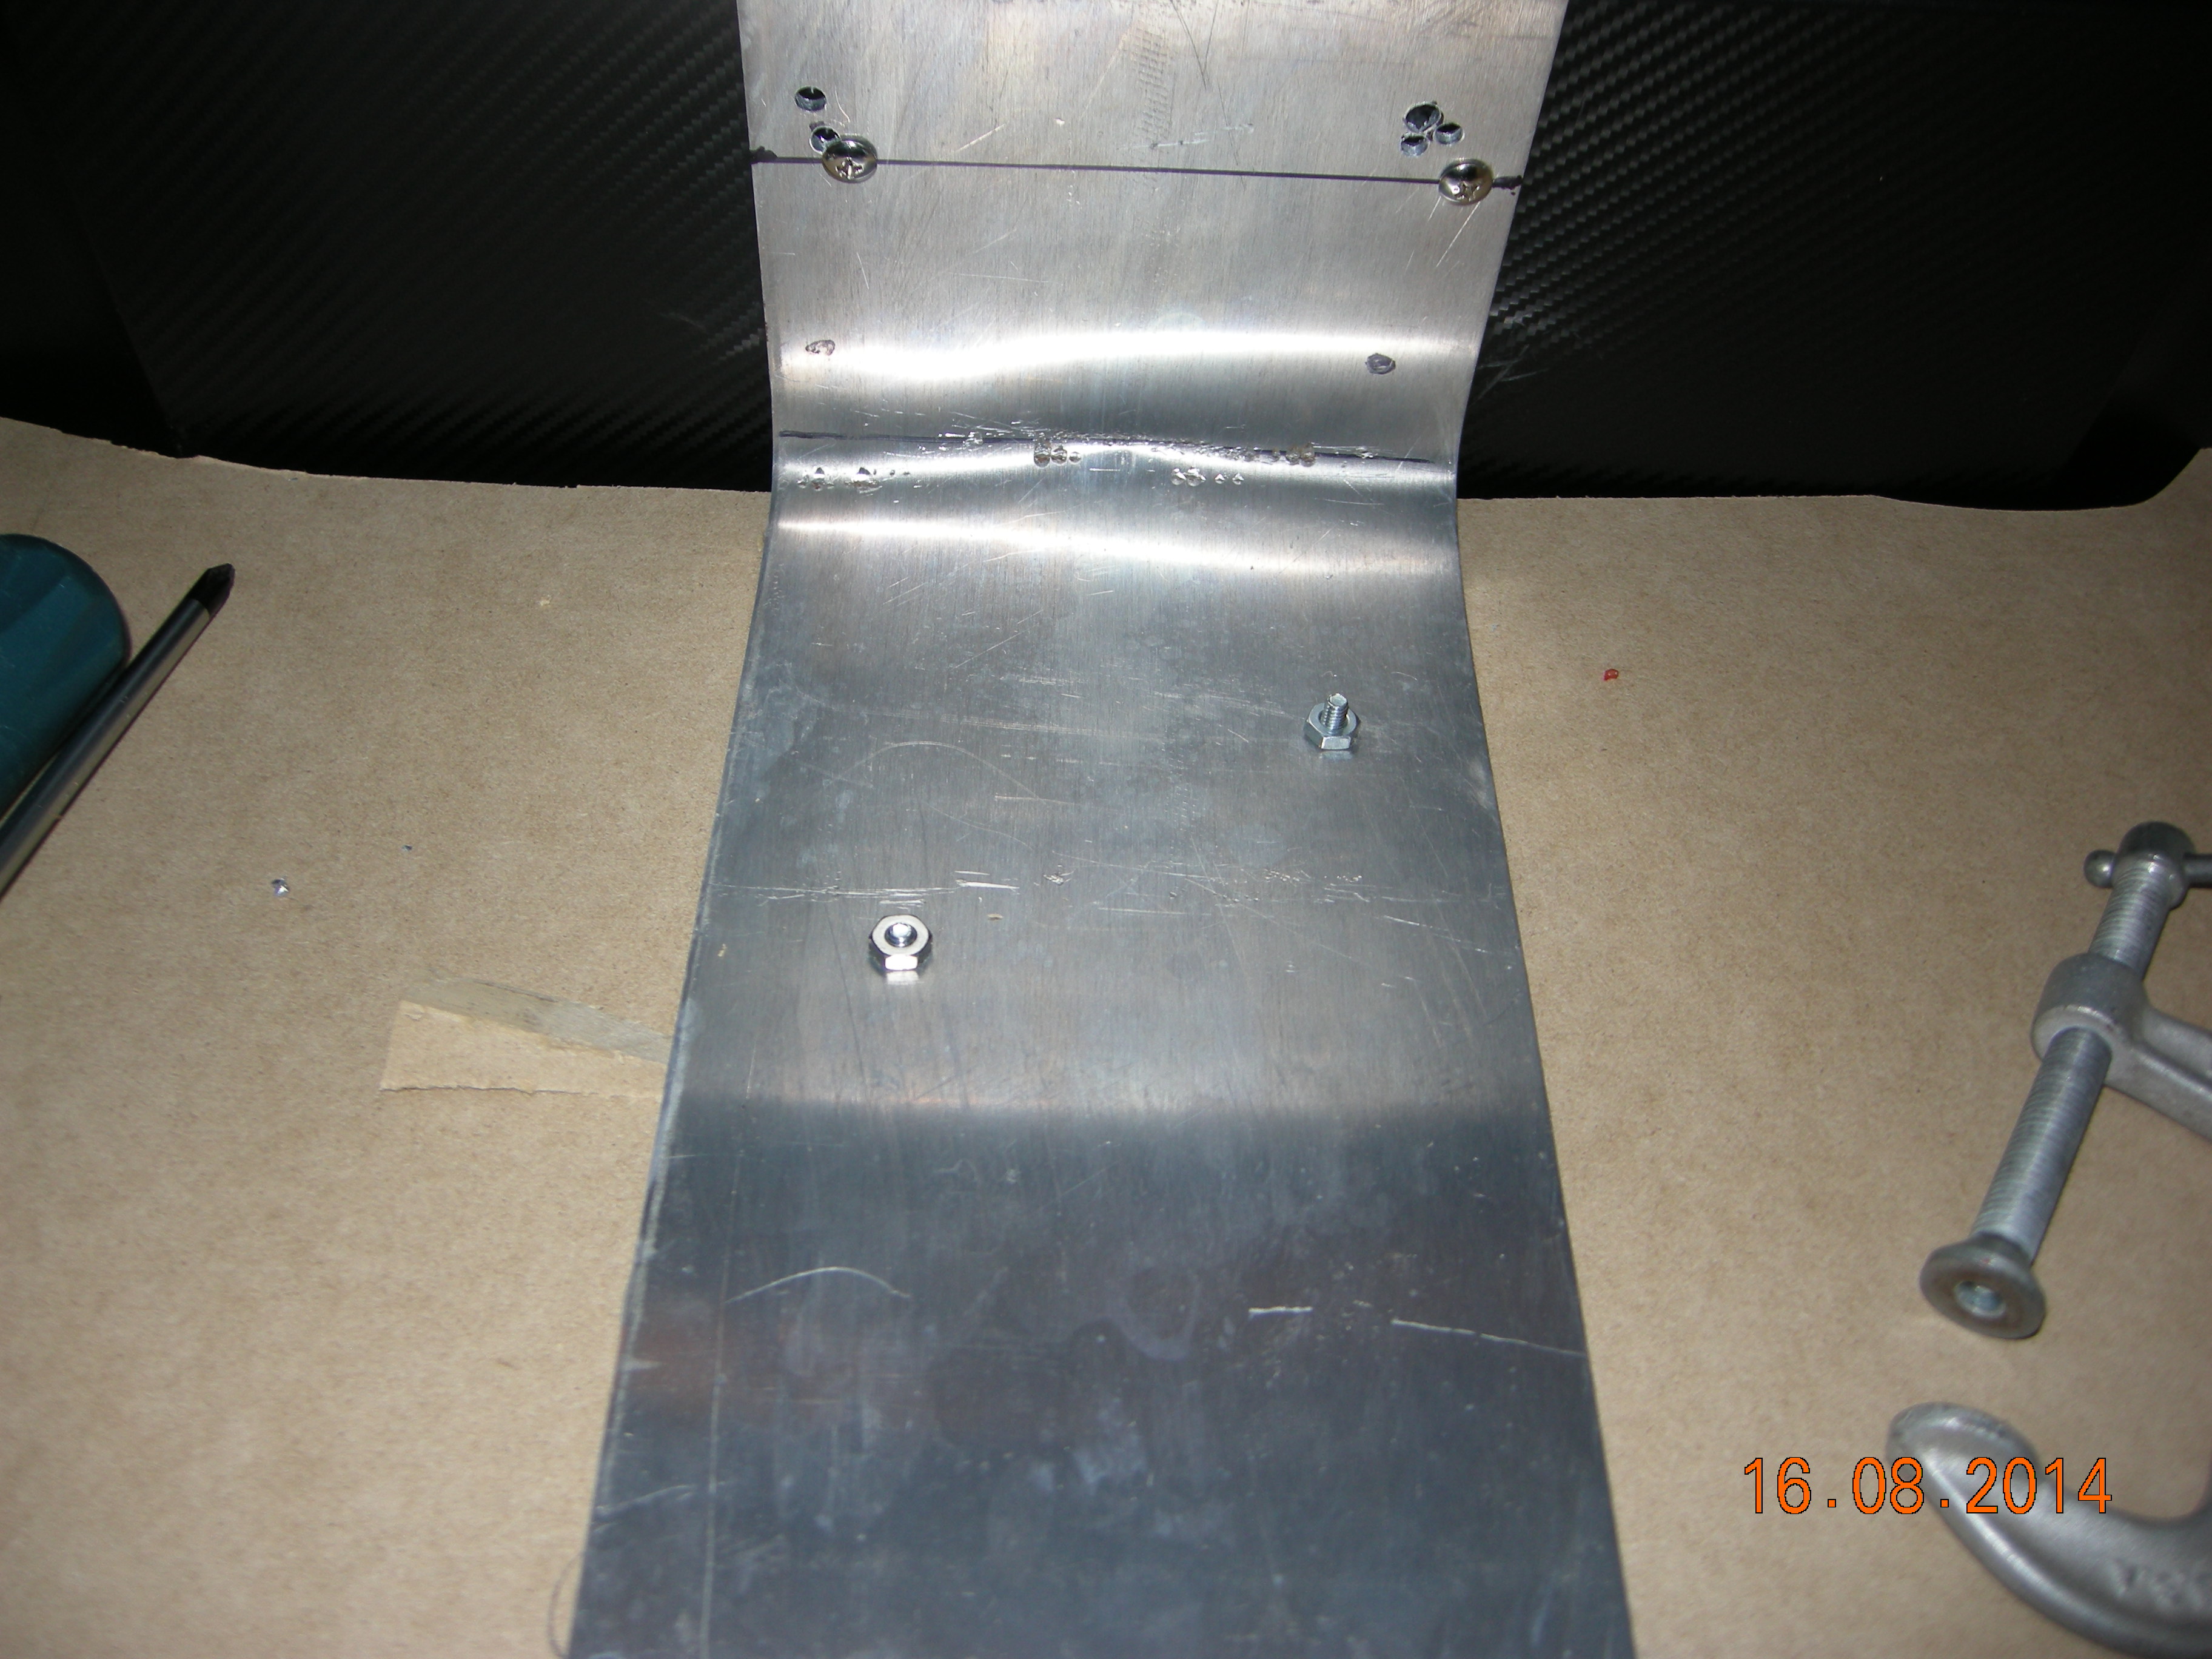
Thin aluminum plate from hardware store. Quite cheap.
| 
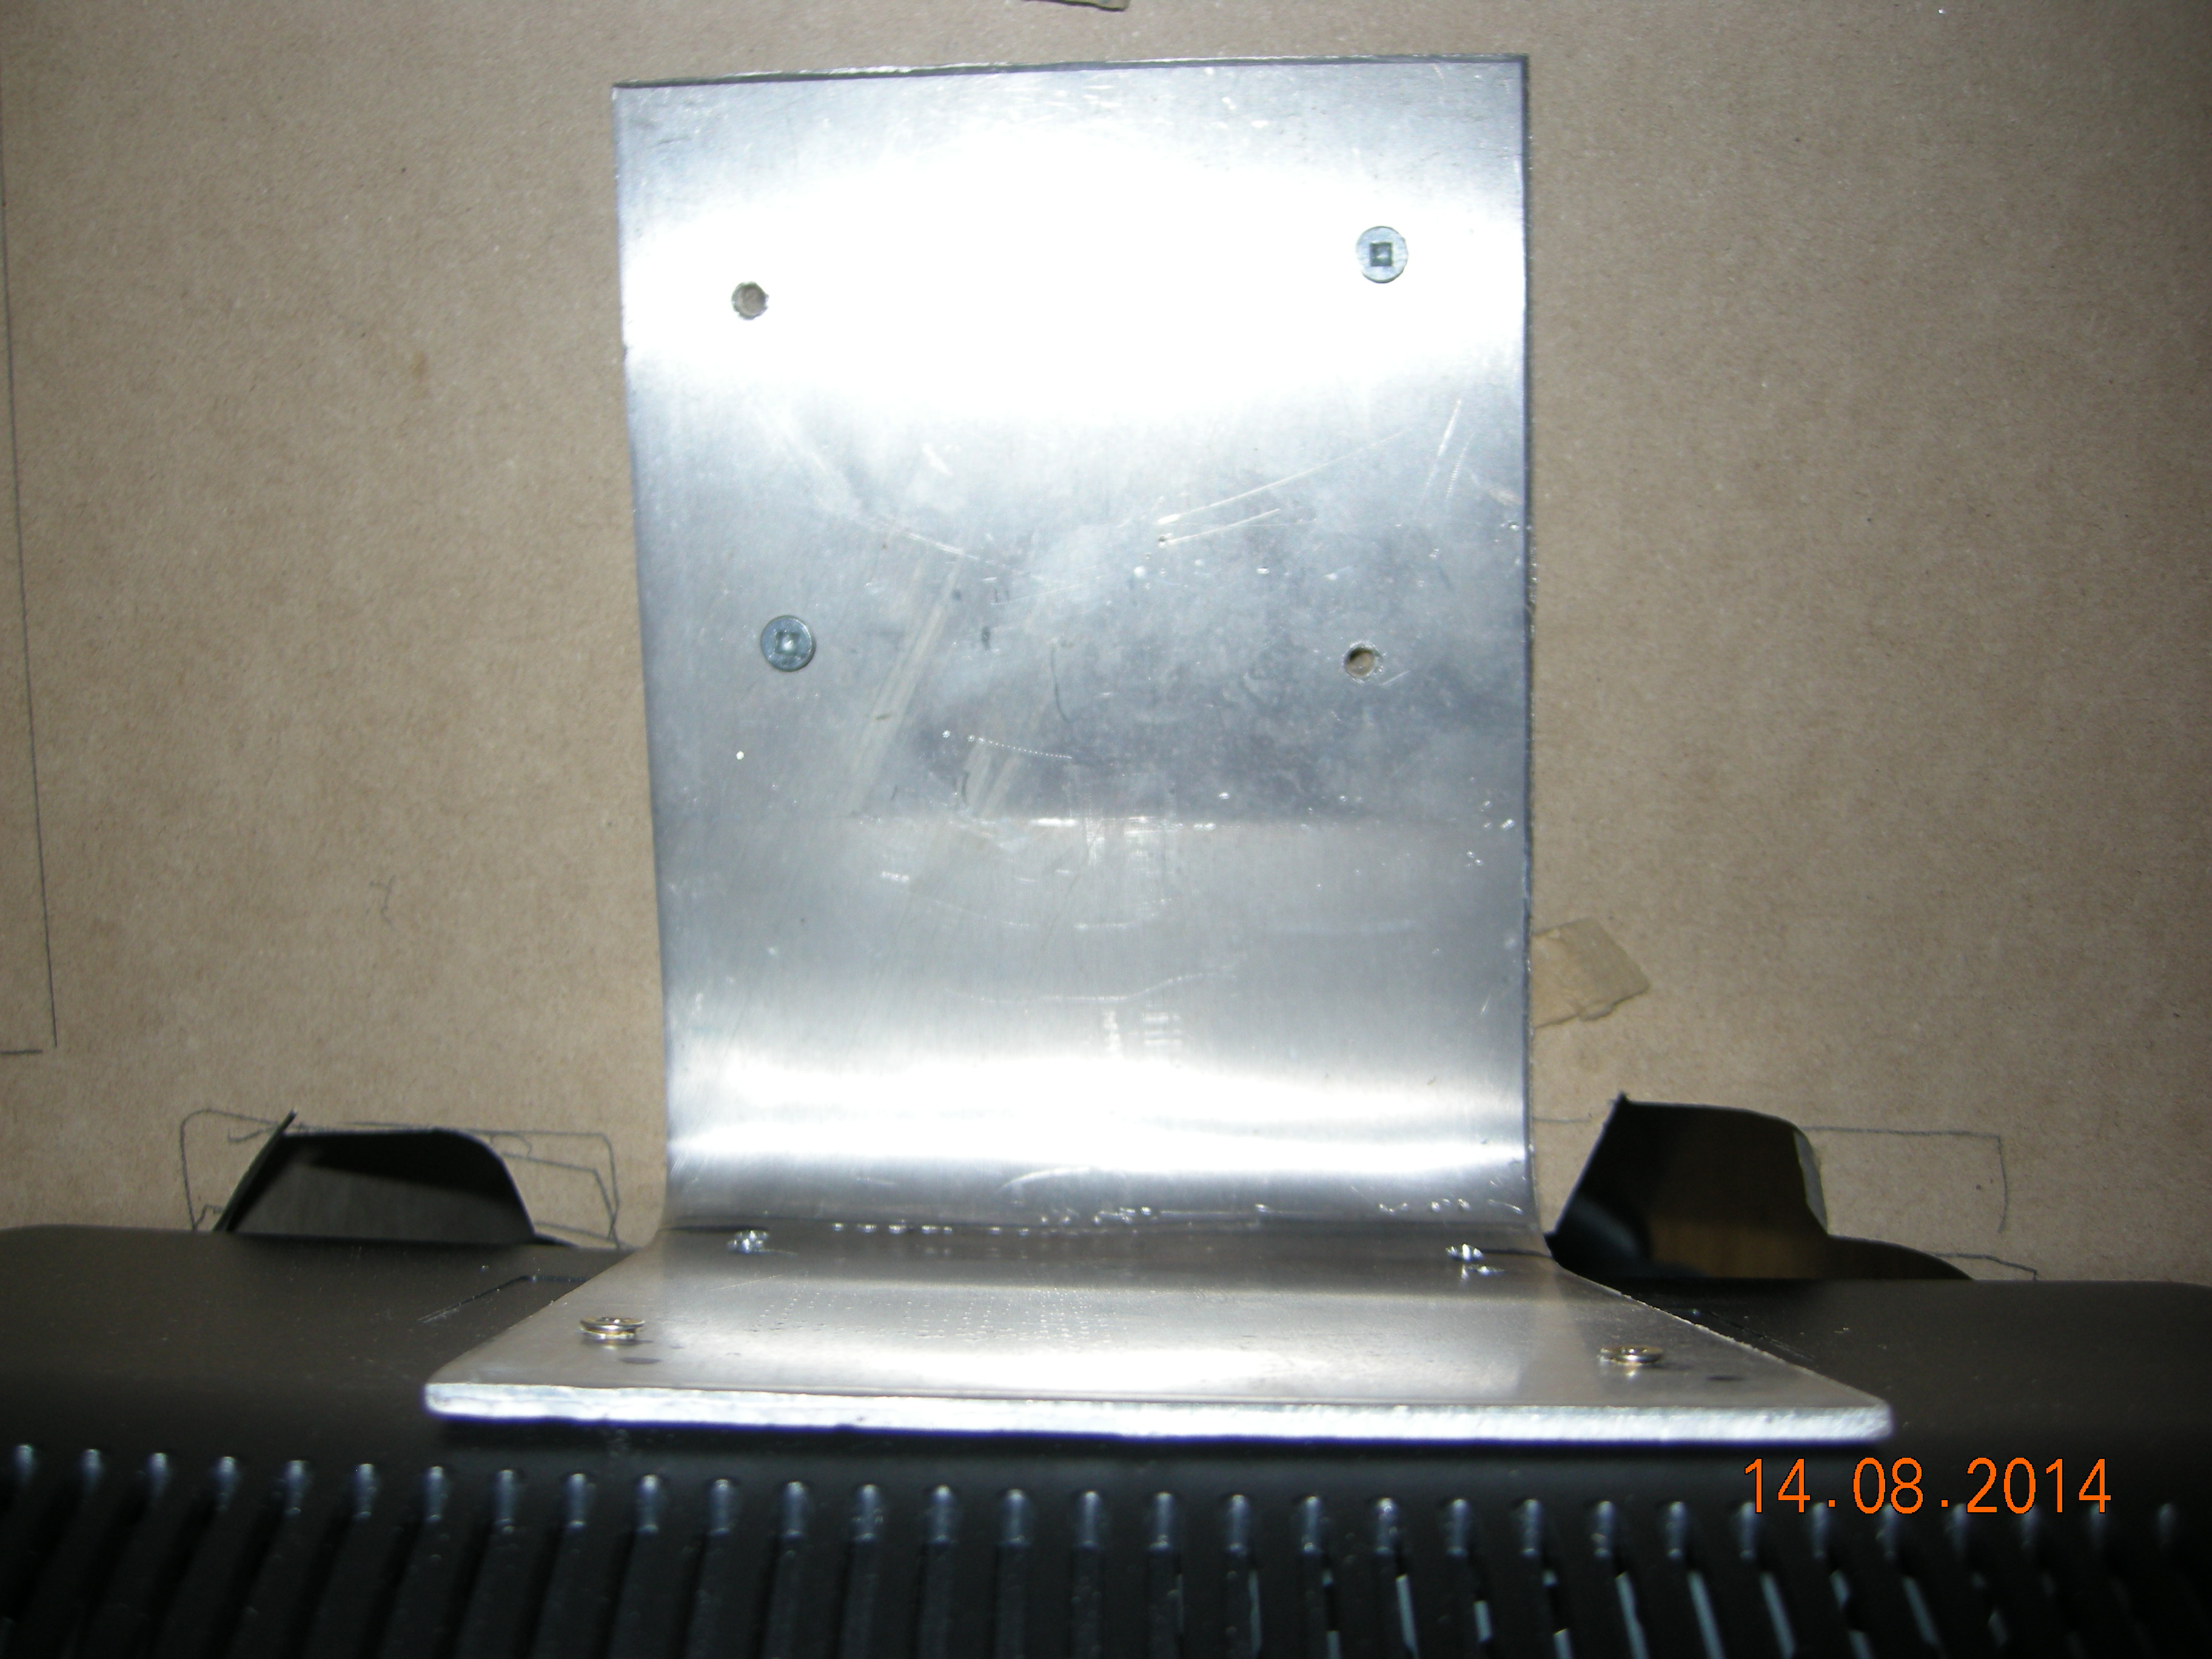
Making homemade monitor mounts..
|
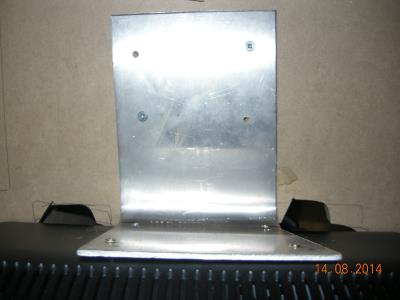
FO screen mount
| 
FO screen mounted
|

Mount for Captains screen
| 
Captains screen mounted in place
|
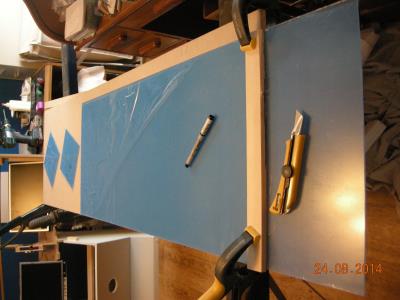
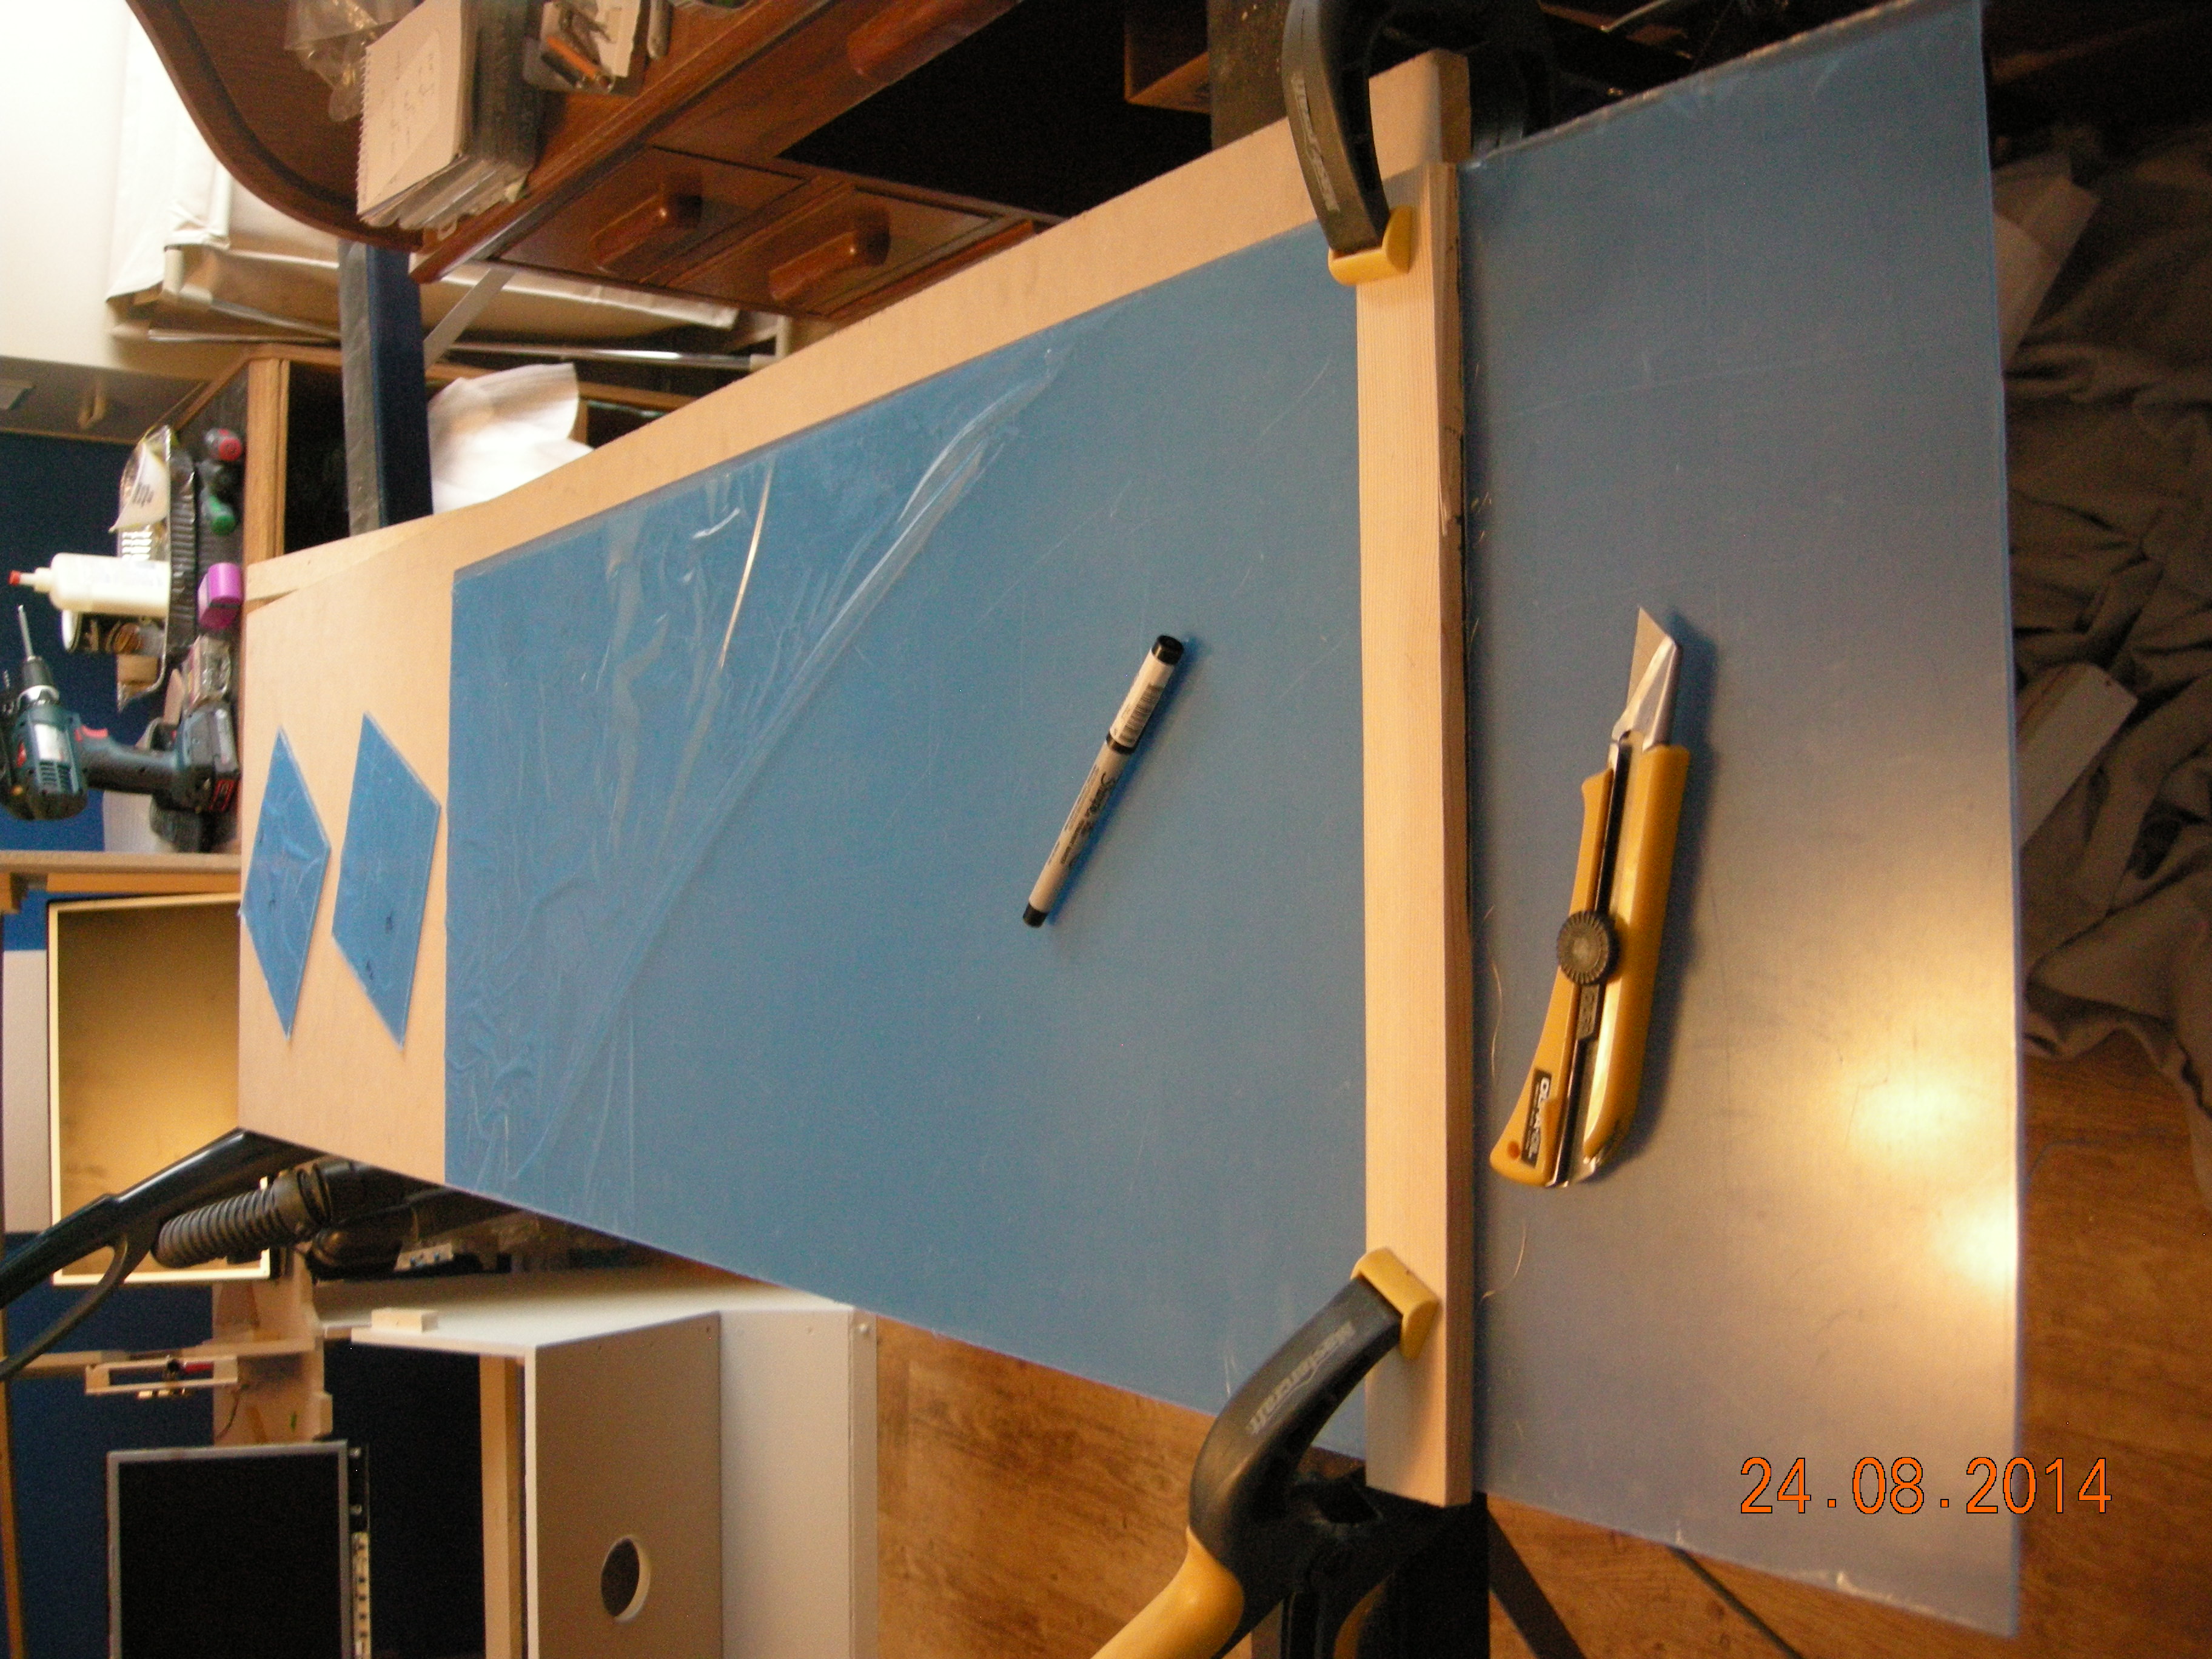
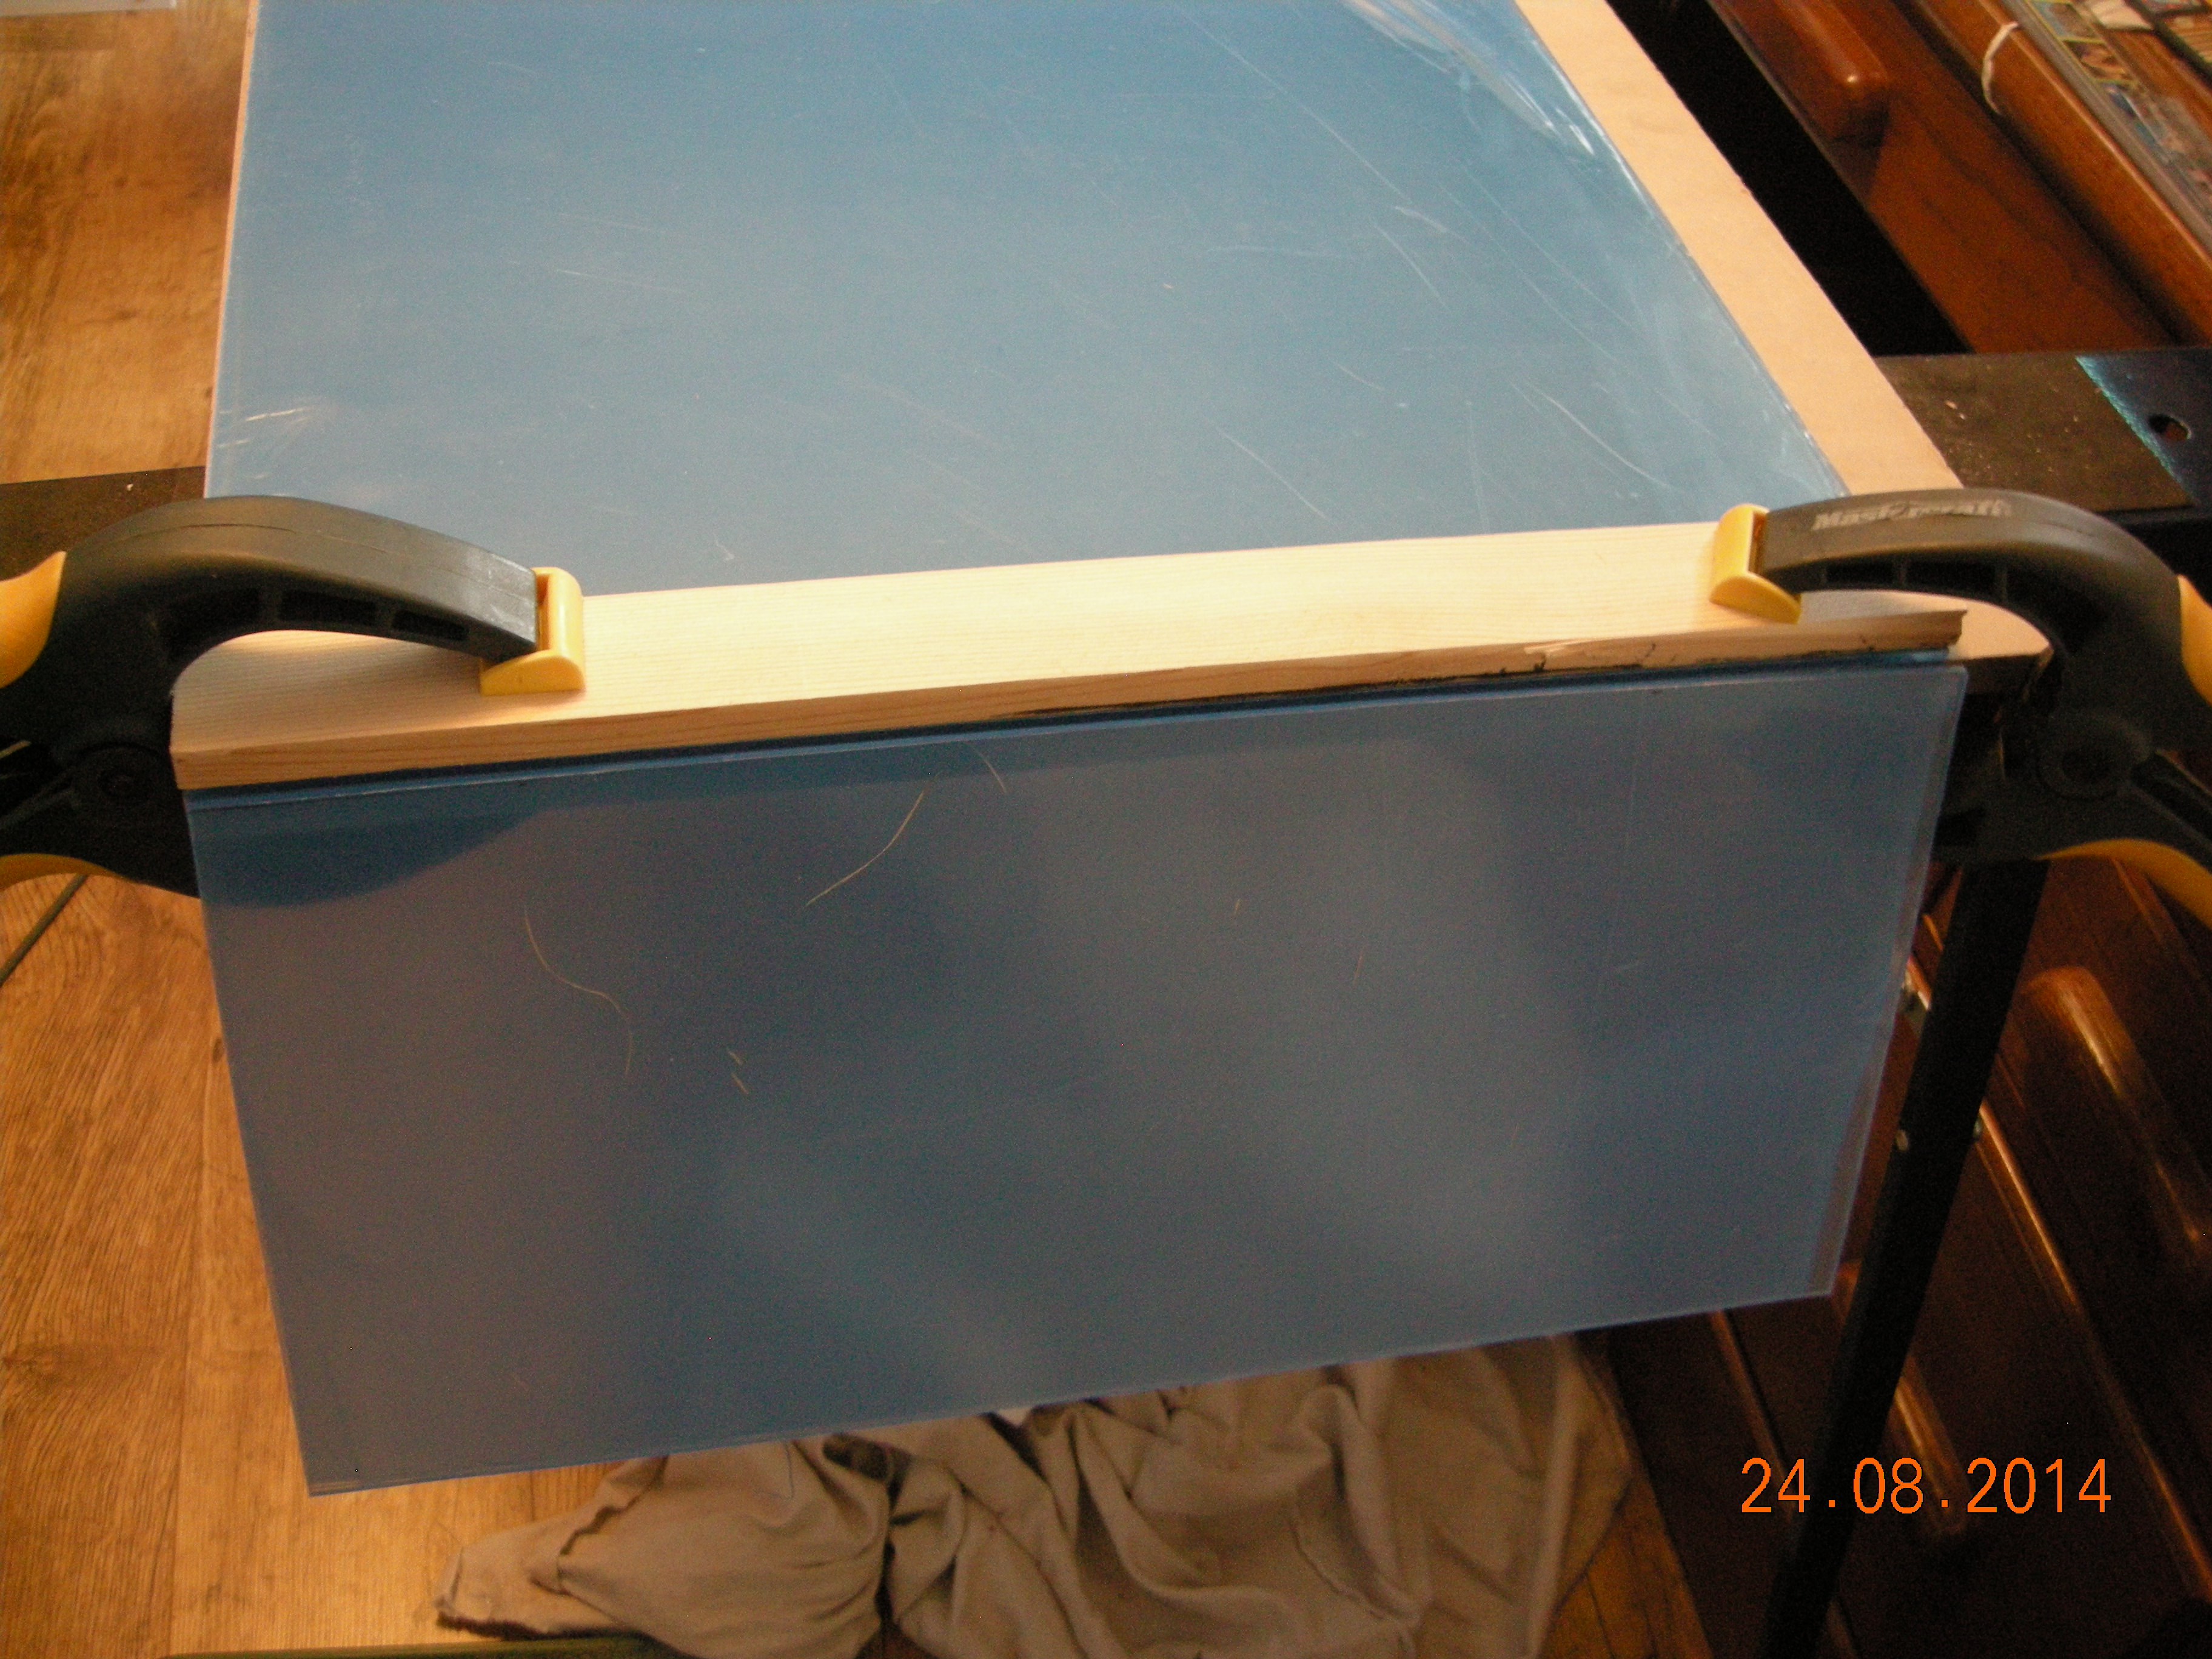
Cutting out Display covers from Plexi
| 
Cut and snap. Quite easy. Use gloves and safety glasses.
|

Checking covers for fit
| 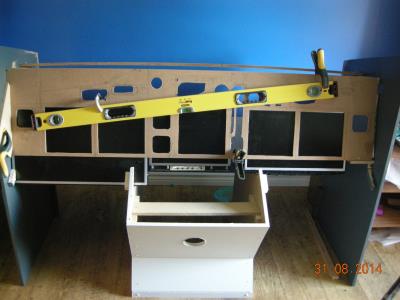
Lining up MIP with monitors
|
Lining up bottom glare panel
| 
Lining Up Lower glare
|
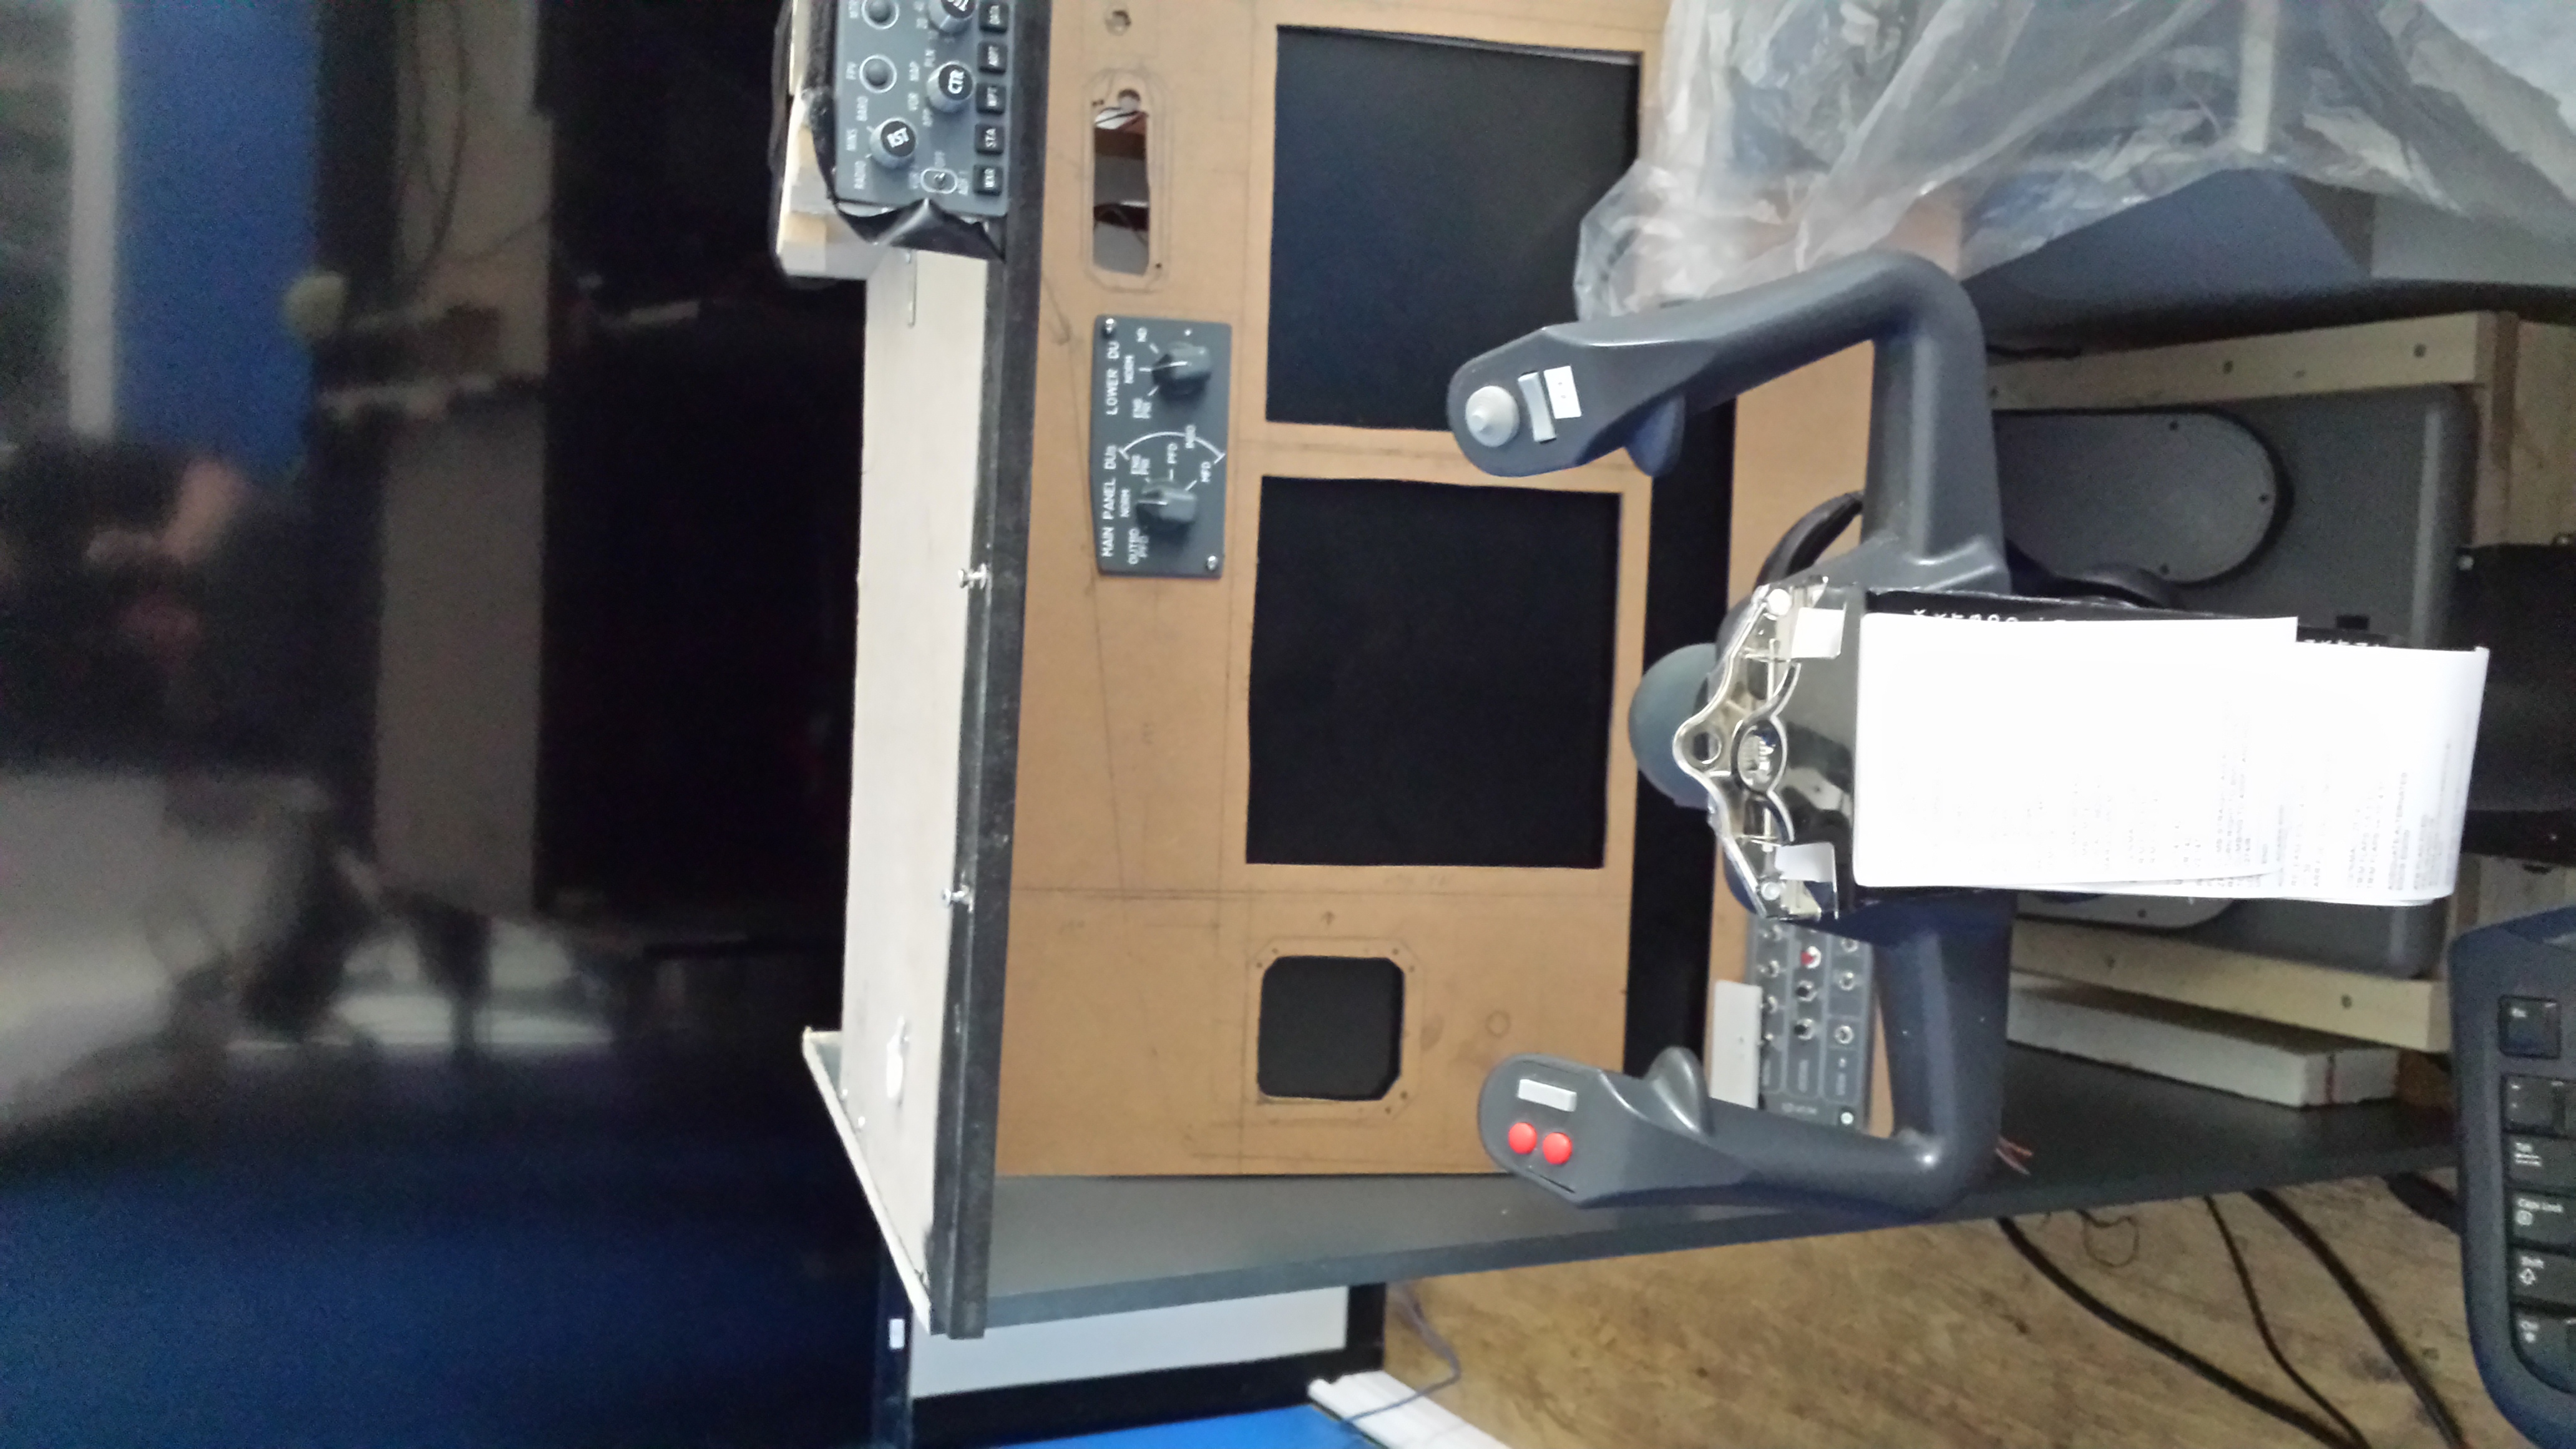
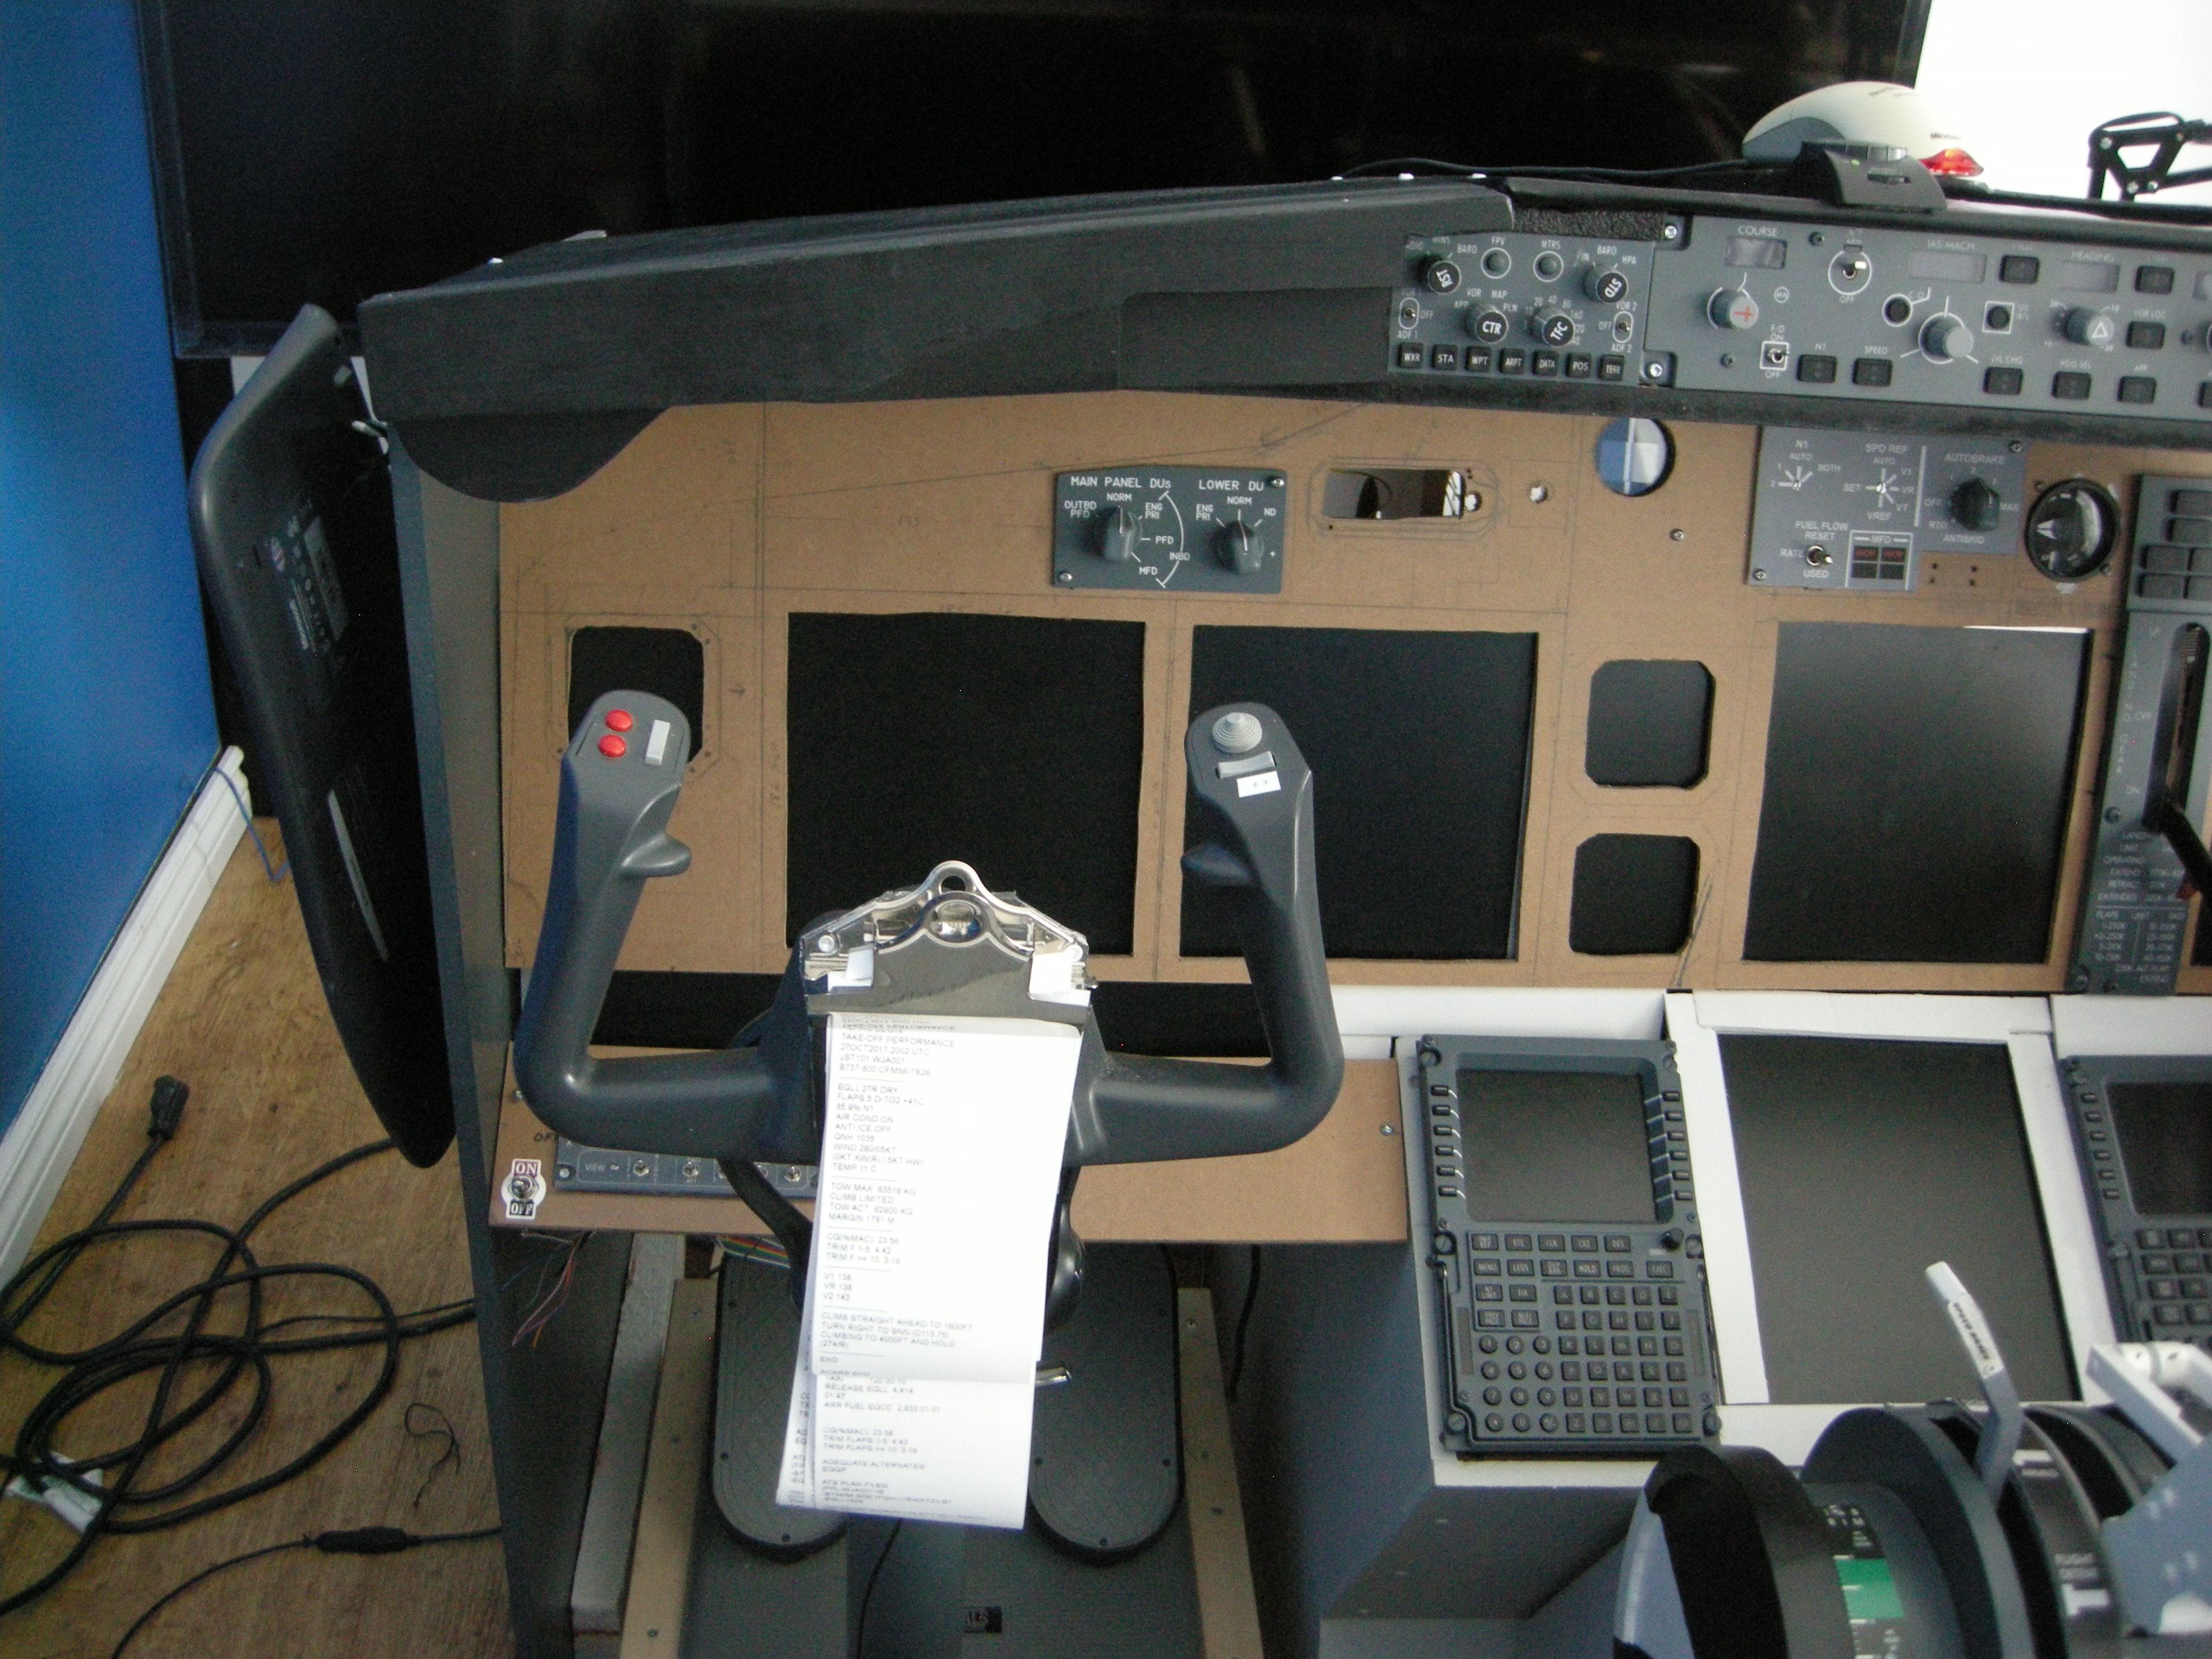
Lining up MCP and EIFS
| 
Mounting EIFIS and MCP
|

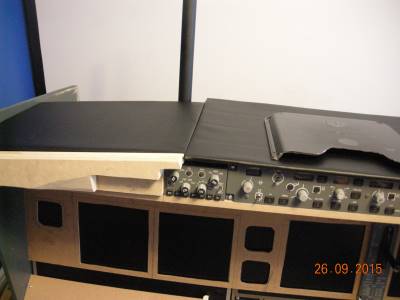
Lining up Upper glare panels
| 
Lining Up Glare wing template
|
Drawing out Glarewings. Thanks To Burkhard for the design.
| 
Cut out with jig saw, glue and sand. I used 3 14mm peices per side.
|

Ready to sand. See the url for Burkhard's site under Links page.
| 
Lining up Glarewings
|

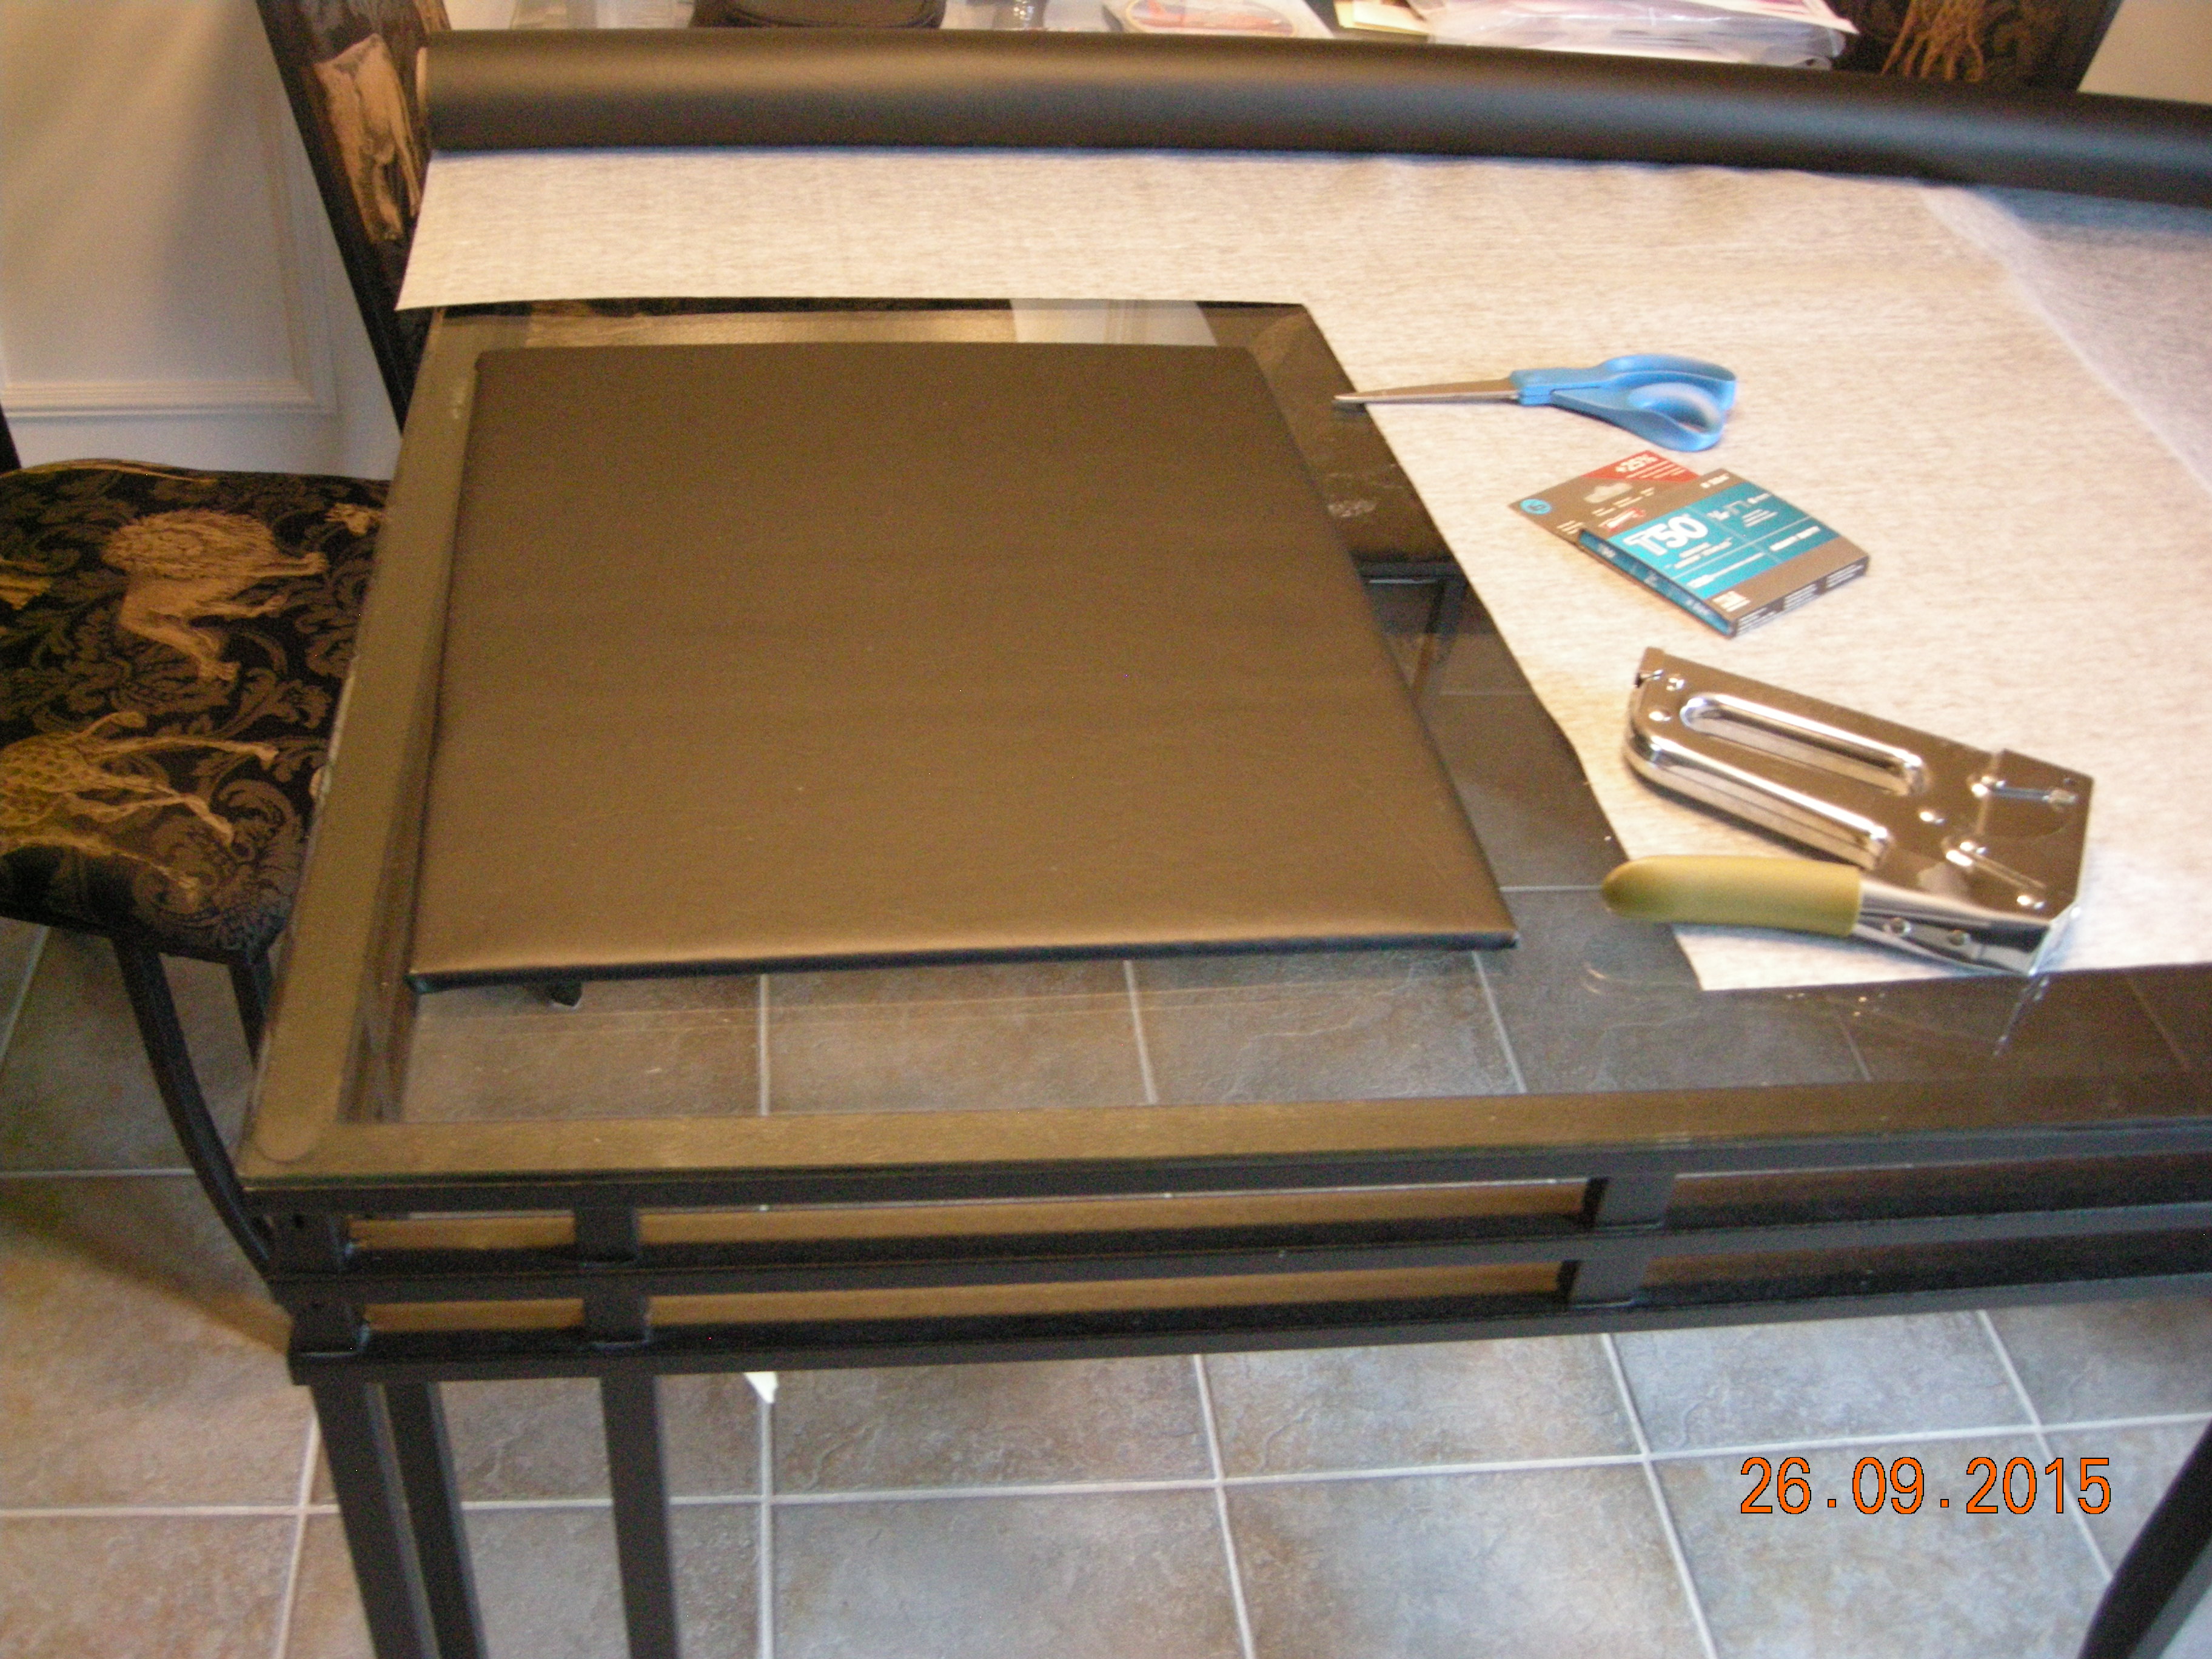
Covering top of glare with black leather like vinyl
| 
Center covered and stapled
|
Left and center glare covered
| 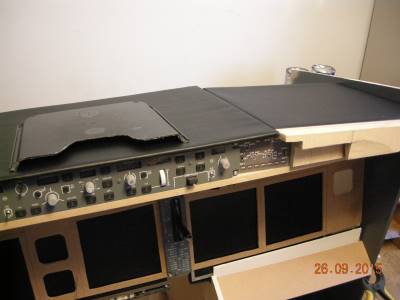
Right Glare top covered
|

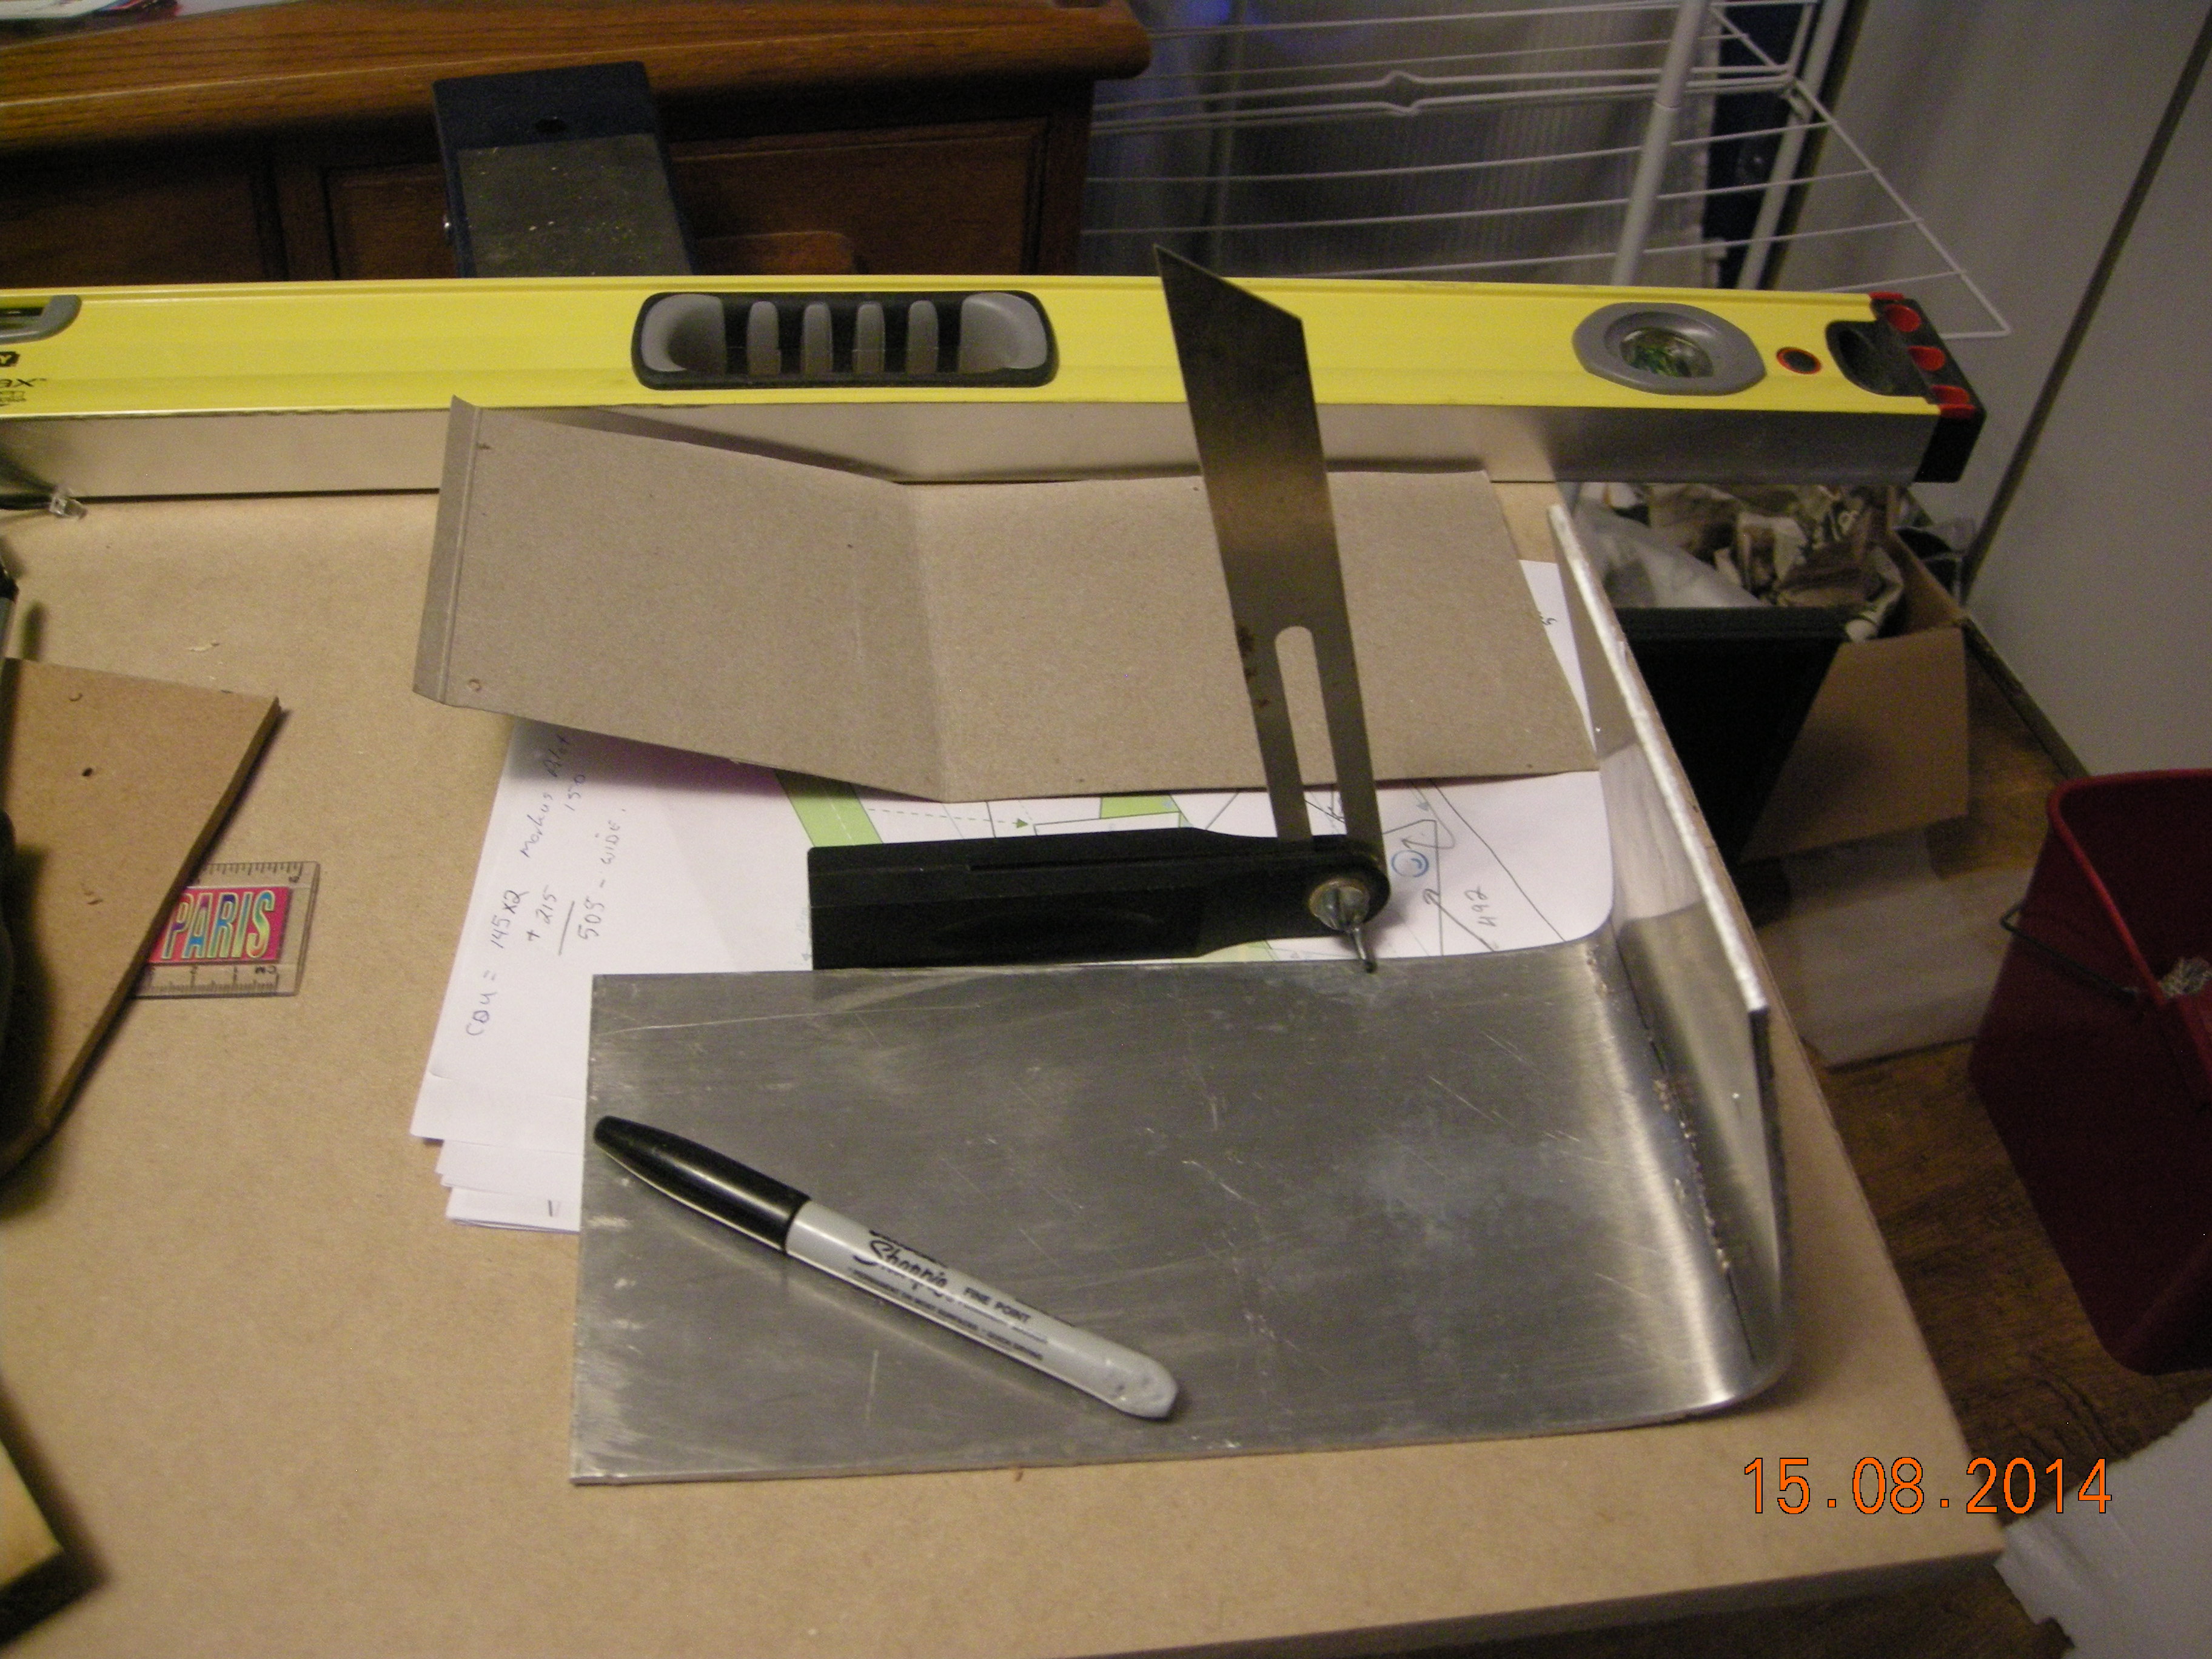
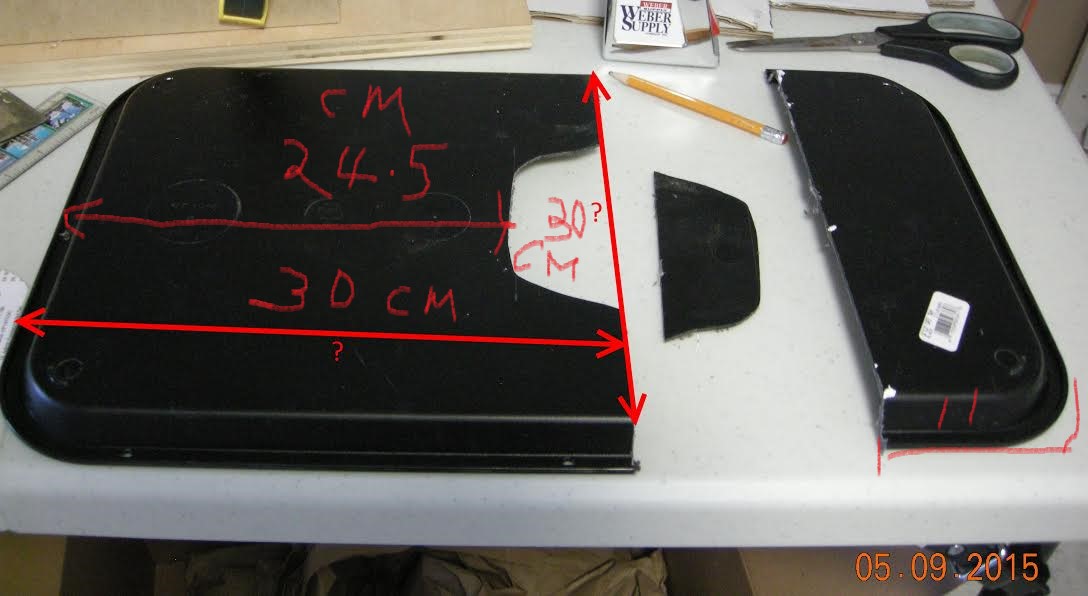
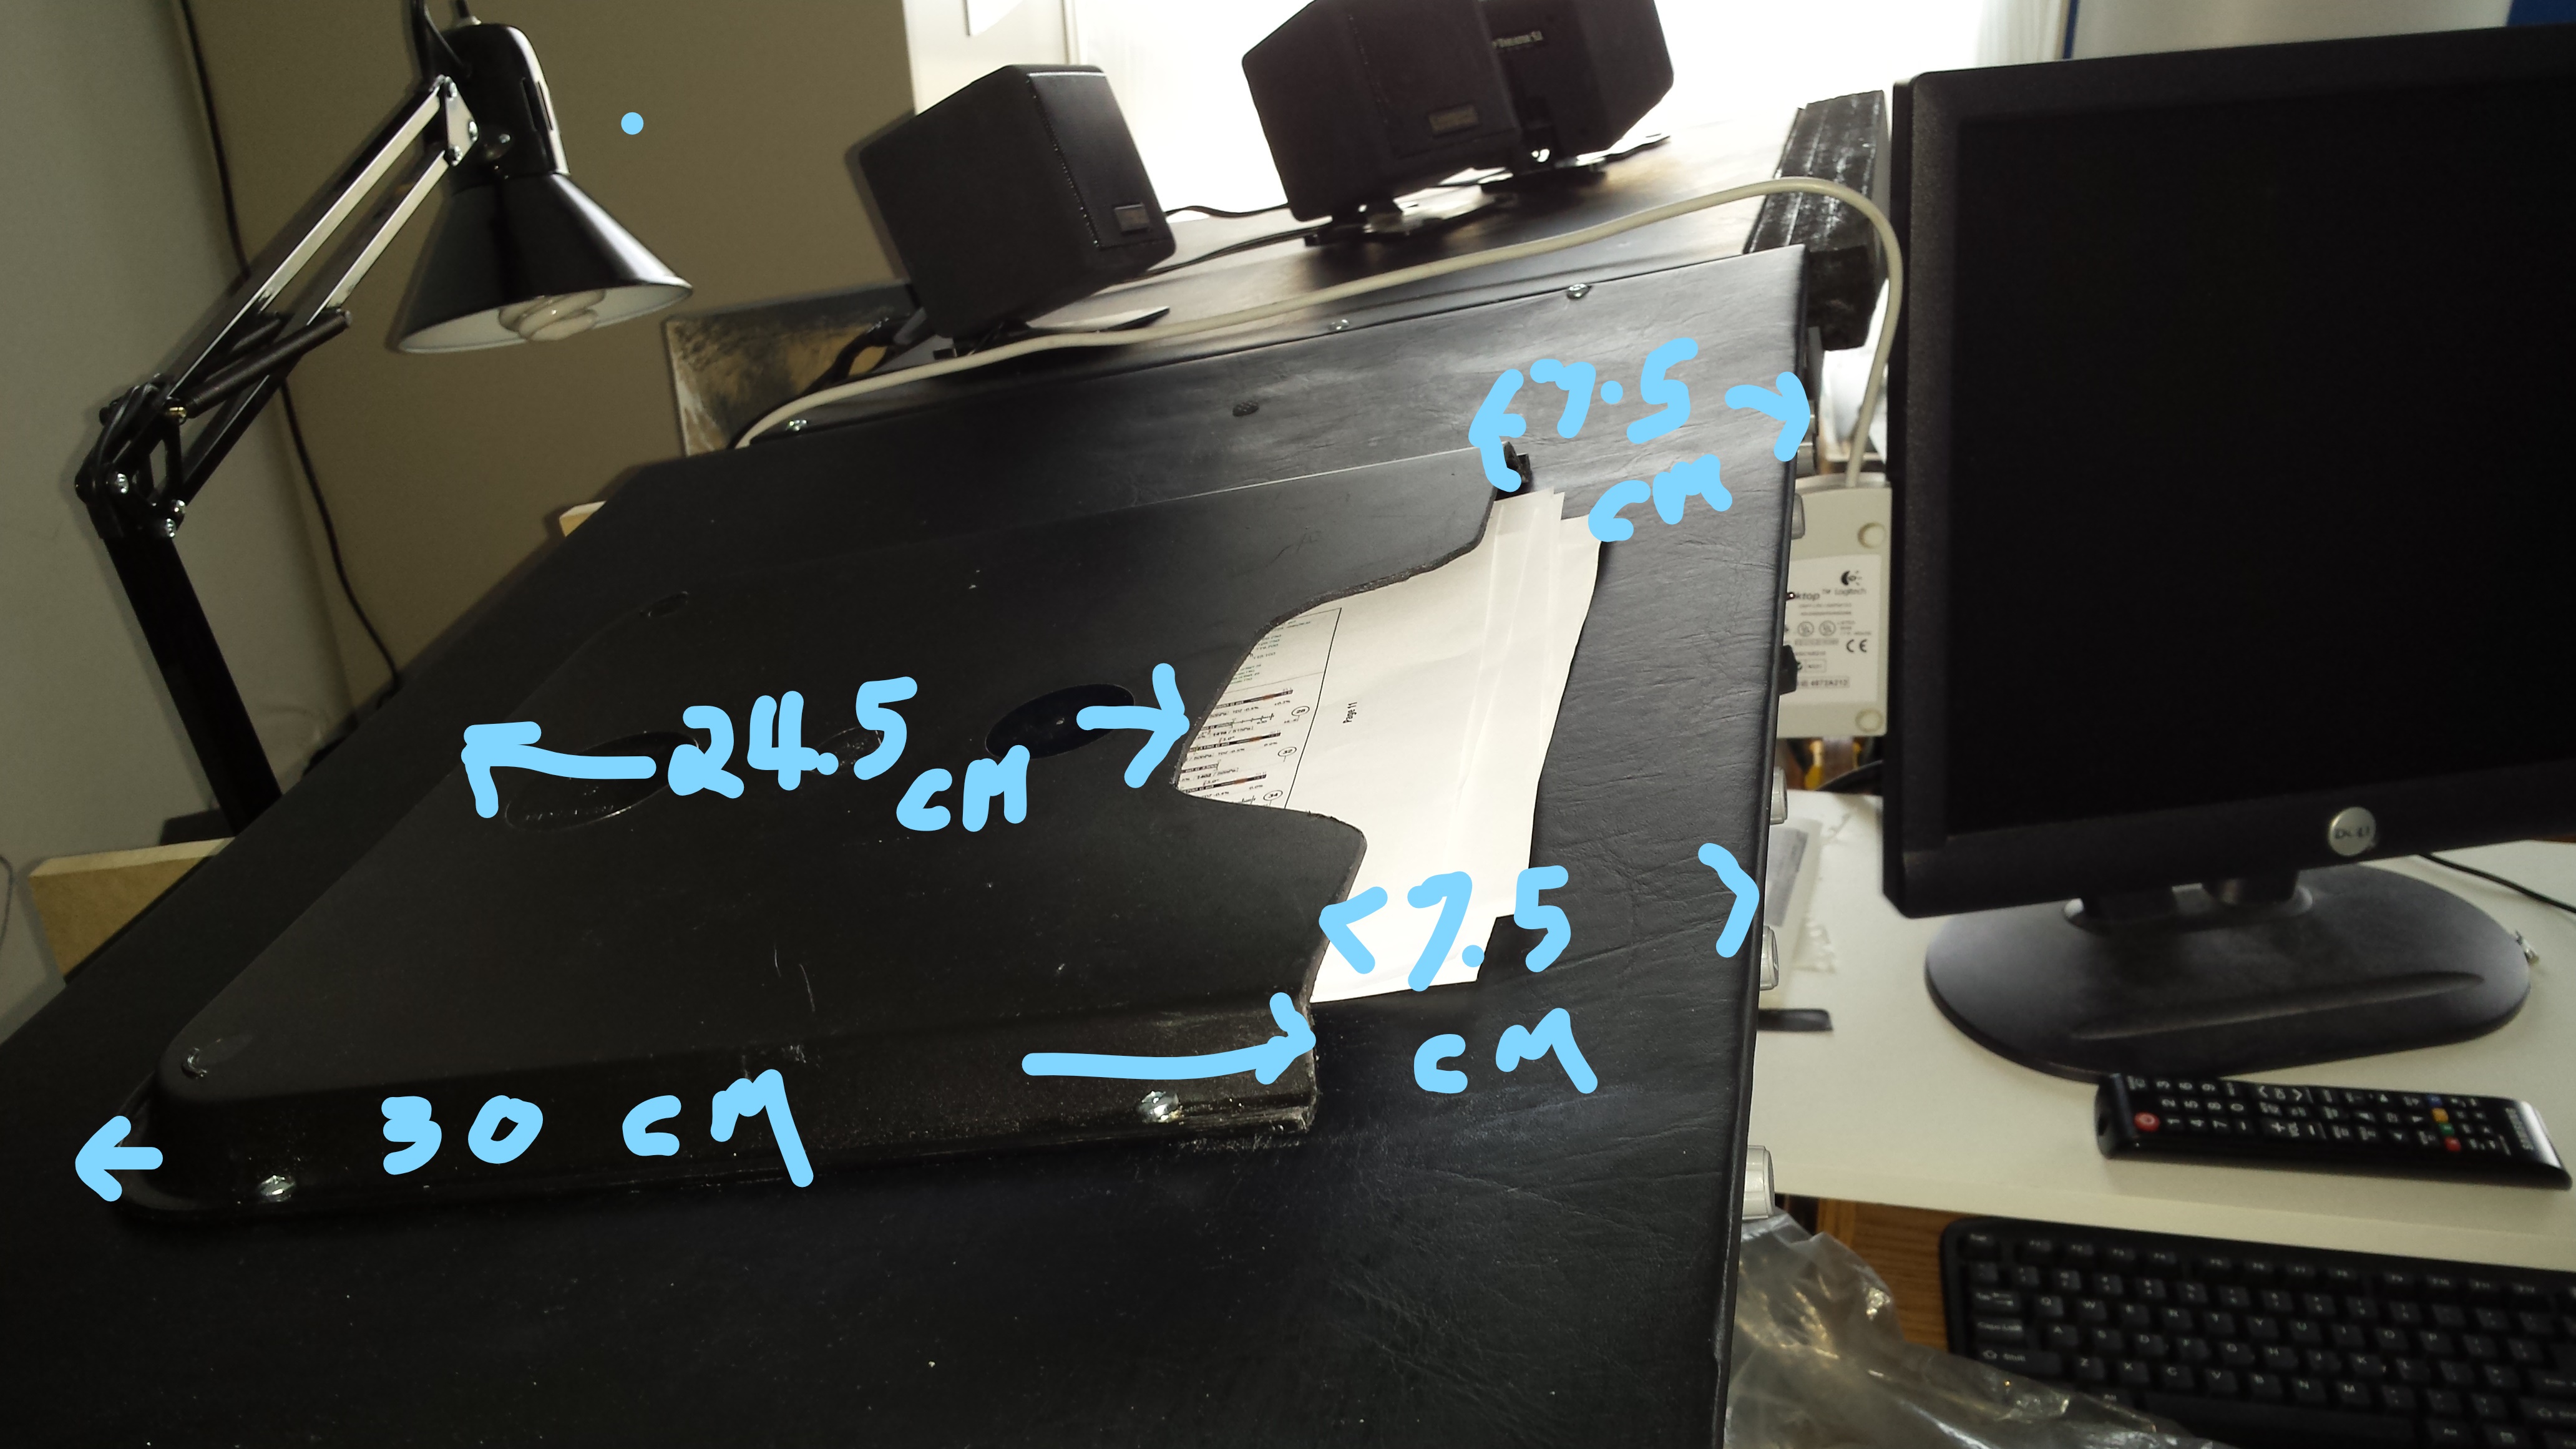
Glare shield document holder cut from serving tray
| 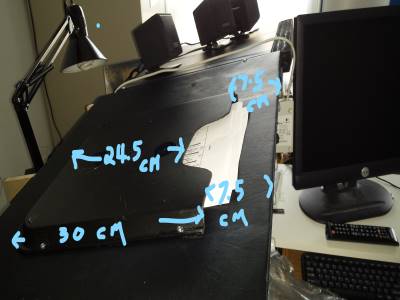
Meaurementss where I placed mine. From fellow builder
|
Cut end off MIP side wall to better suit shell
| 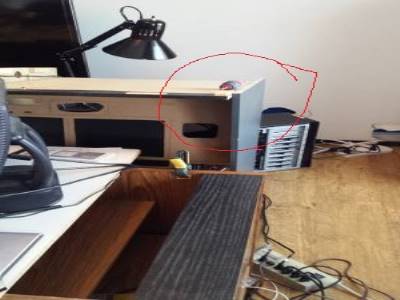
Right side of MIP side wall cut off to accomodate upcoming shell
|

Glare wings painted. Still need Master and Fire, six packs.
| 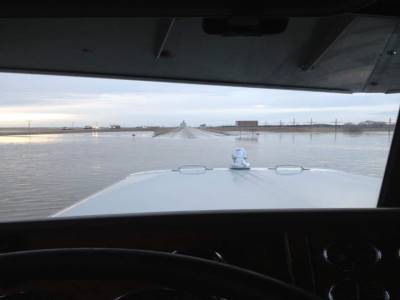
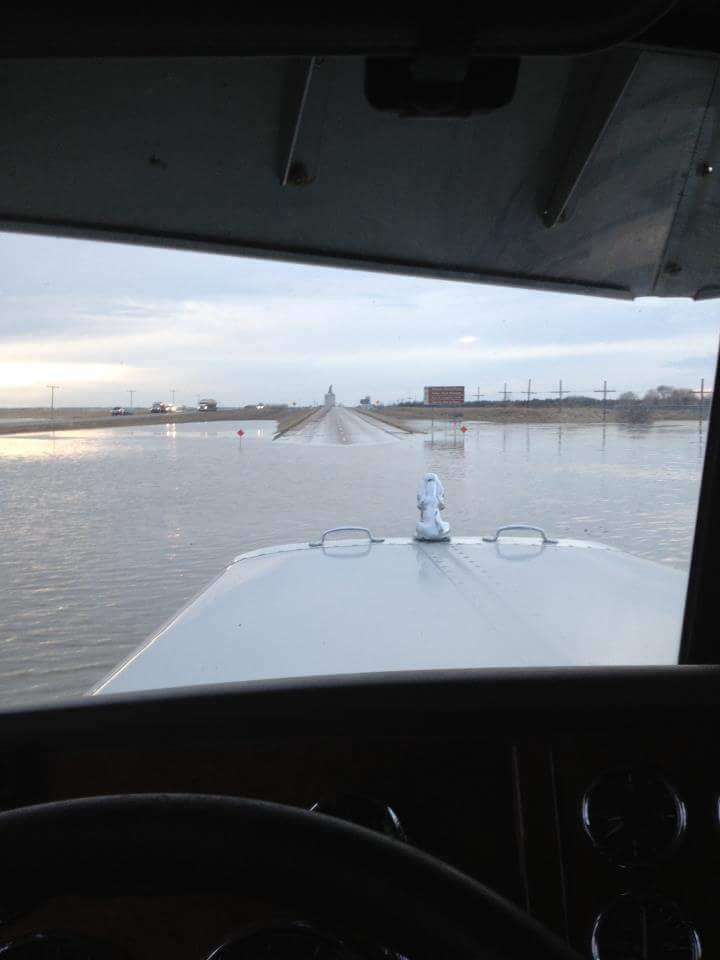
Cousin's rig
|