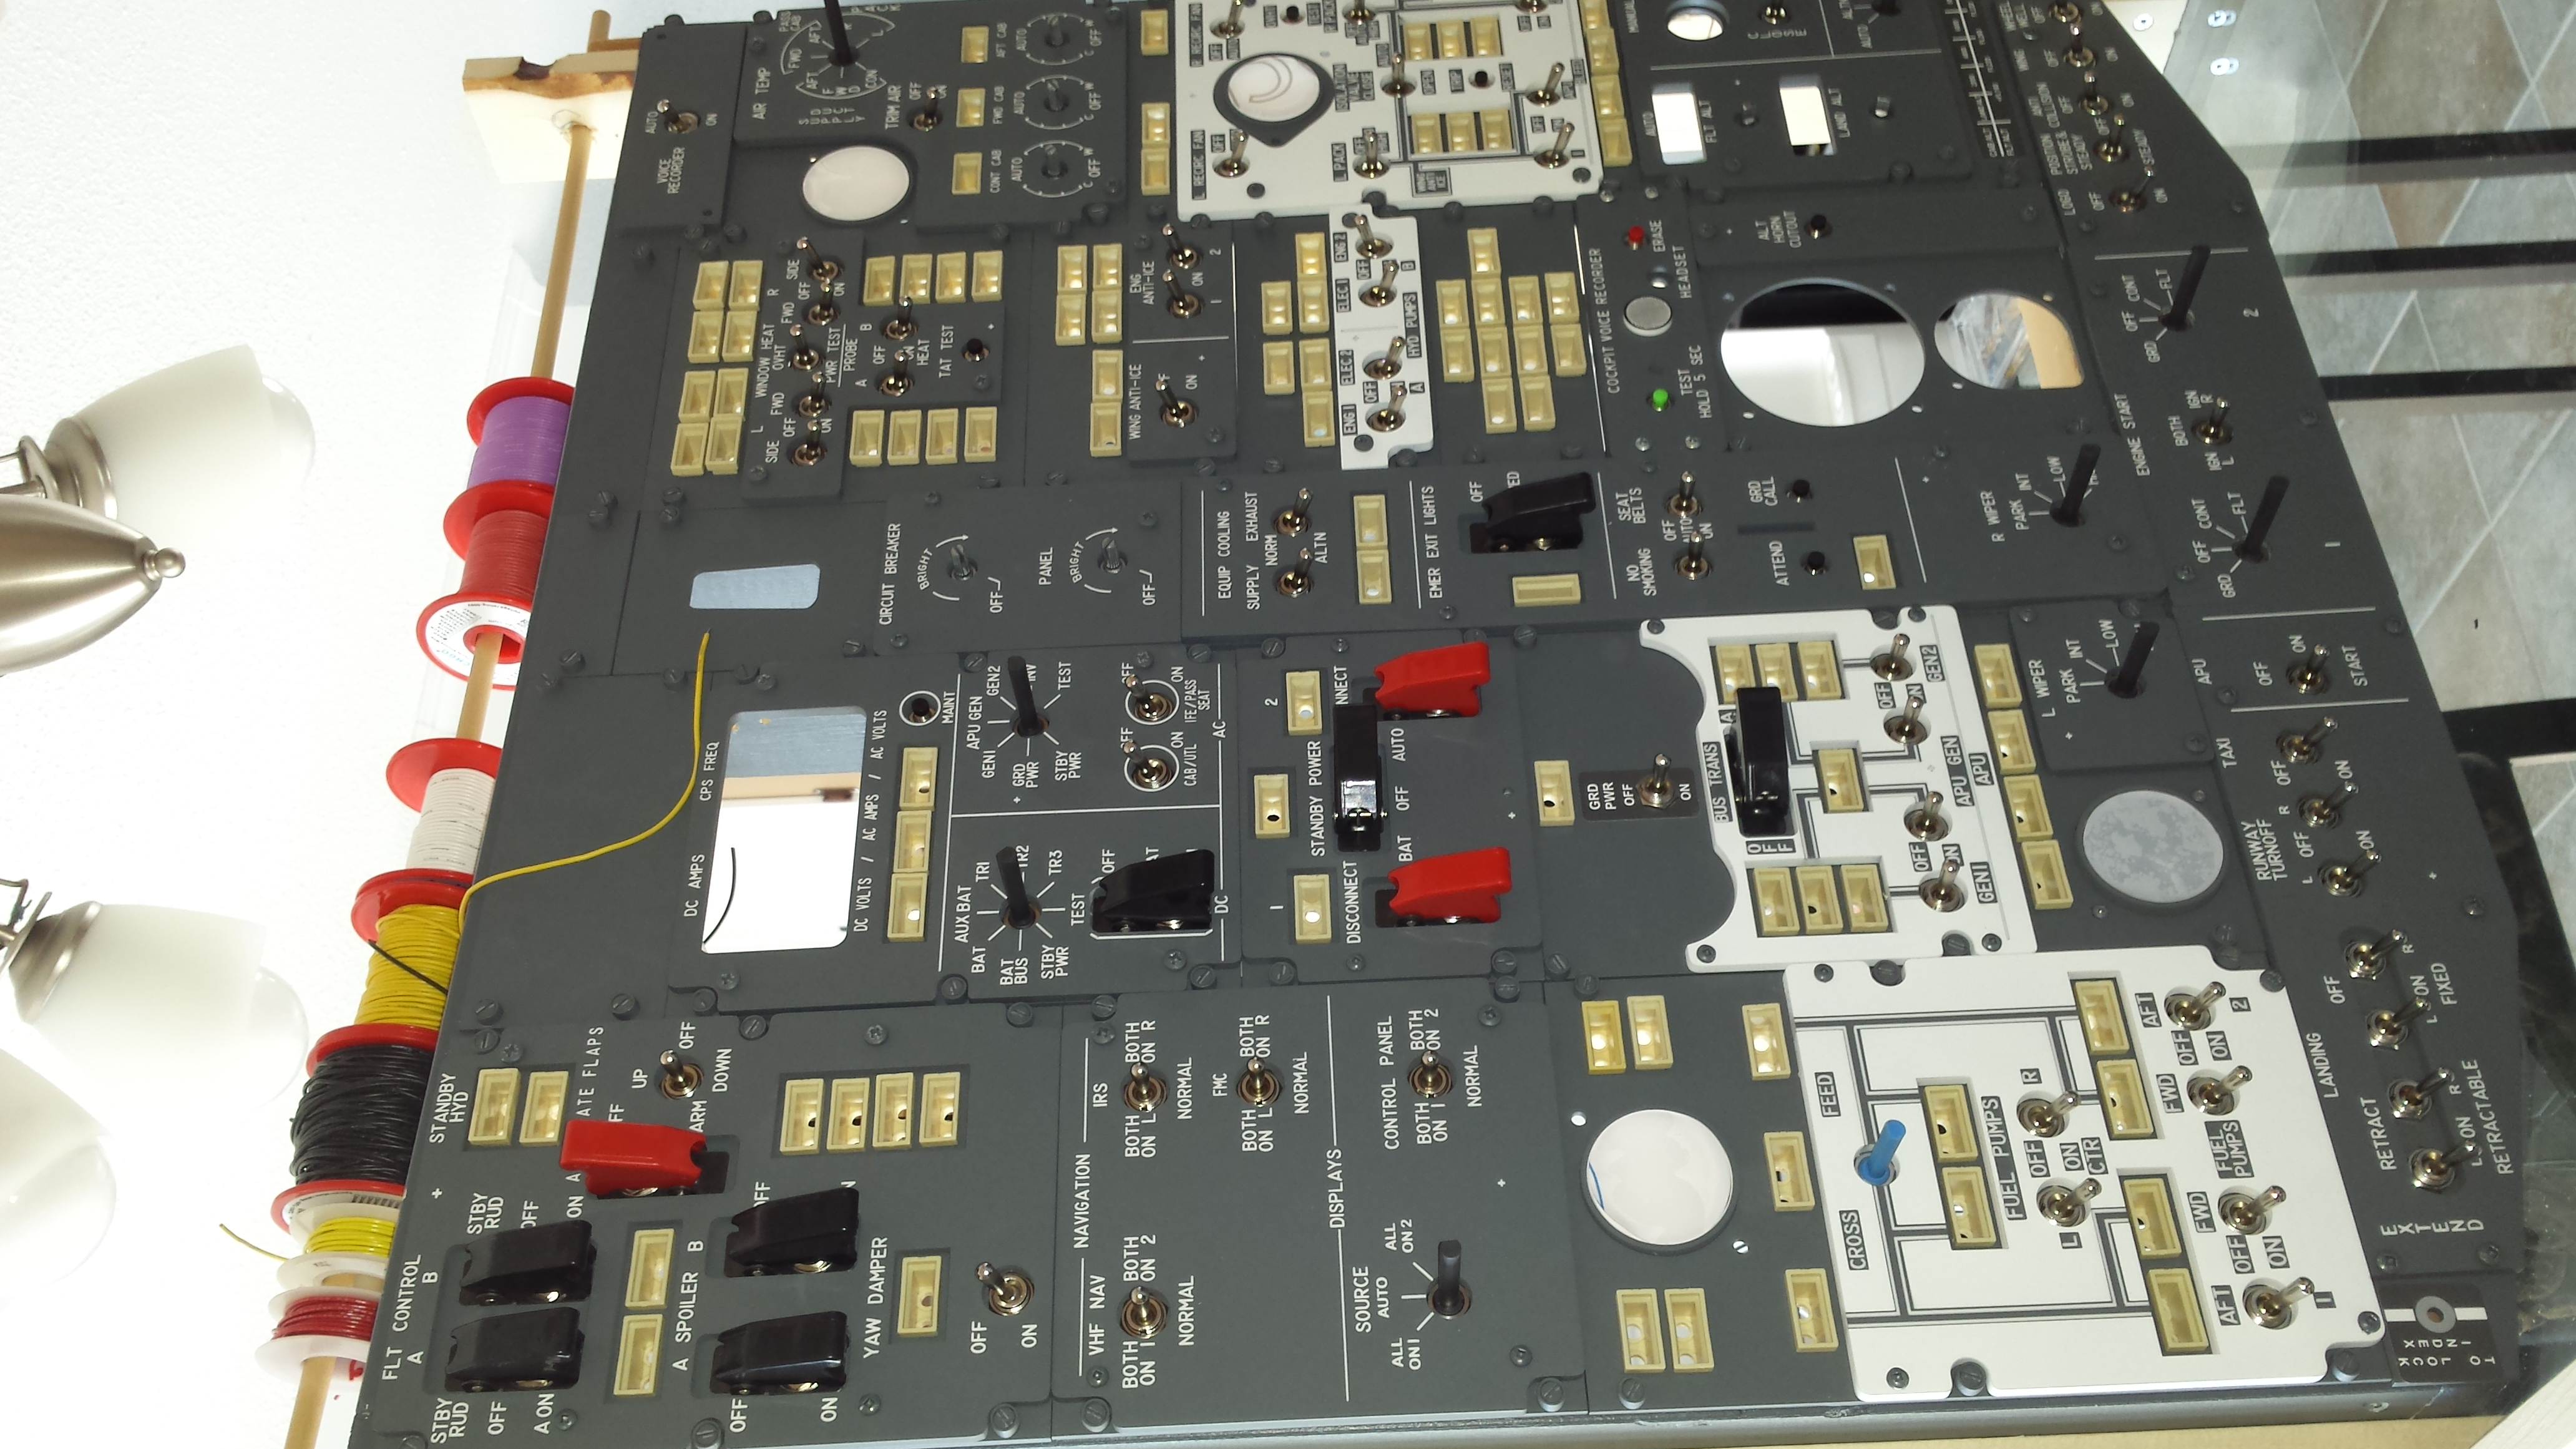
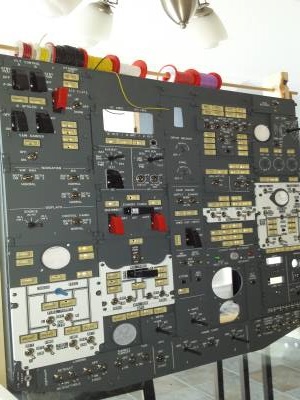
Panels Forward Overhead. (Not Mine) Click for larger image.
| 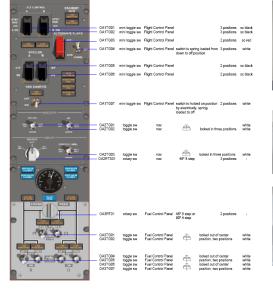
Click on image to view Switch Positions - Author Unknown .
|
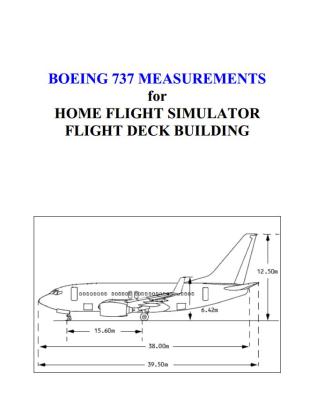
737 measurements from Marcus Pilot.Com
|
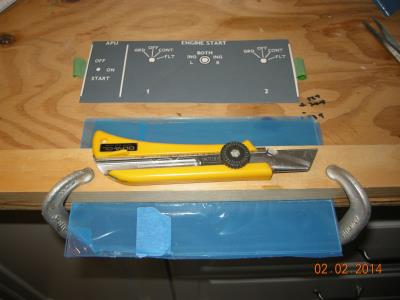
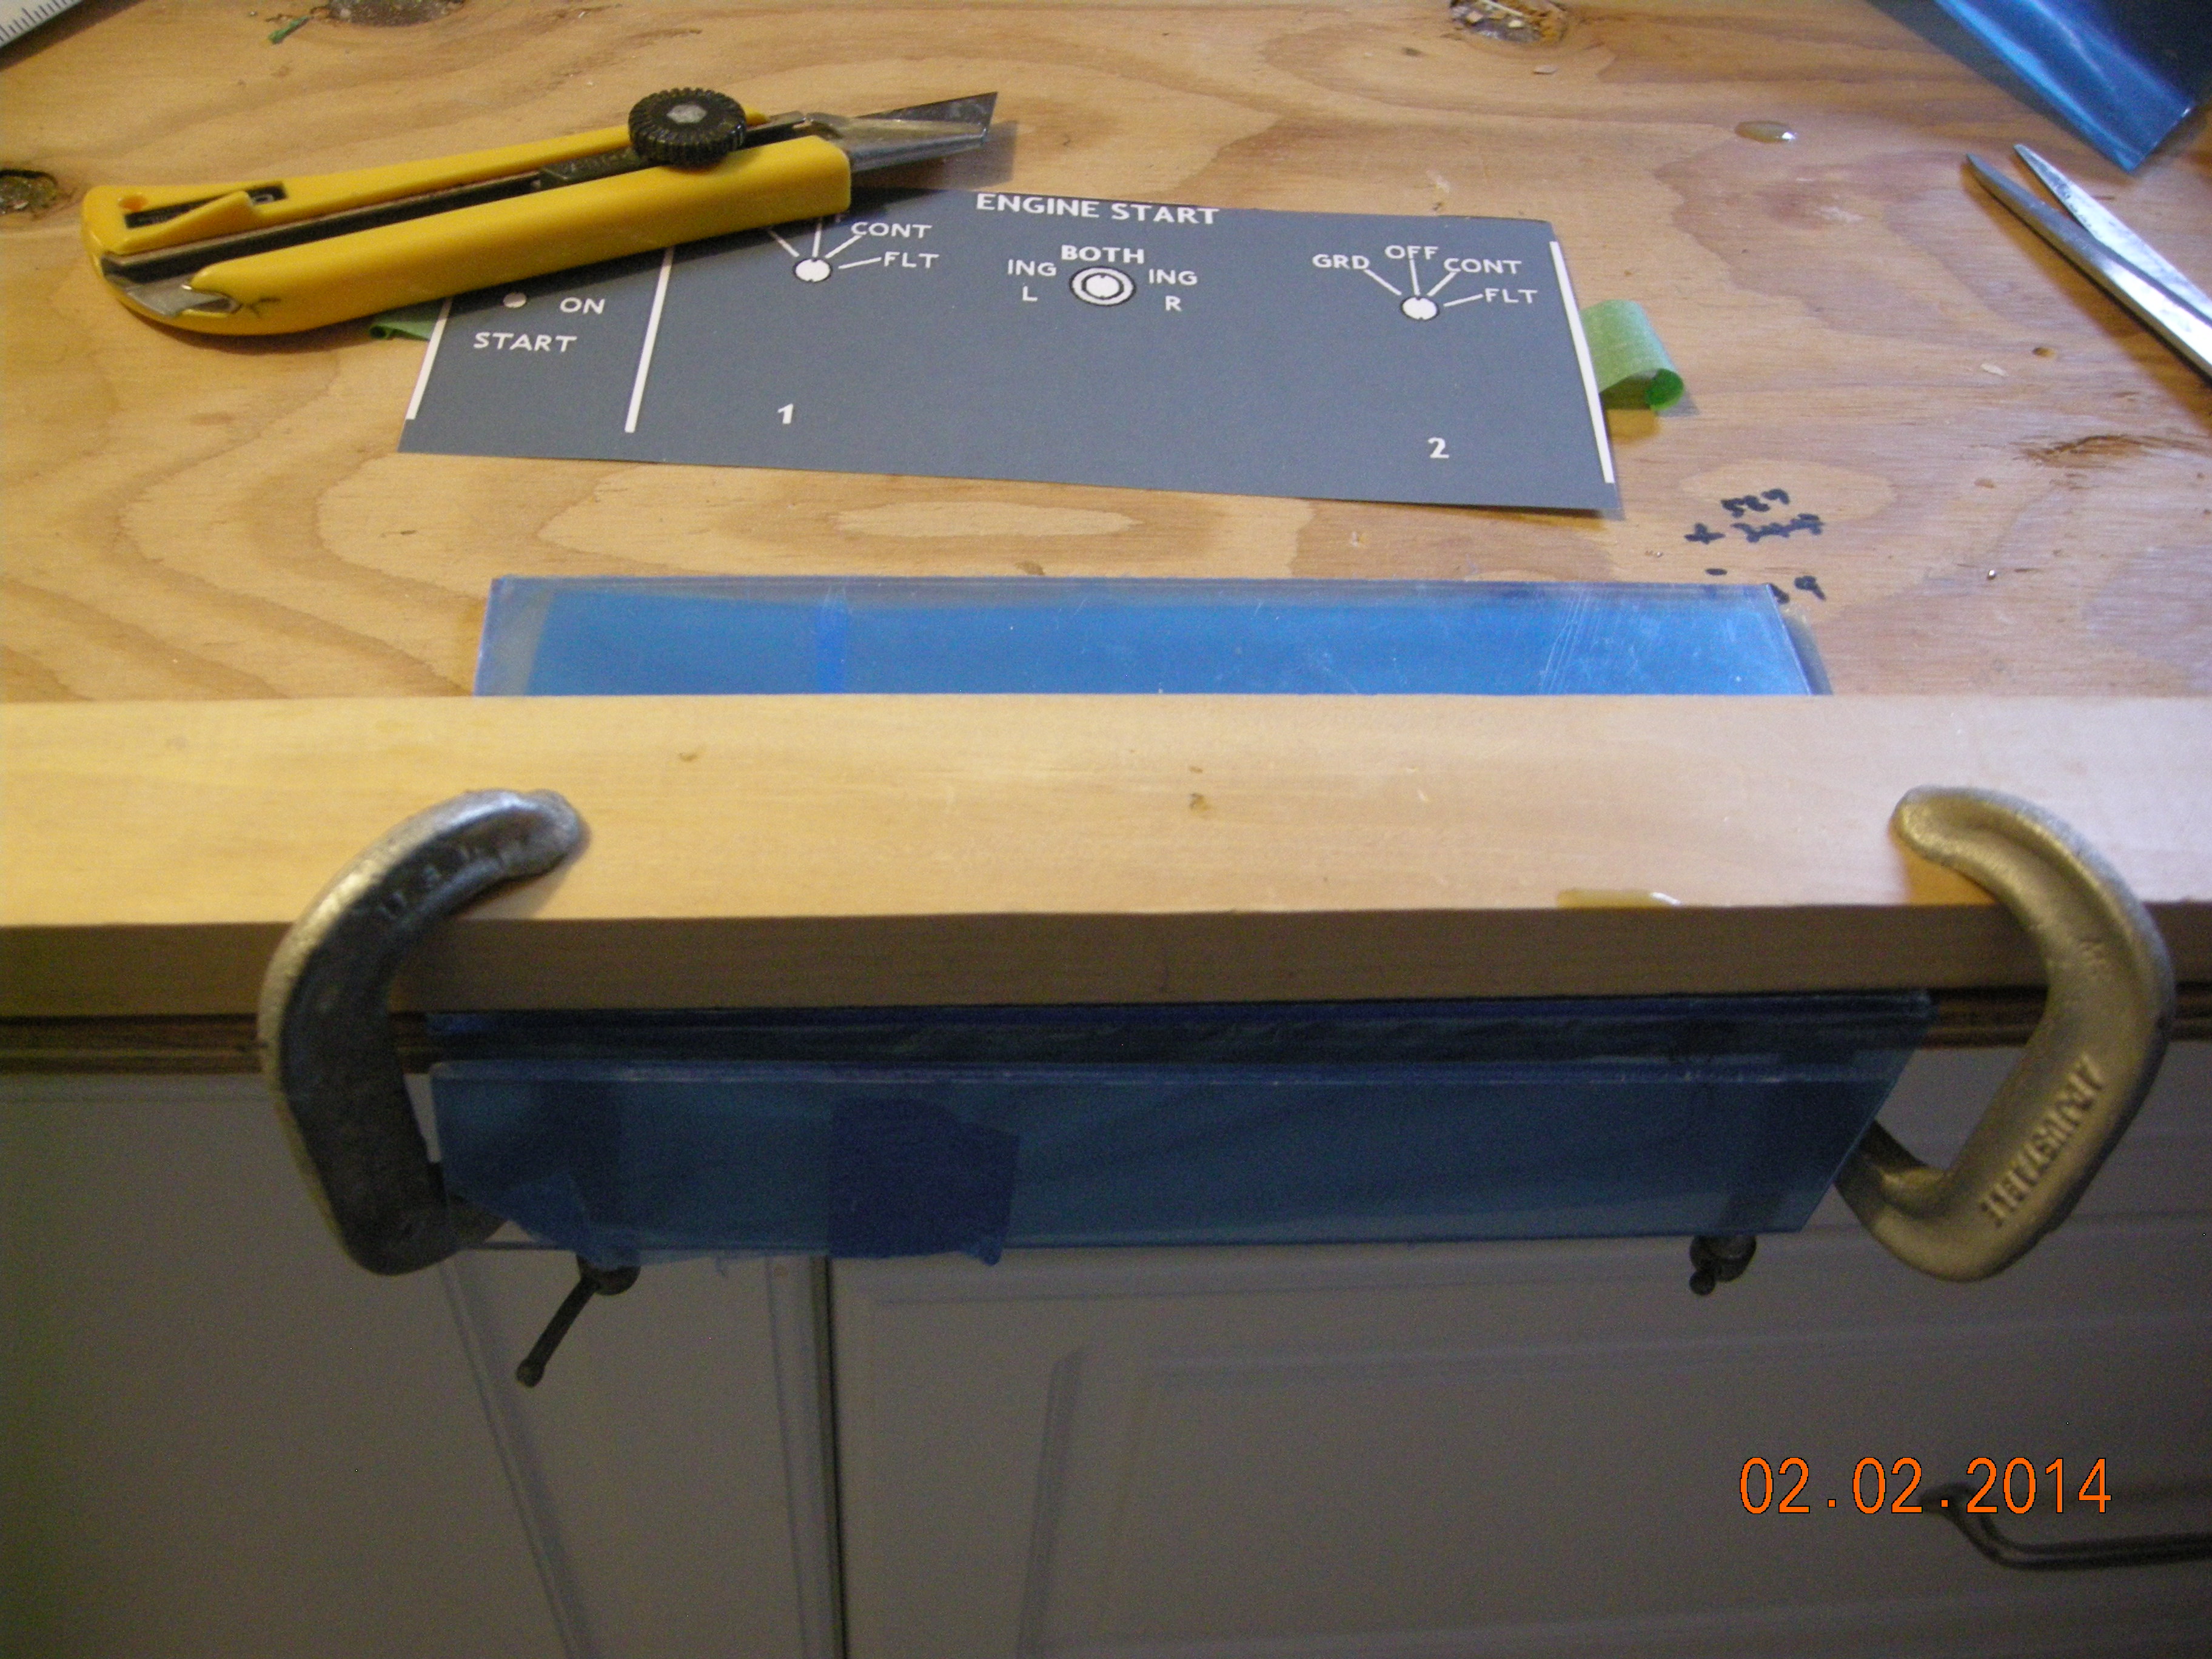
Printout Panels on Avery Sticky paper
| 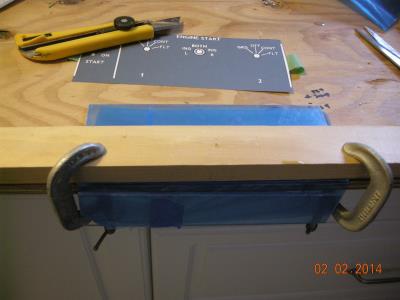
Measure printed panel onto plexi, score and break. Use gloves and safety glasses!
|
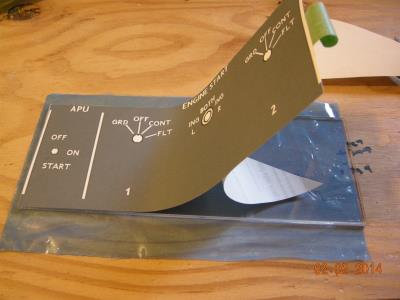
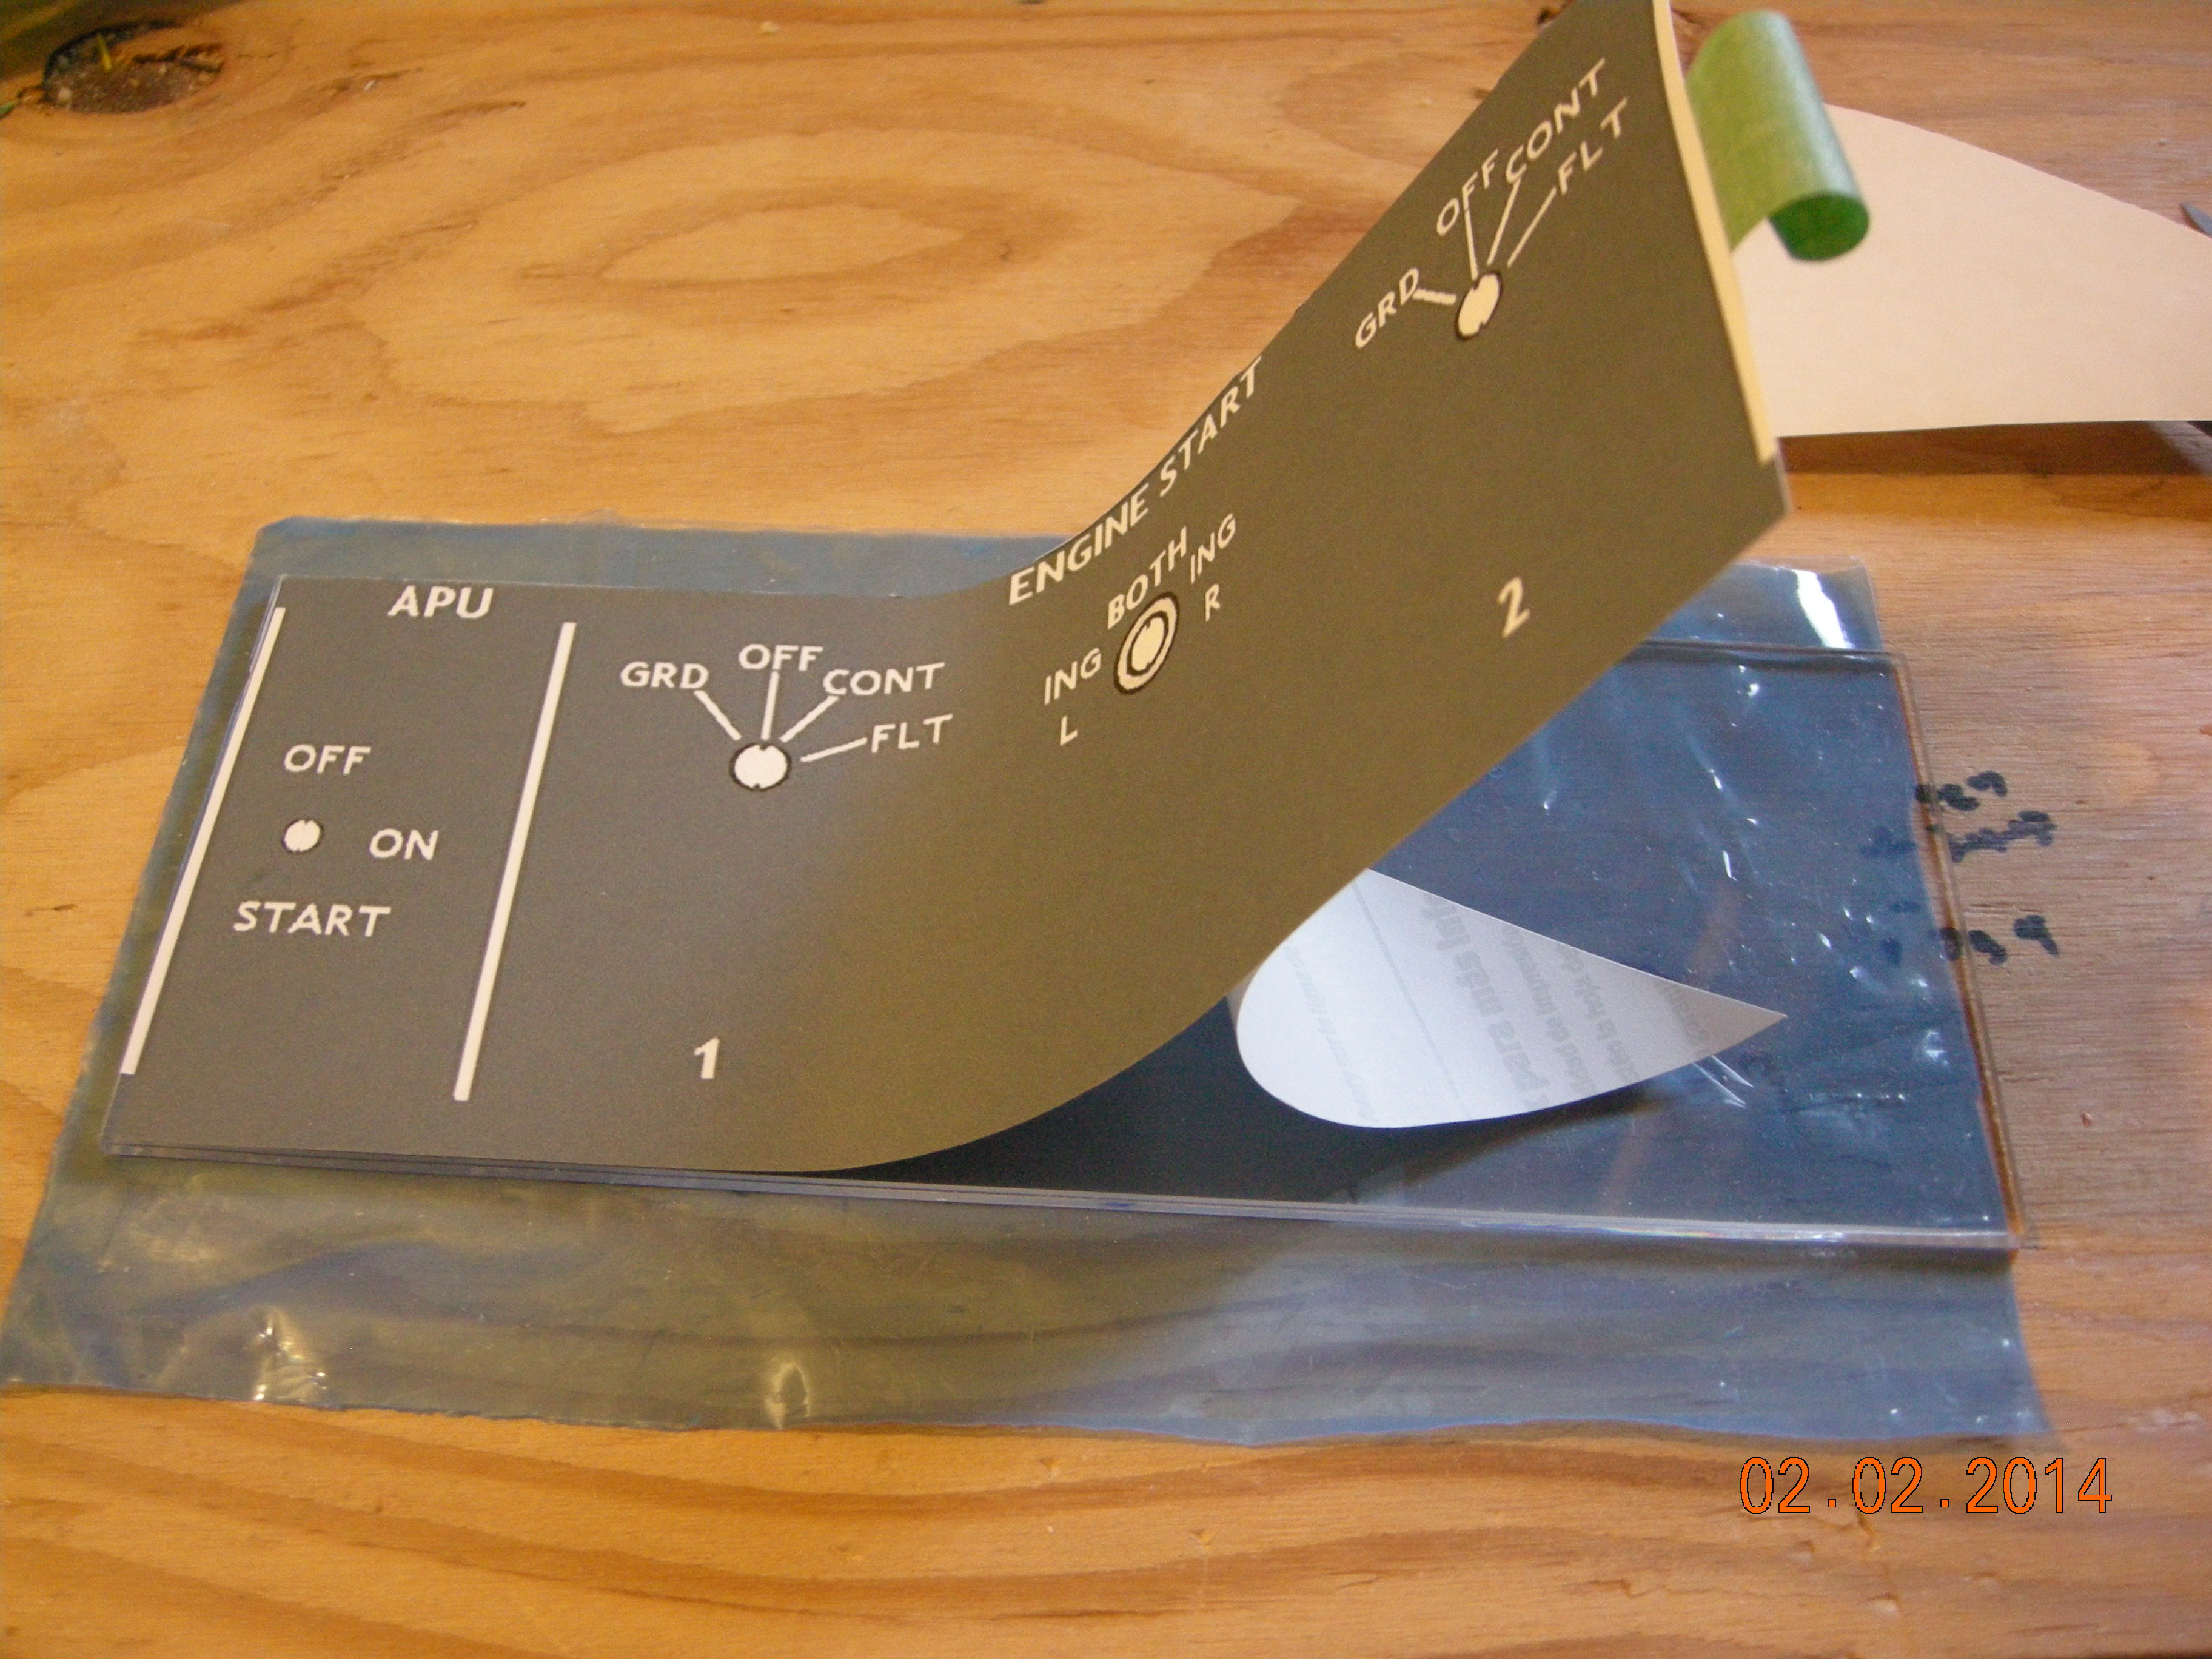
Remove backing and carefully align and press panel printout onto plexi.
| 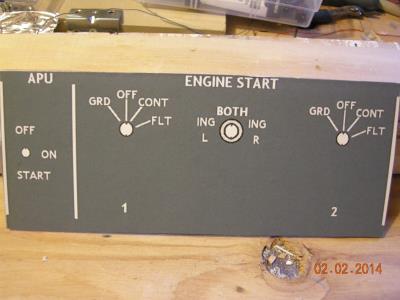
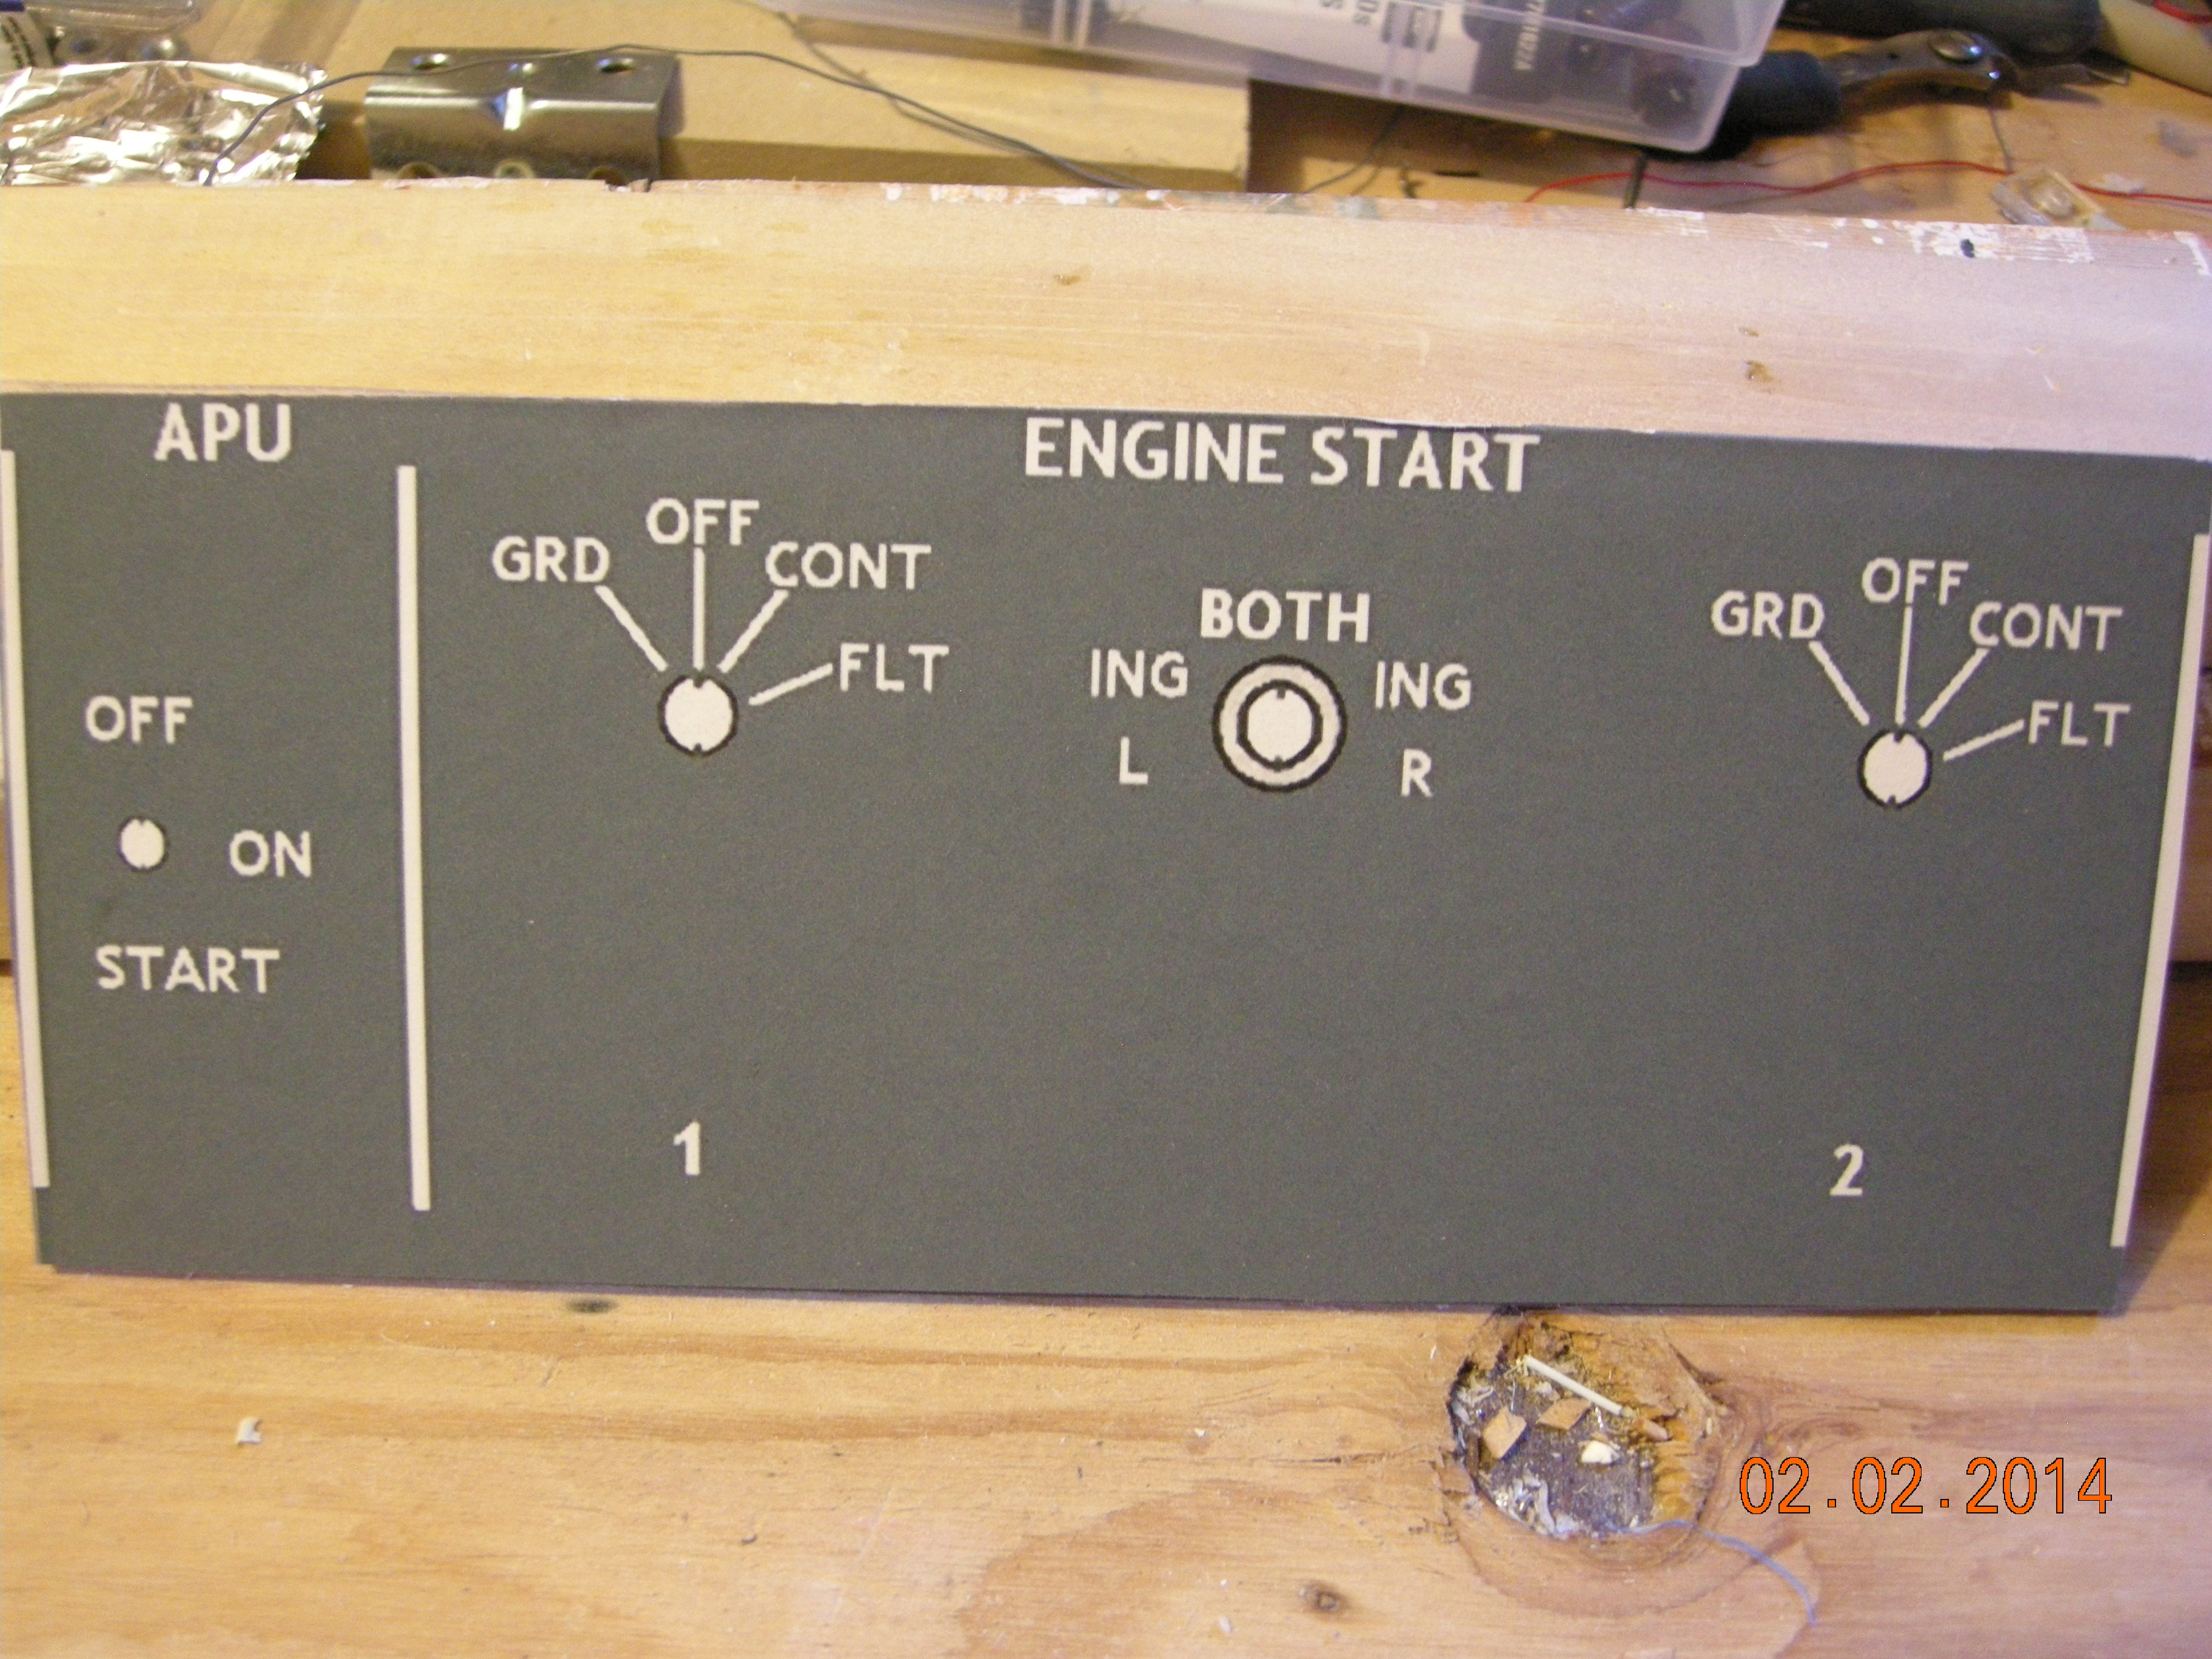
Overhead Engine start panel ready for drilling.
|

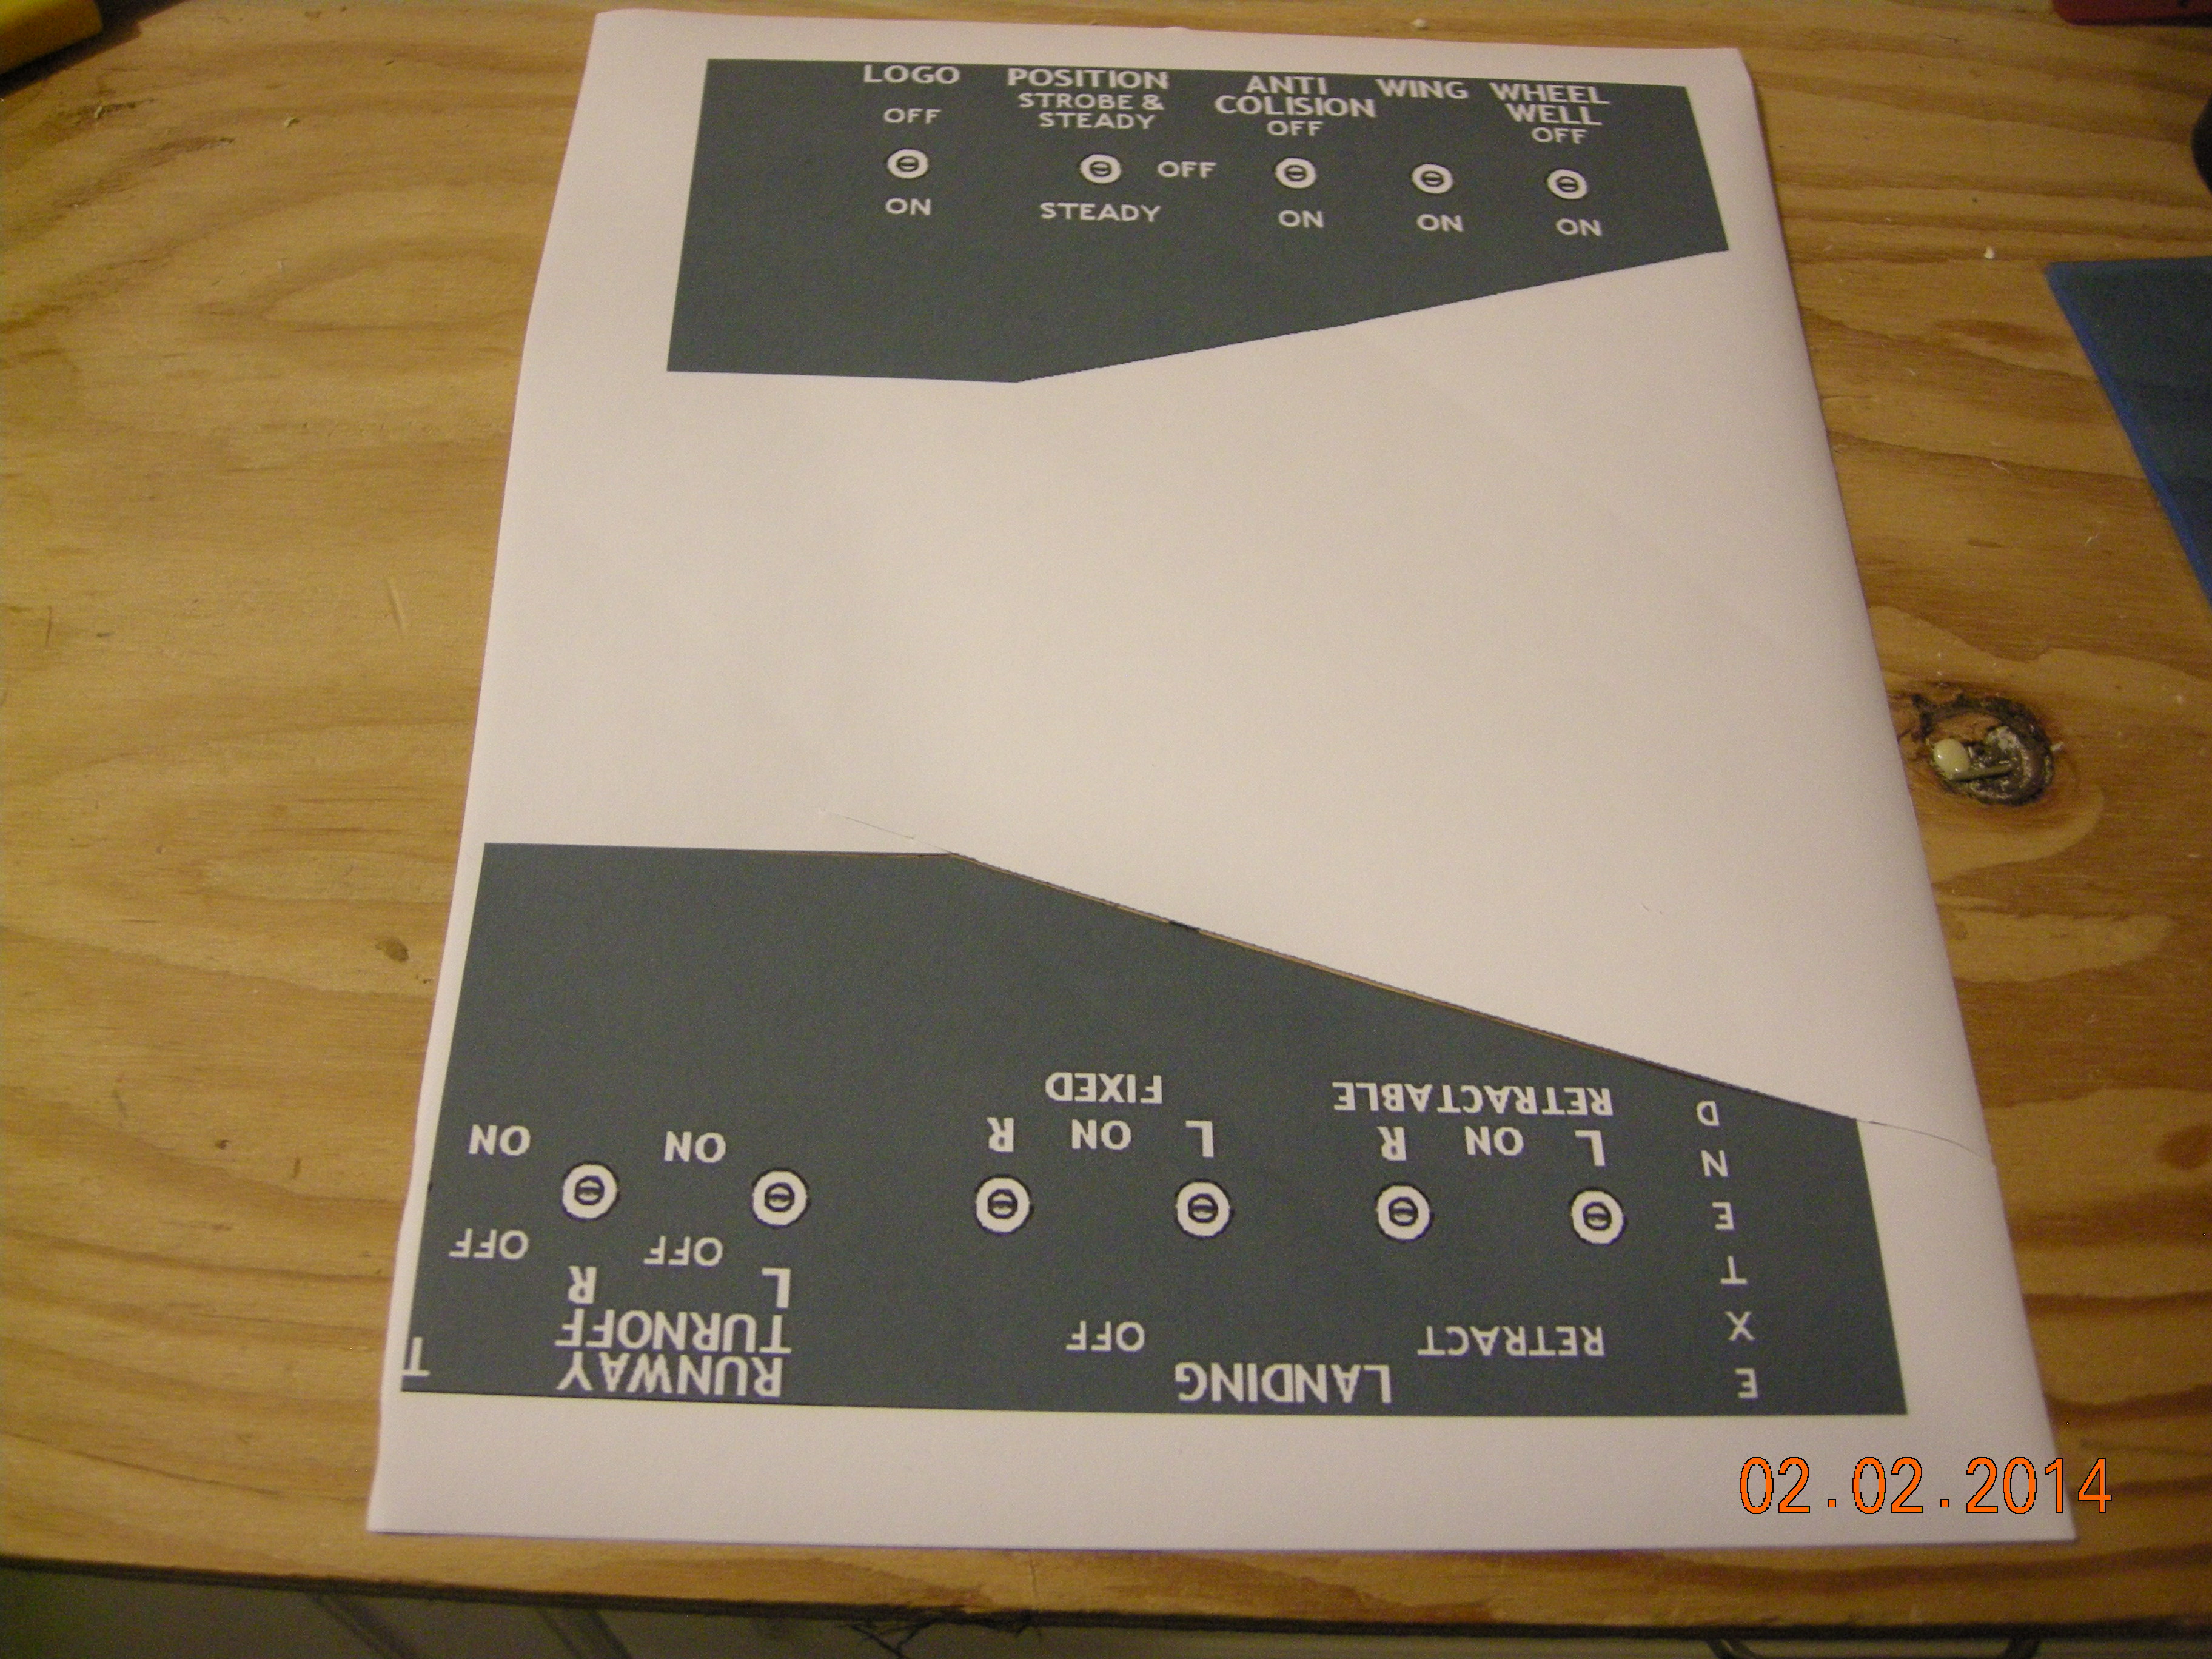
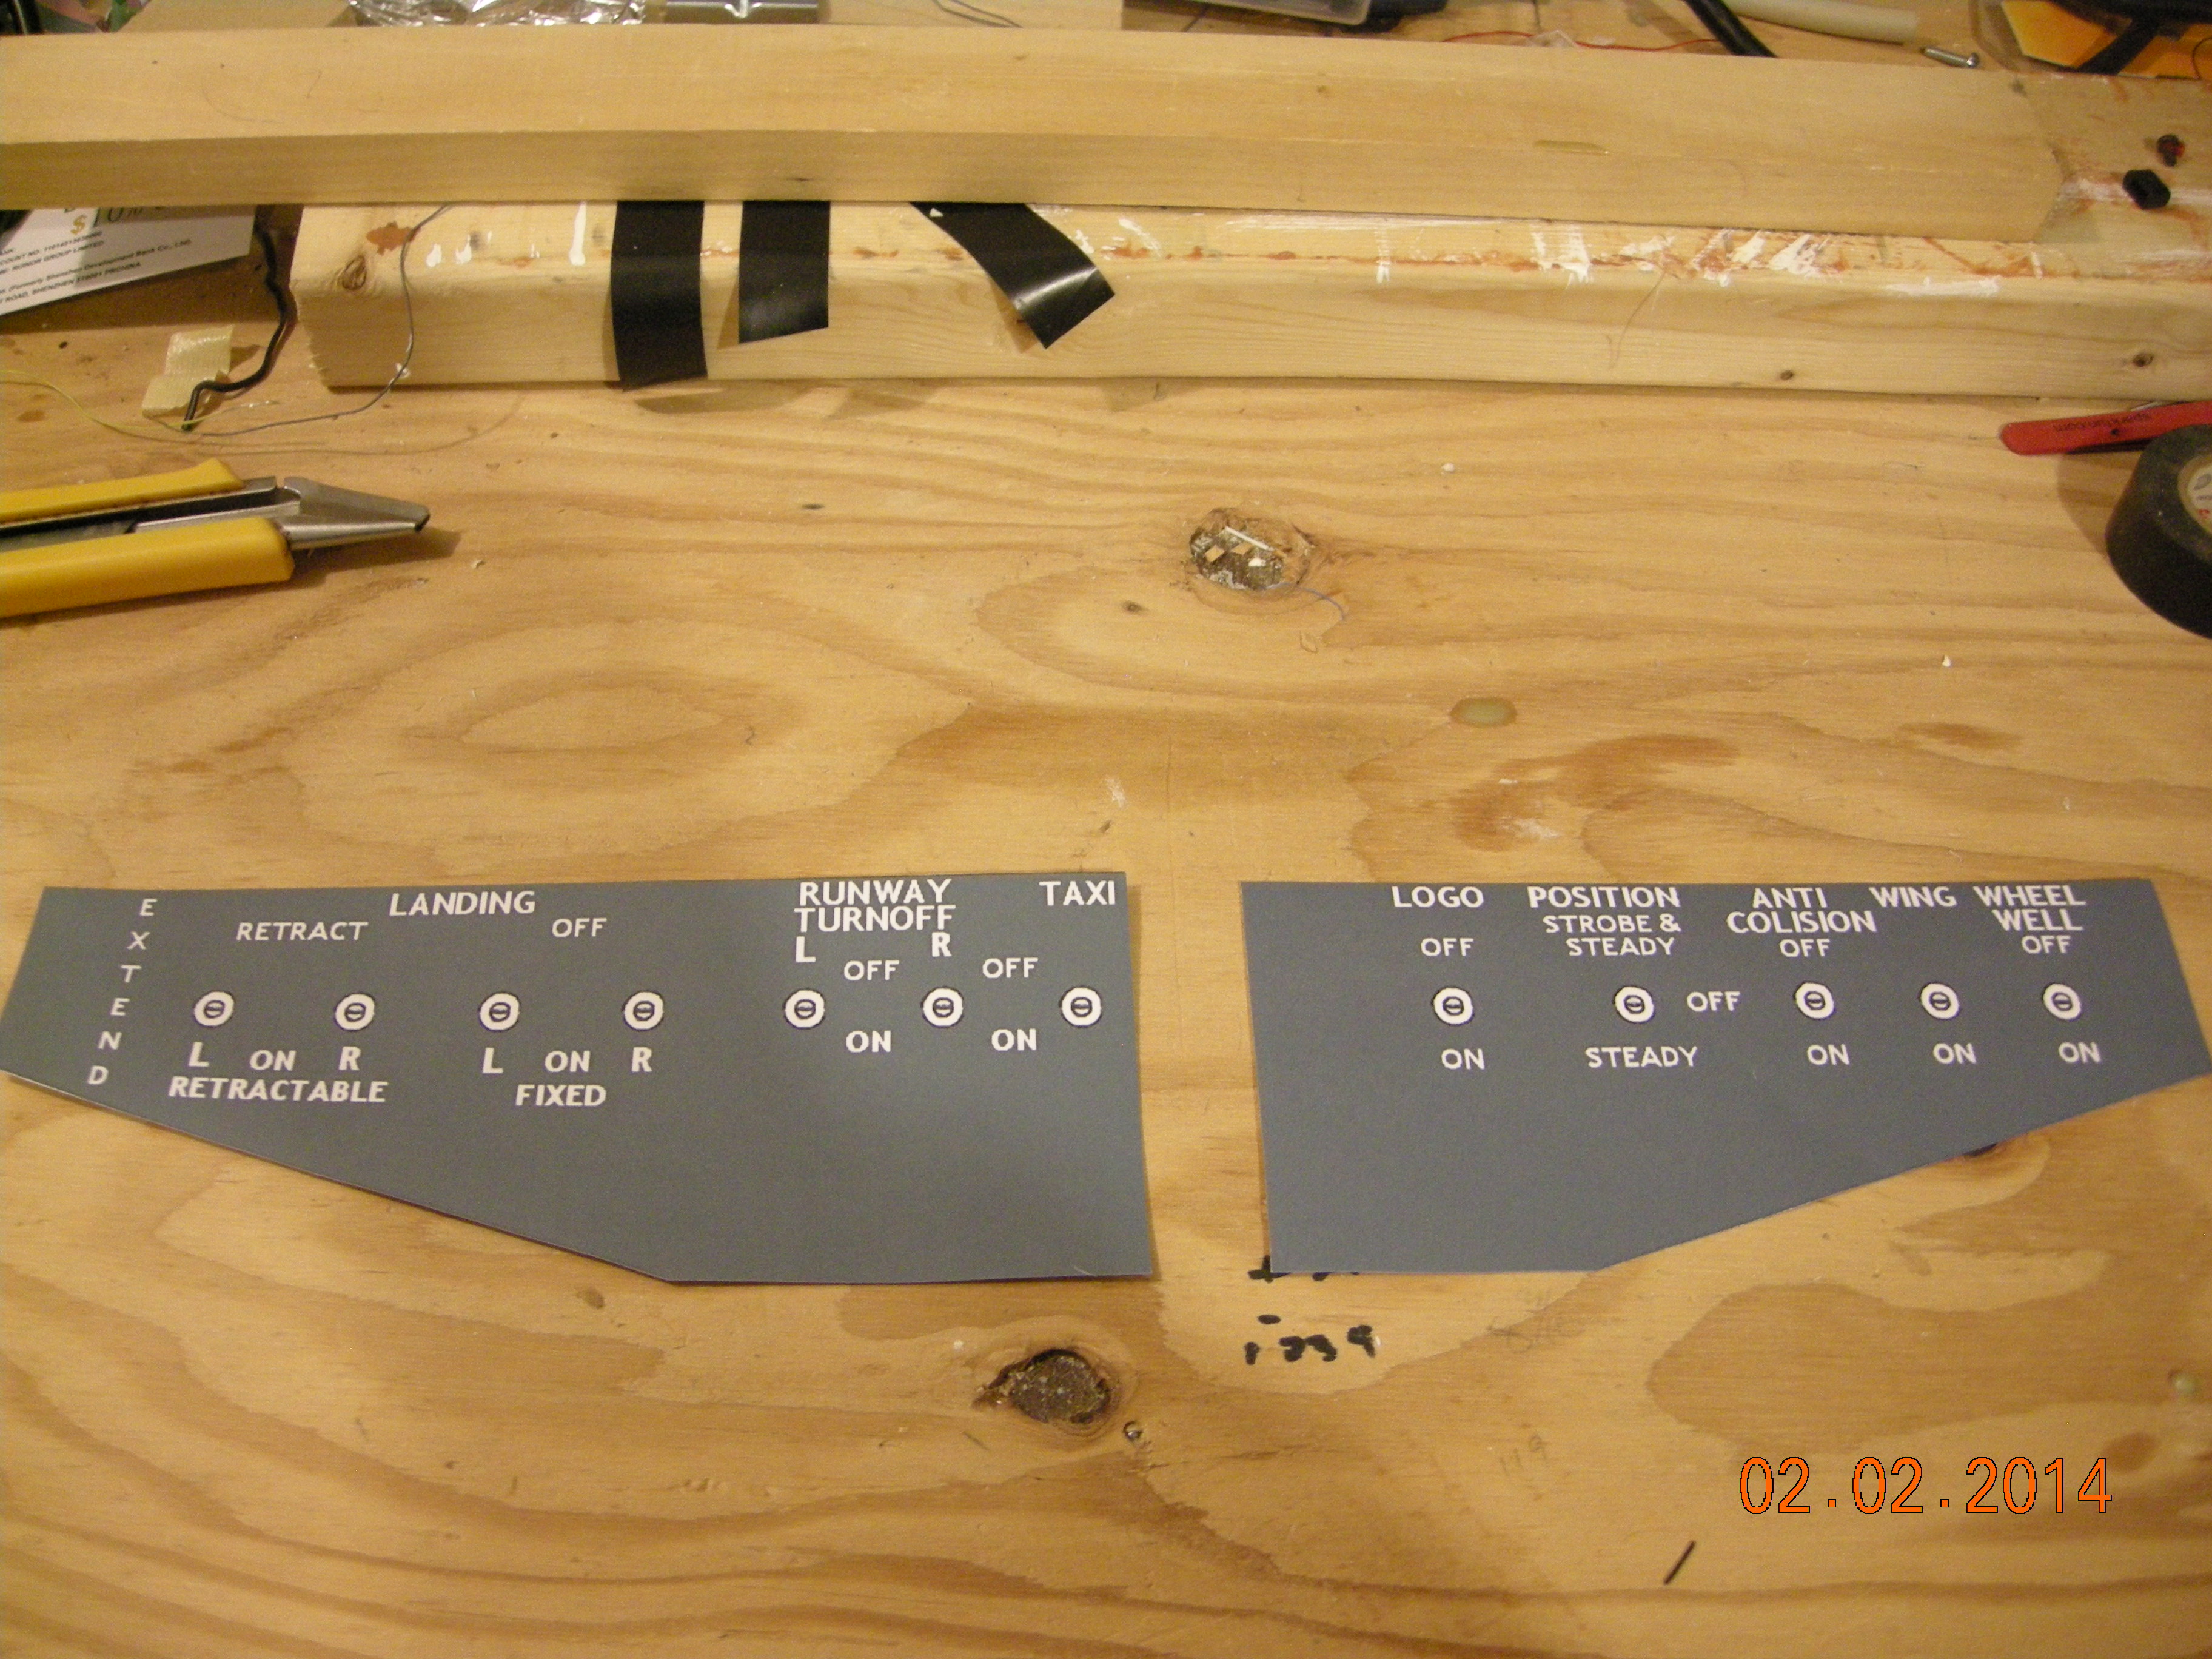
Lighting Panels printed out on Avery paper.
| 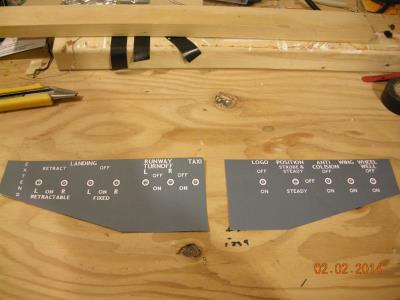
Follow the same procedure as the Start Panel above.
|
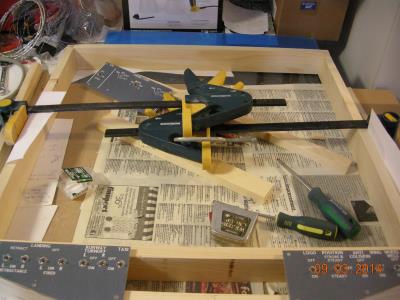
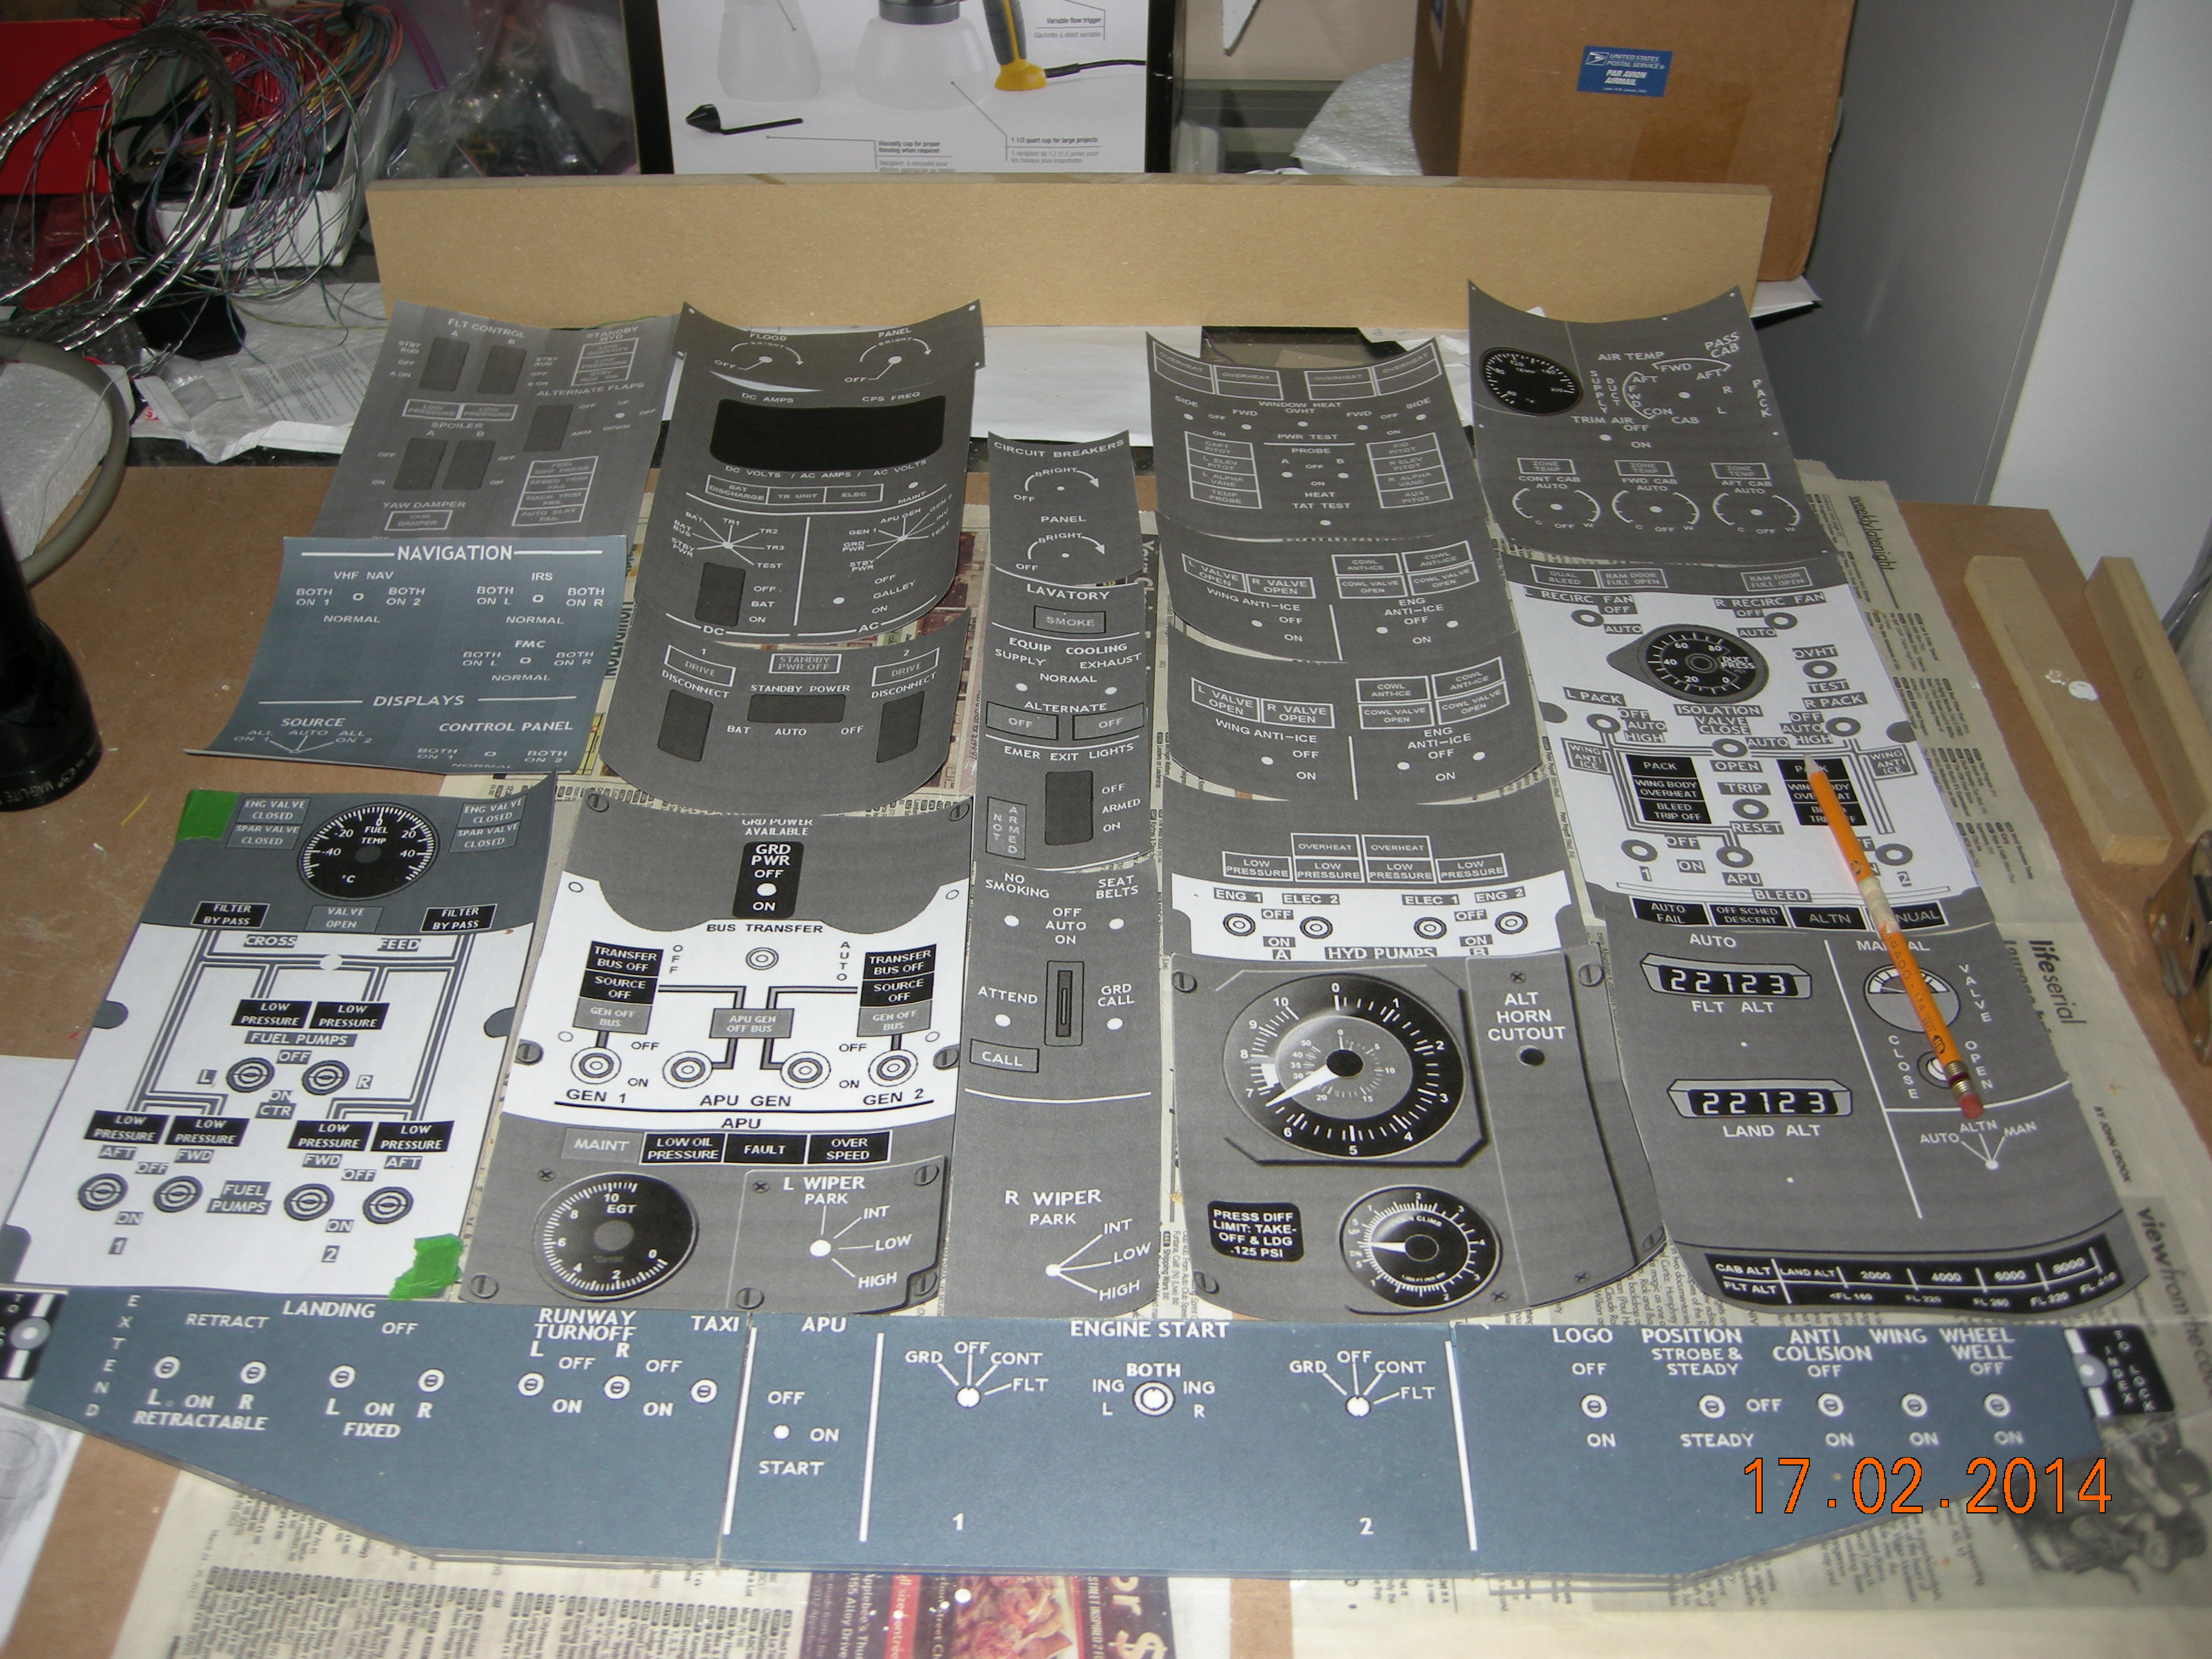
Fitting panels to find the overhead dimensions.
| 
Lining up with panels for width. Everyone's OH will be different.
|

Fitting cardboard backed panels for sizing of frame
| 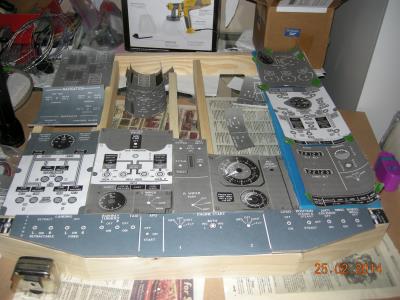
Adding more panels to determine overhead dimensions.
|
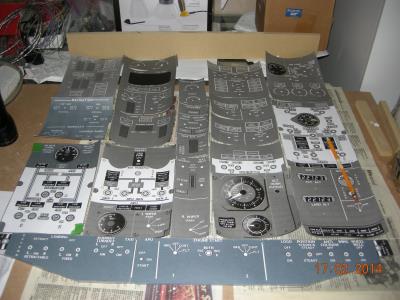
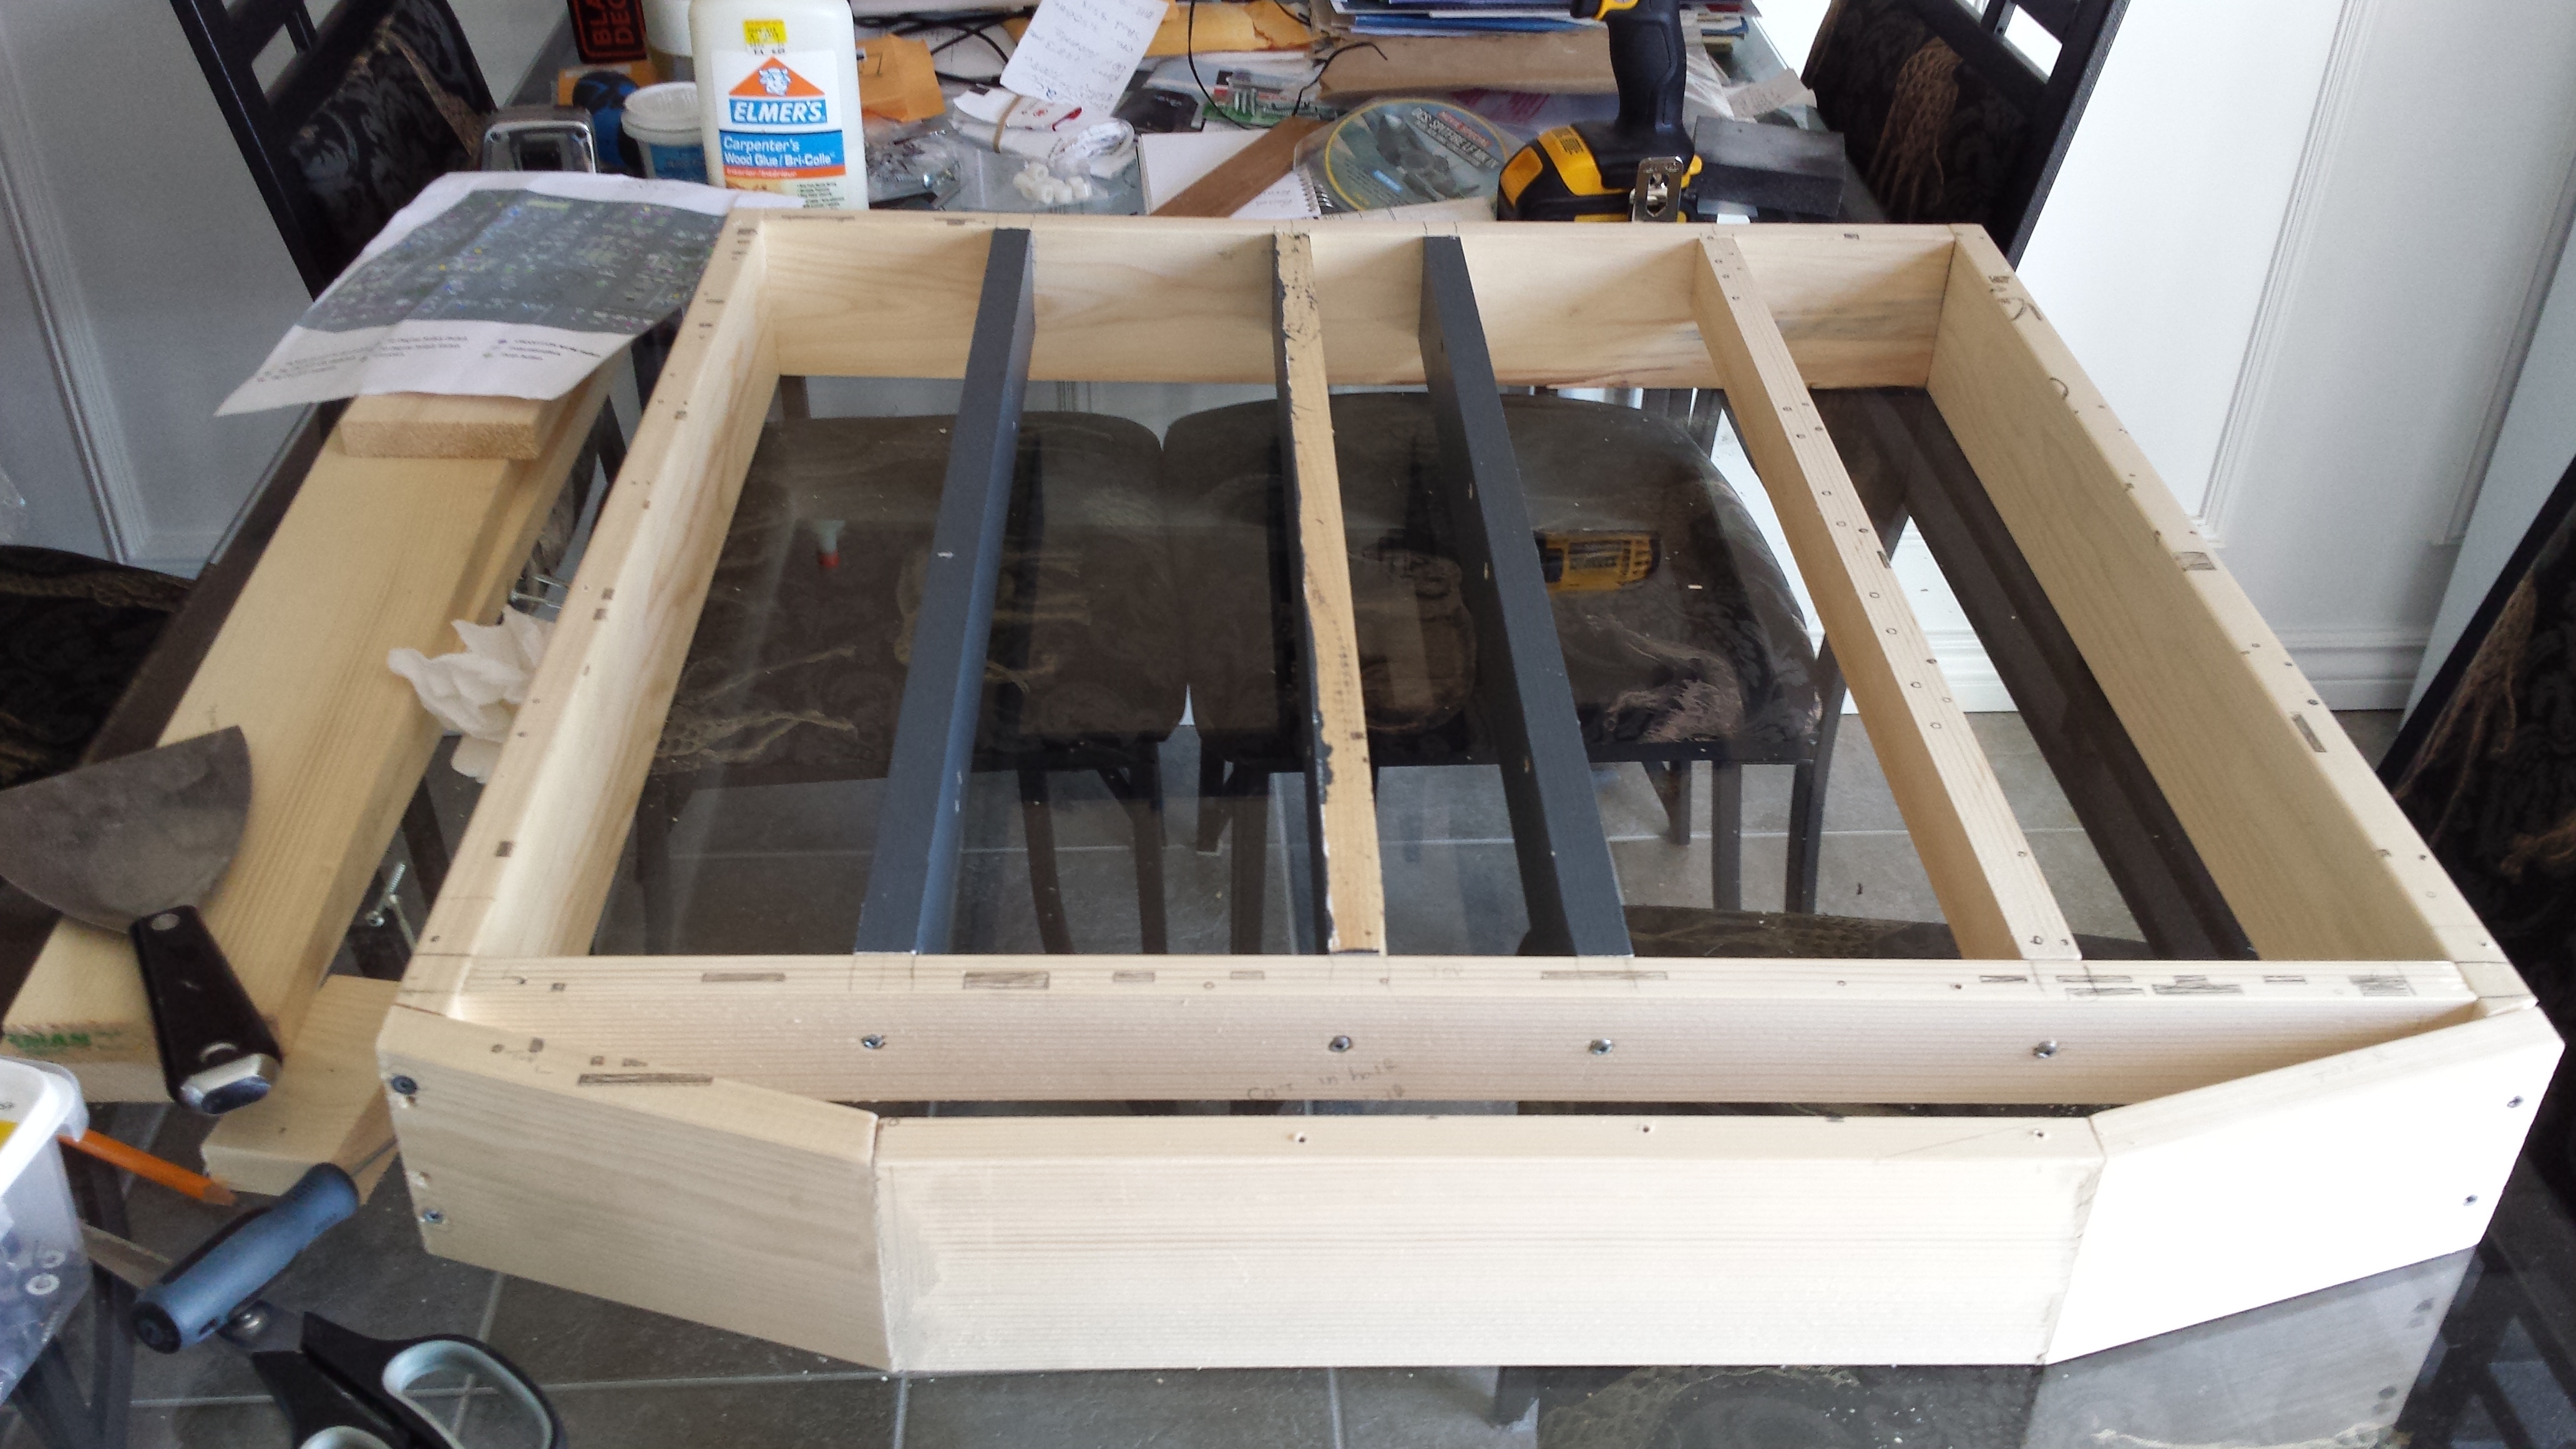
This gives me an idea of the frame dimensions.
| 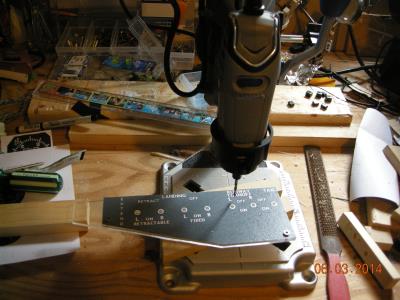
Drilling panels for switches. Back and front panels screwed together for drilling.
|
Most of the lighting toggle switches in place.
| 
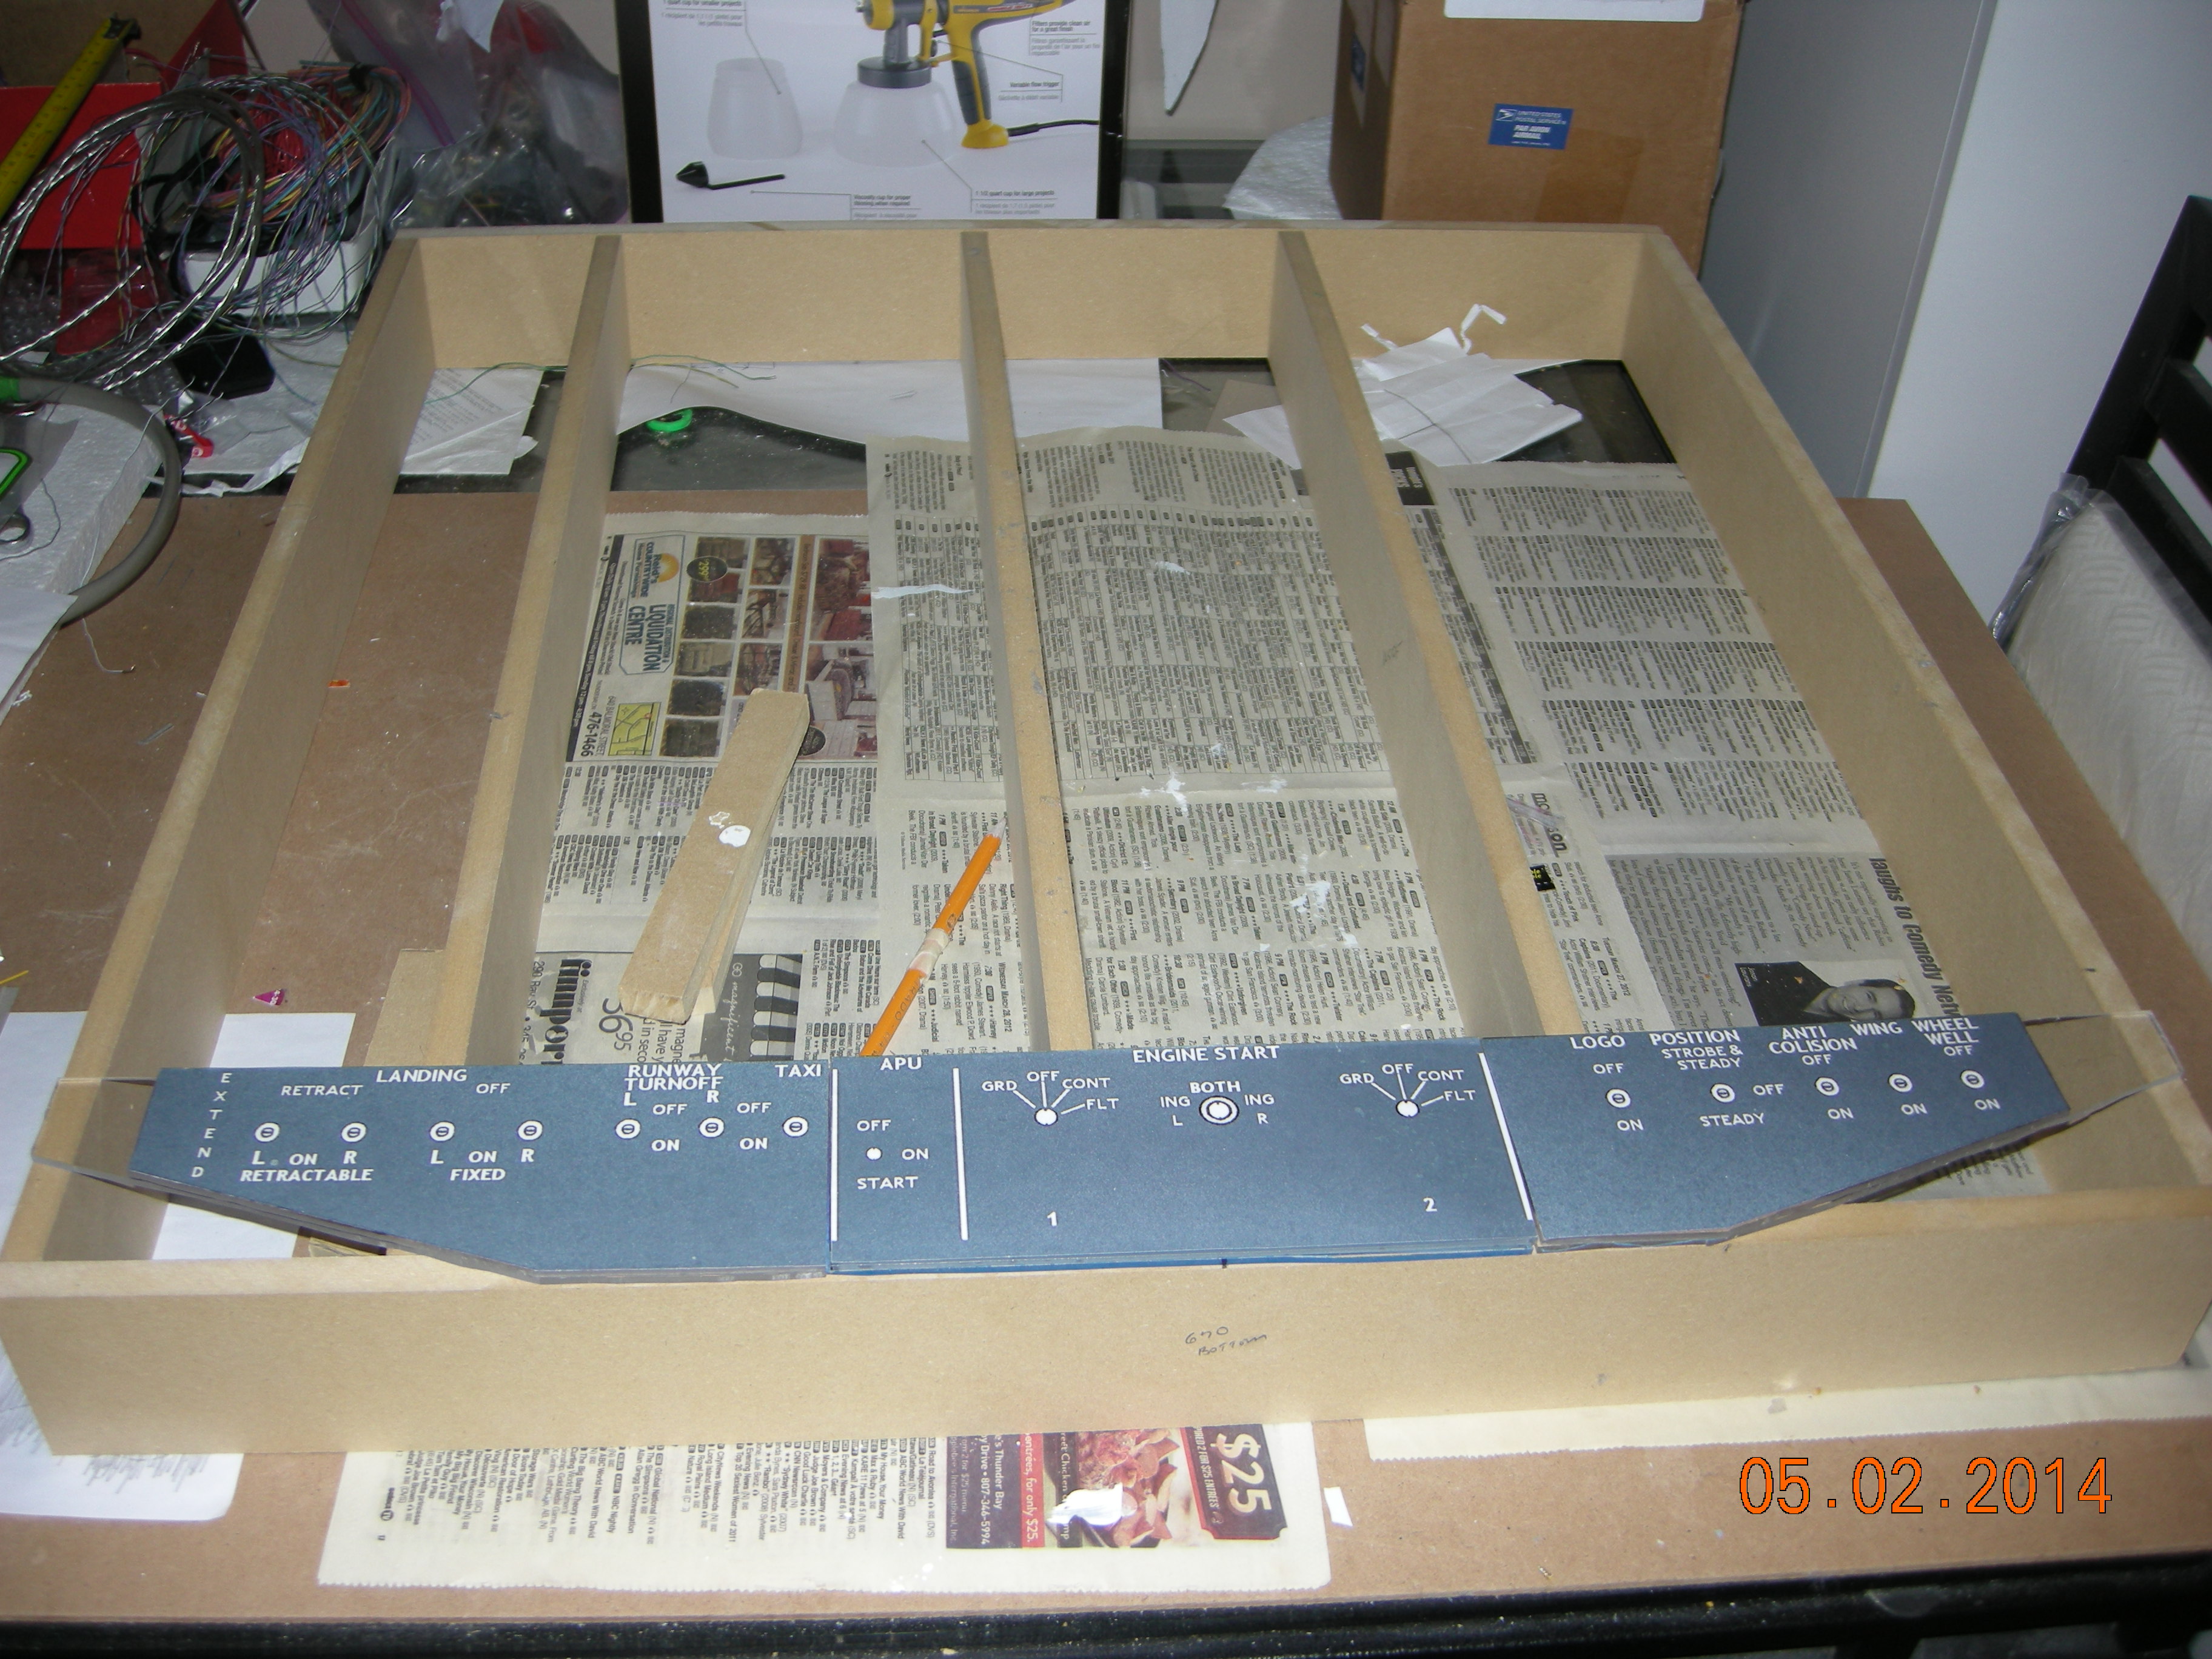
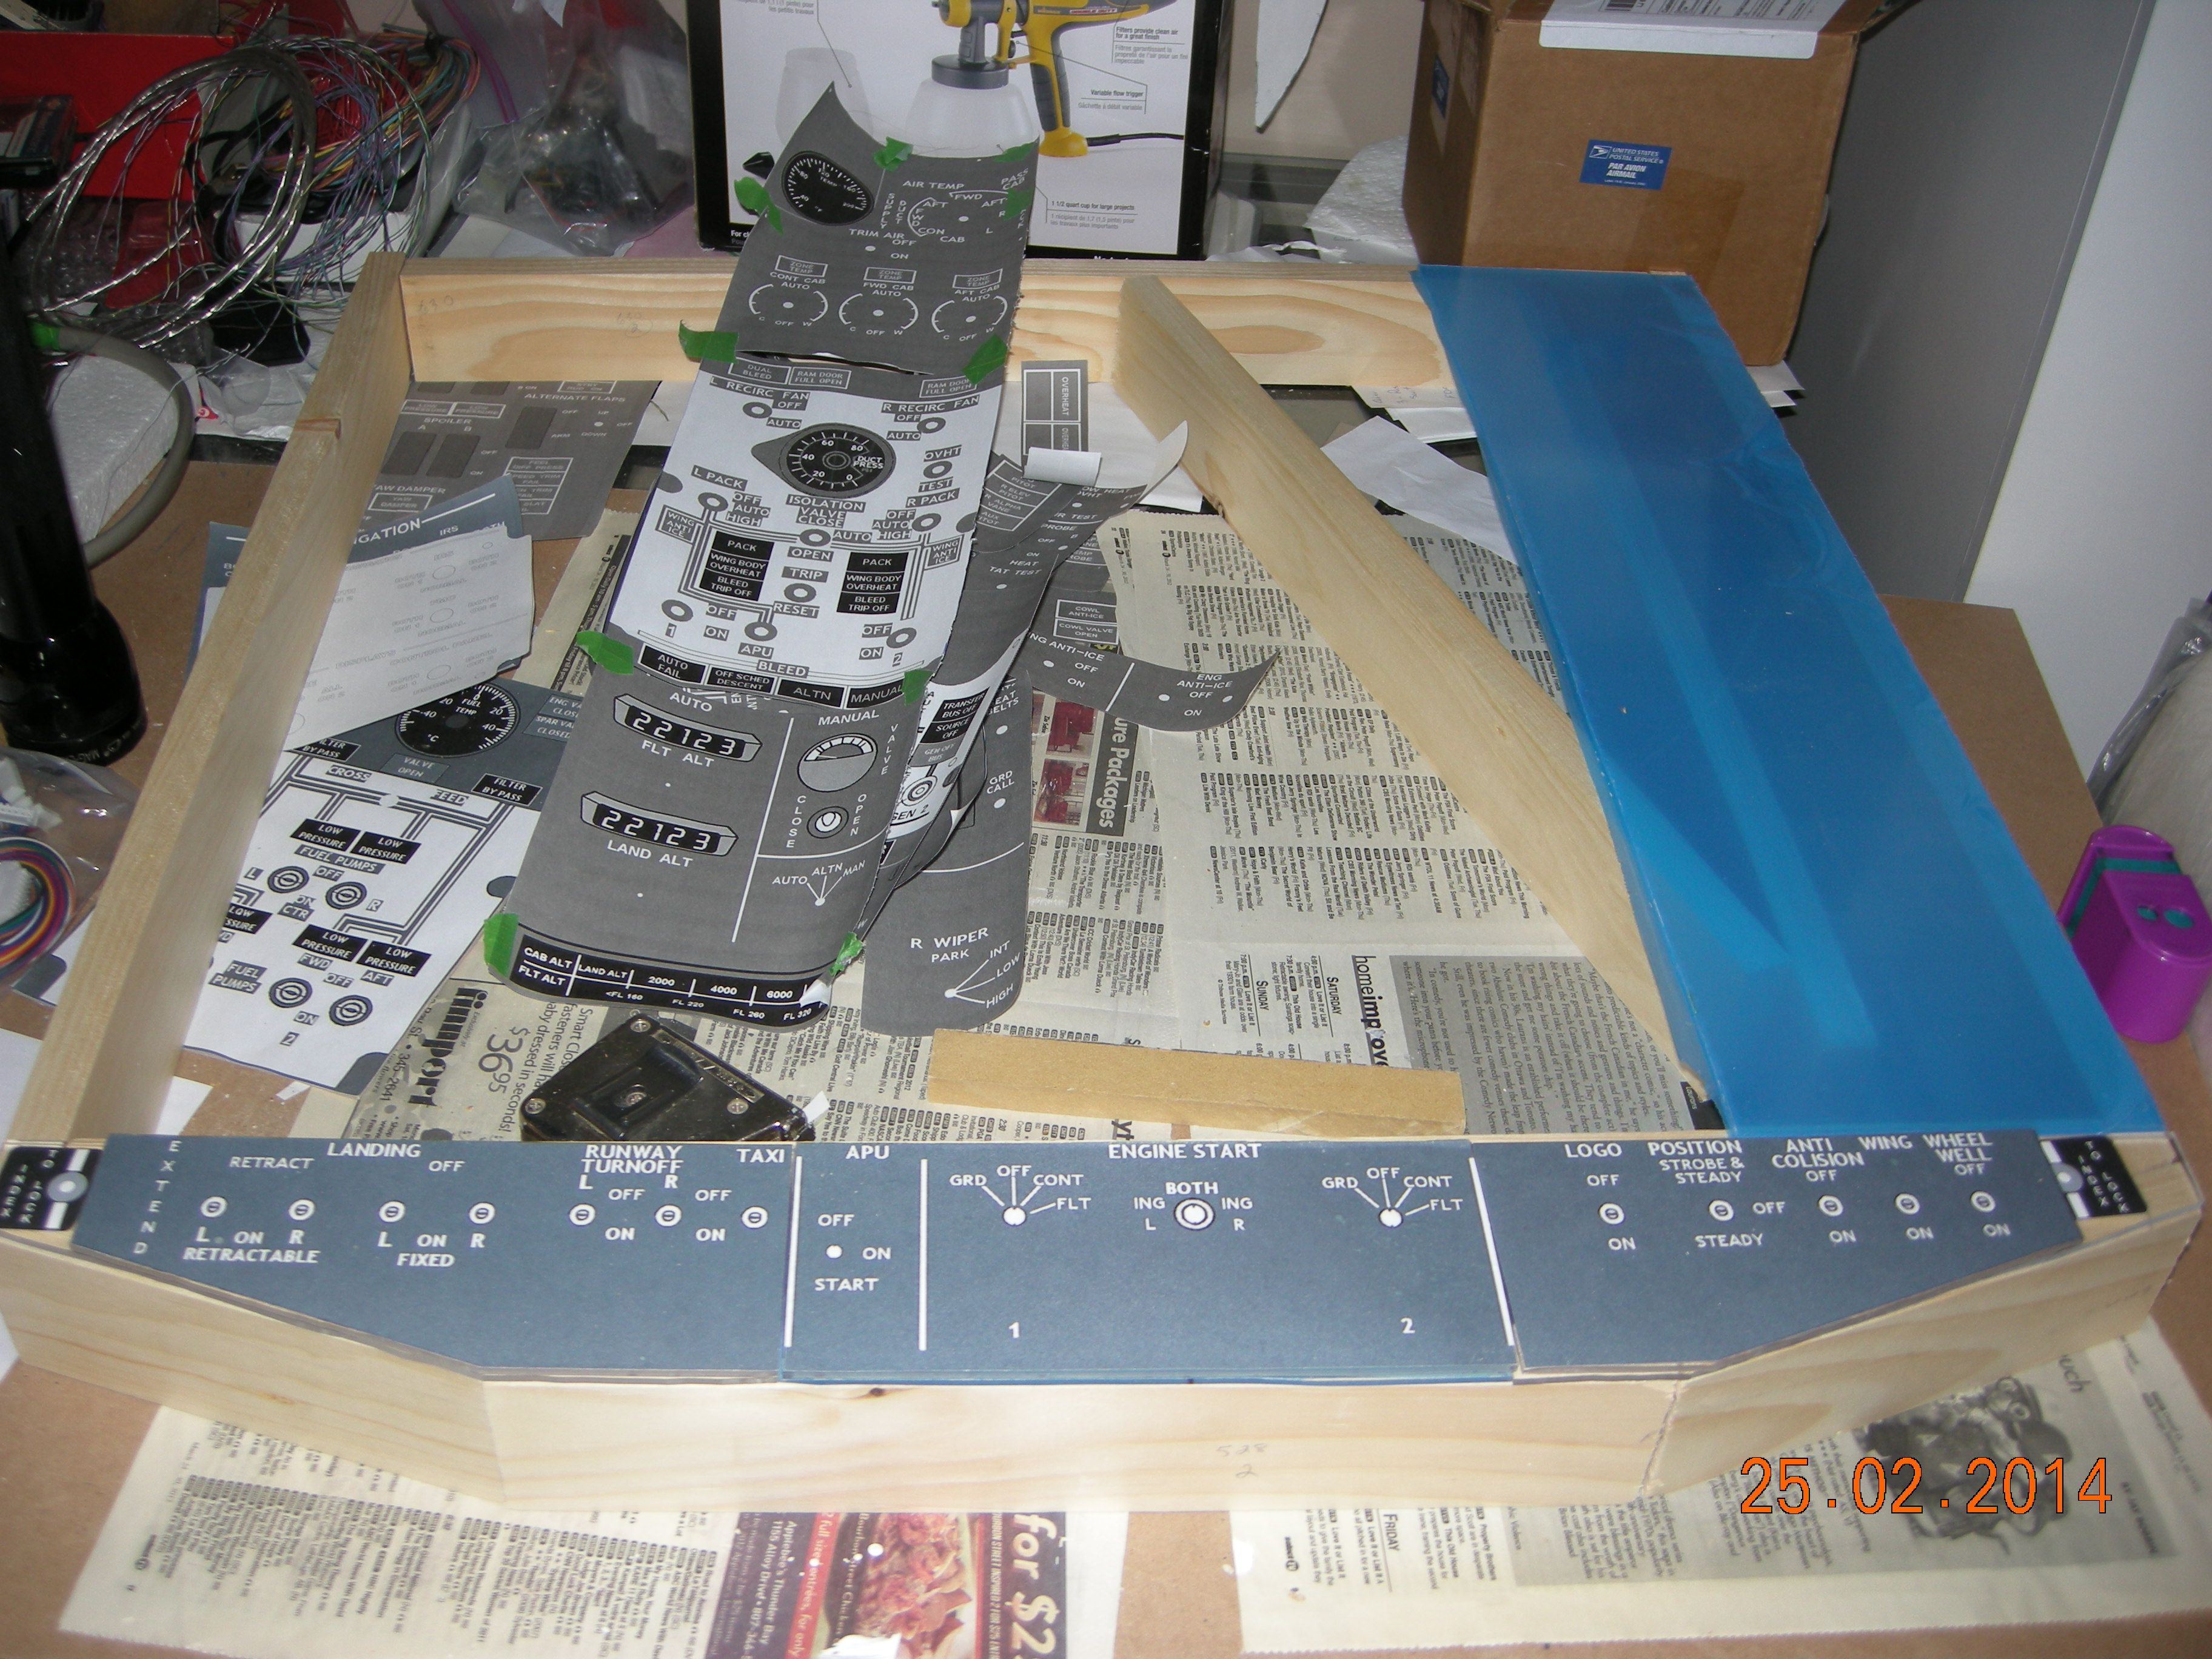
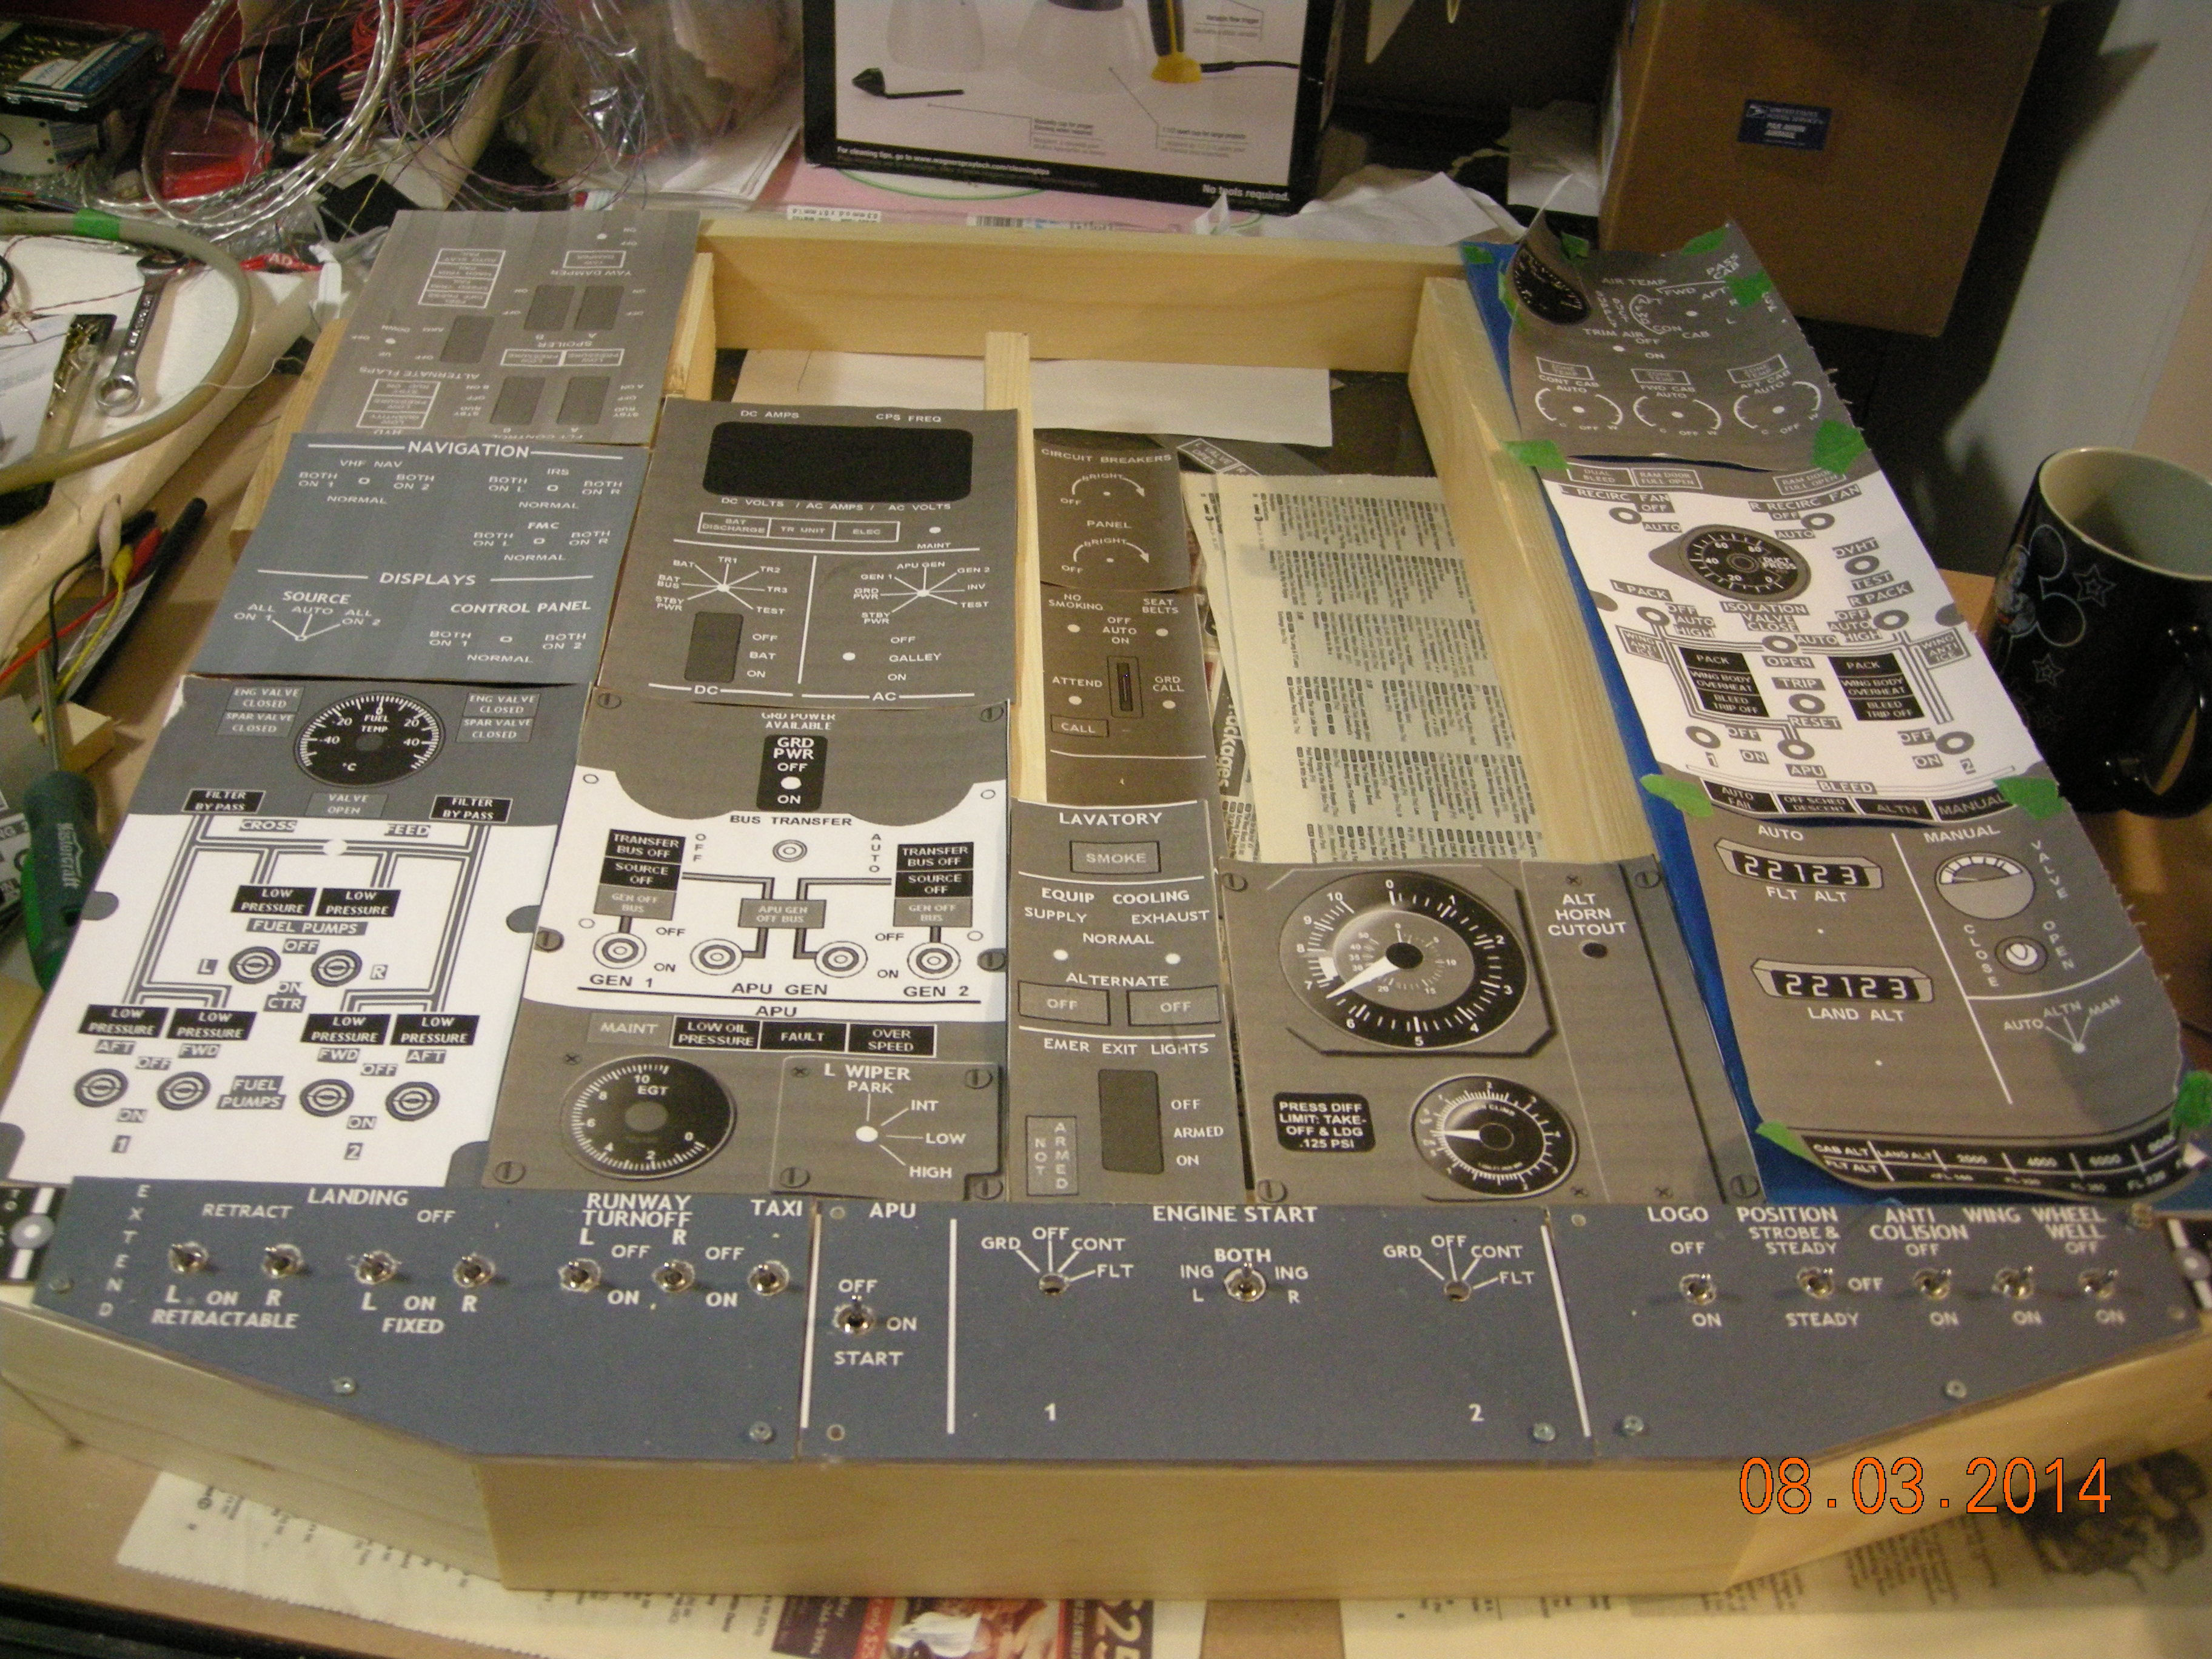
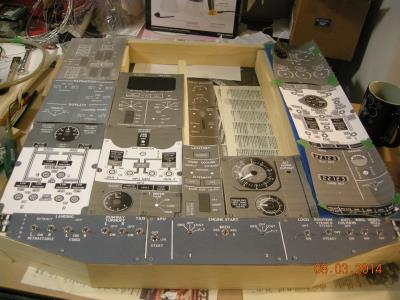
Fitting Lighting and Start panels.
|

Inner panel supports in place. Note the line showing edge of each
panel.
| 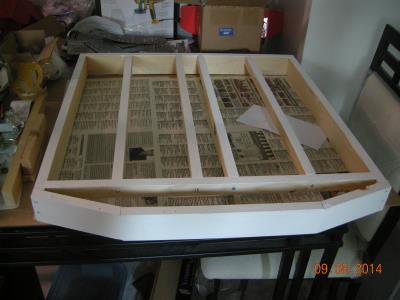
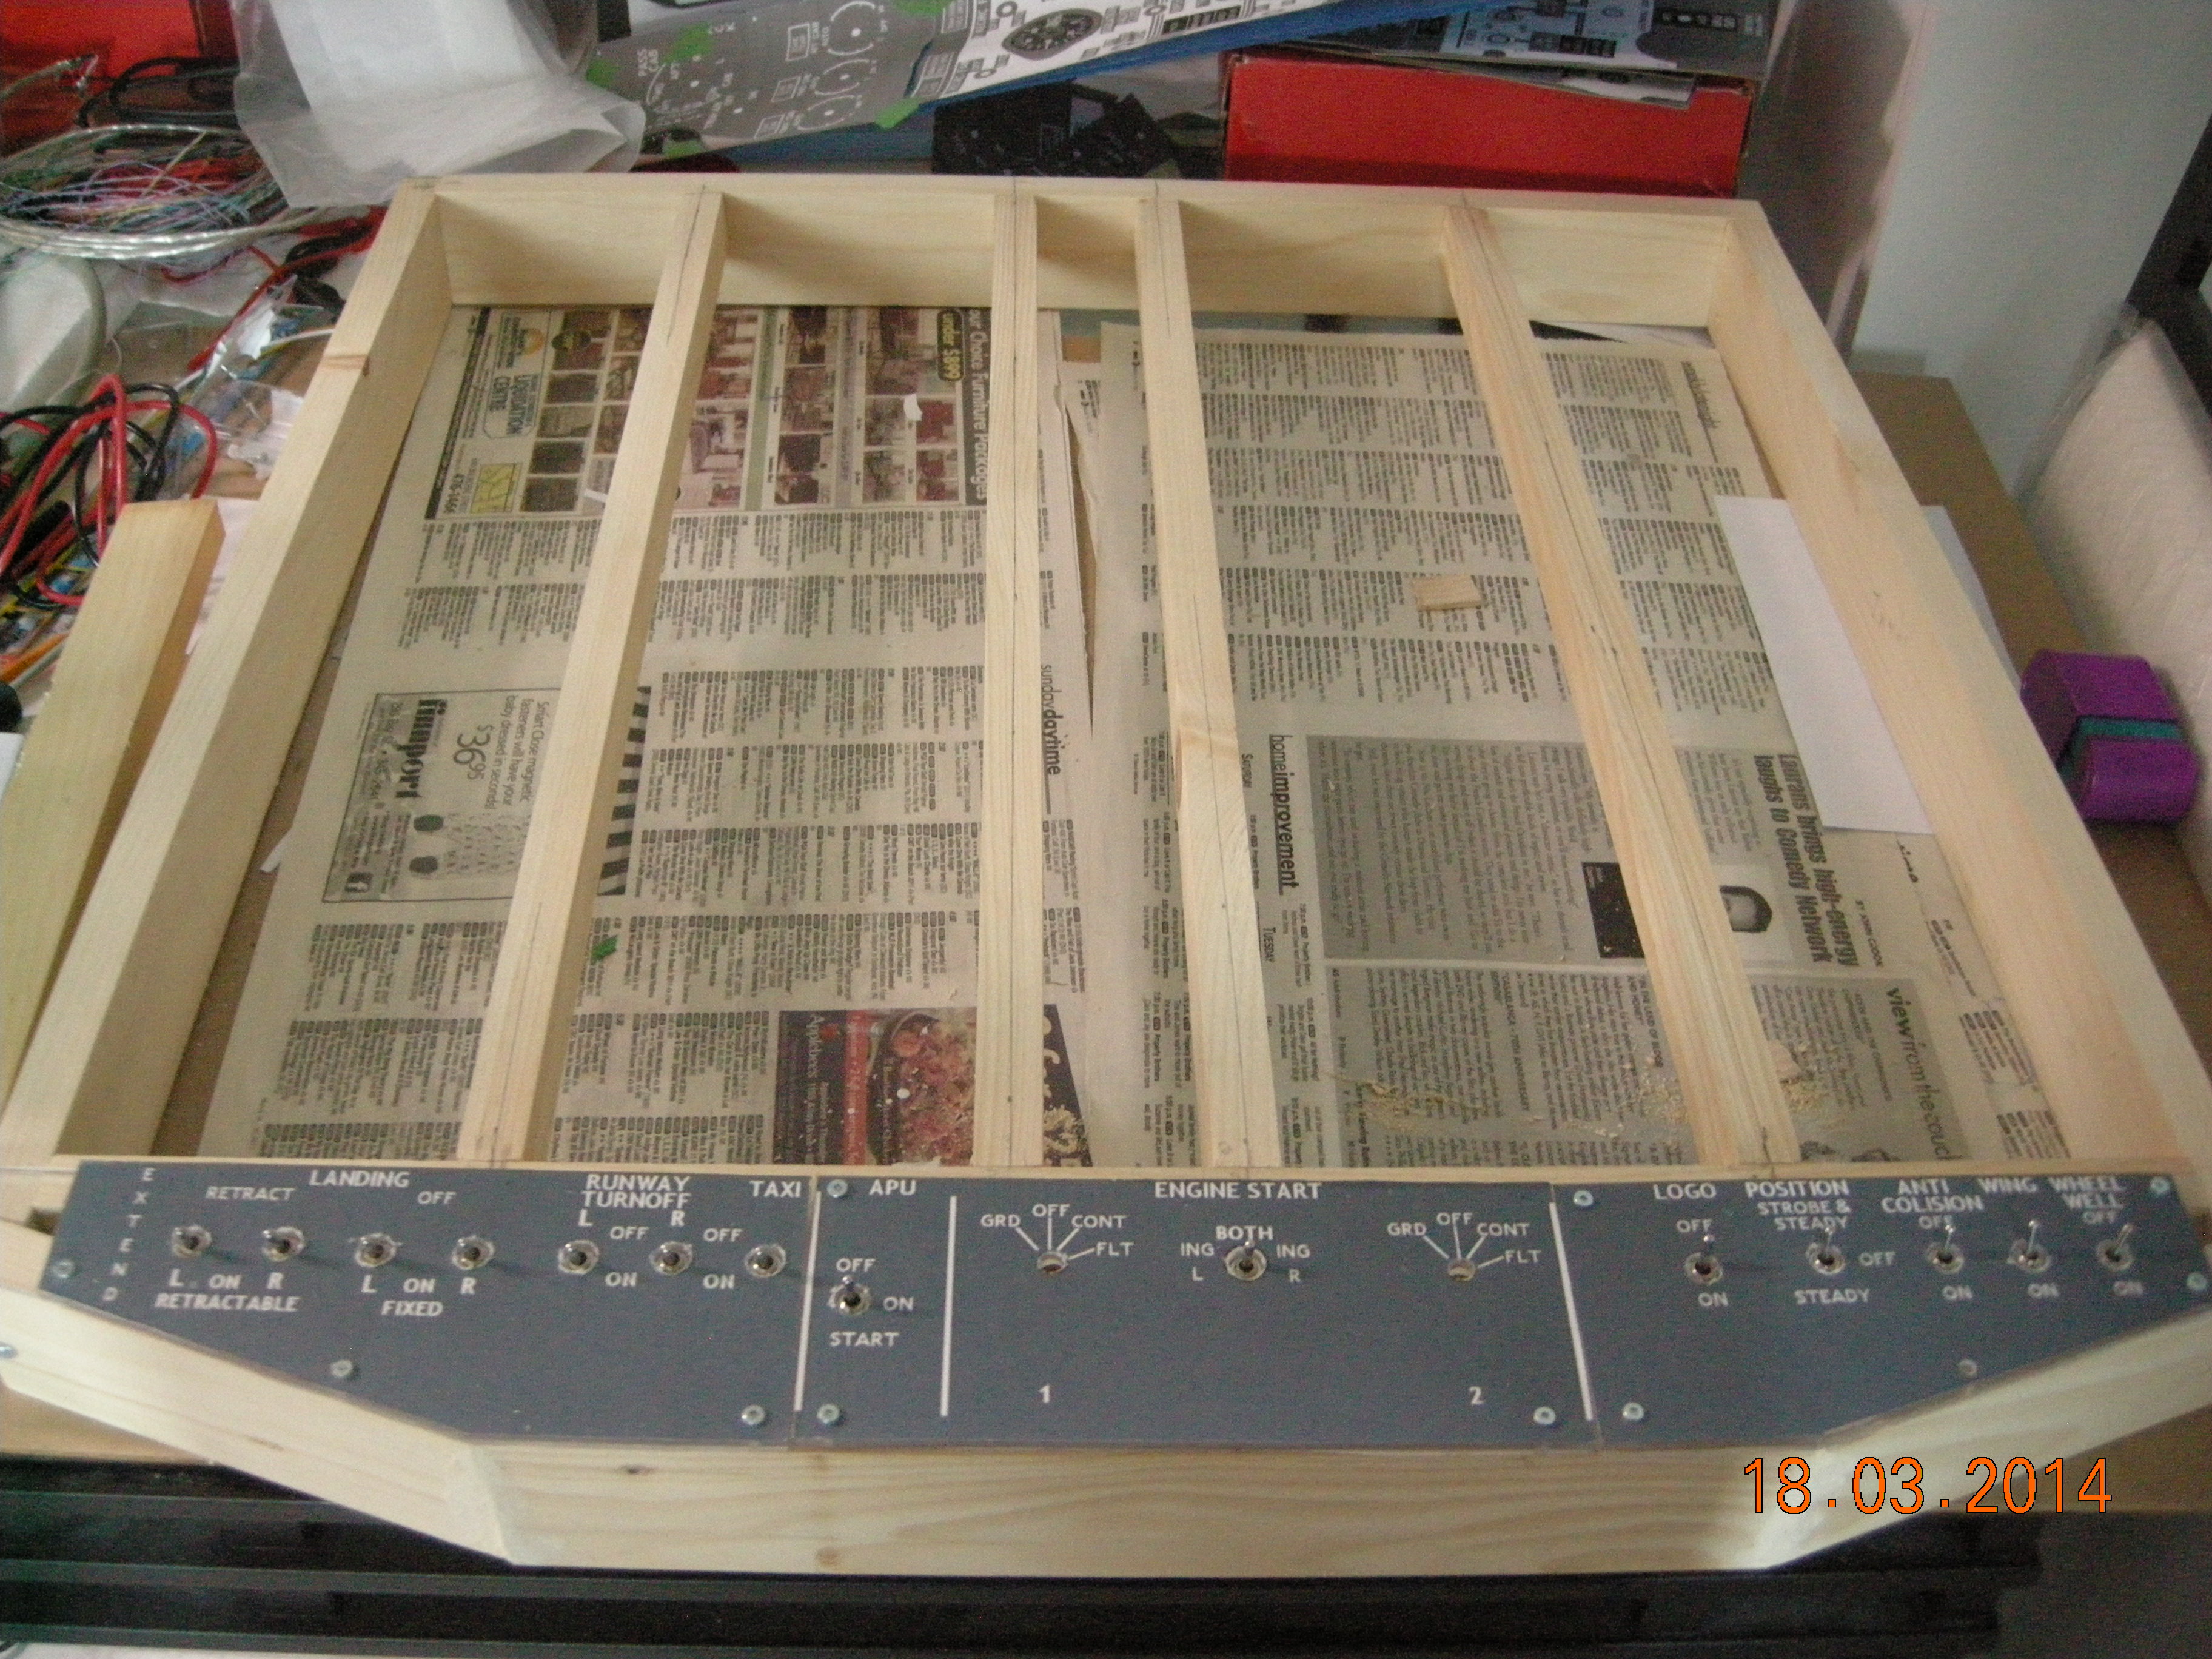
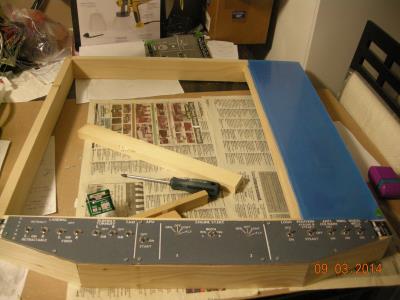
Overhead frame ready for painting .
|
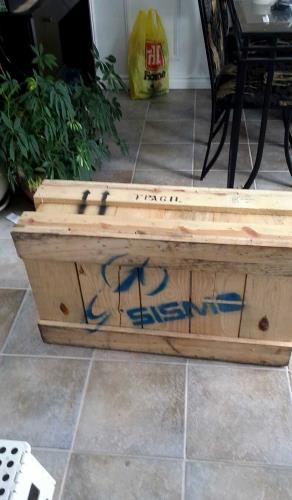
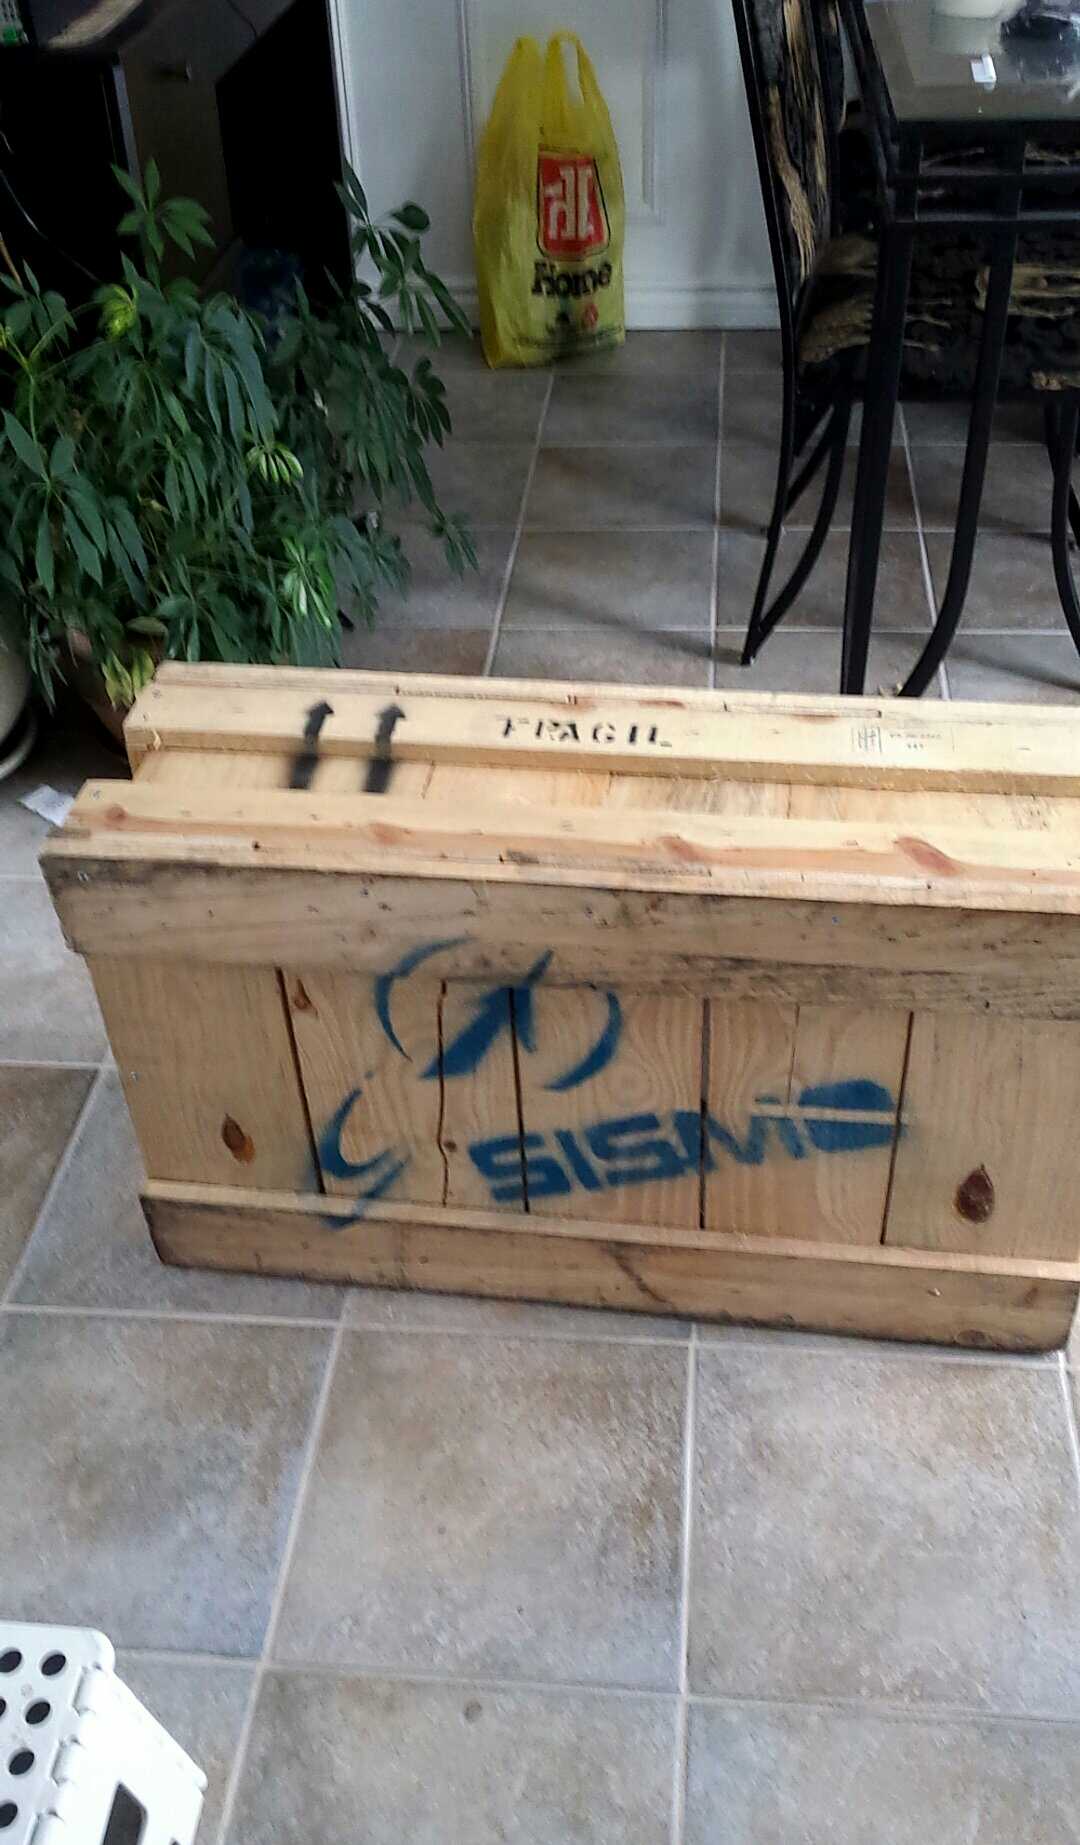
Got a pretty good deal on Sismo Aft Overhead from a fellow builder.
| 
Sismo Aft Kit. Appears O2 needle stuck..
|
Change of plans. Ordered V3 OH Kit
| 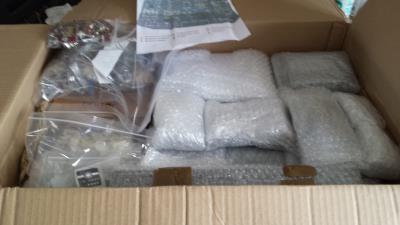
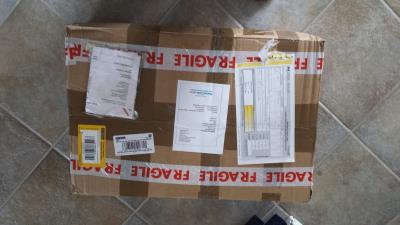
Overhead Kit from Cockpitsimparts. Well Packed .
|
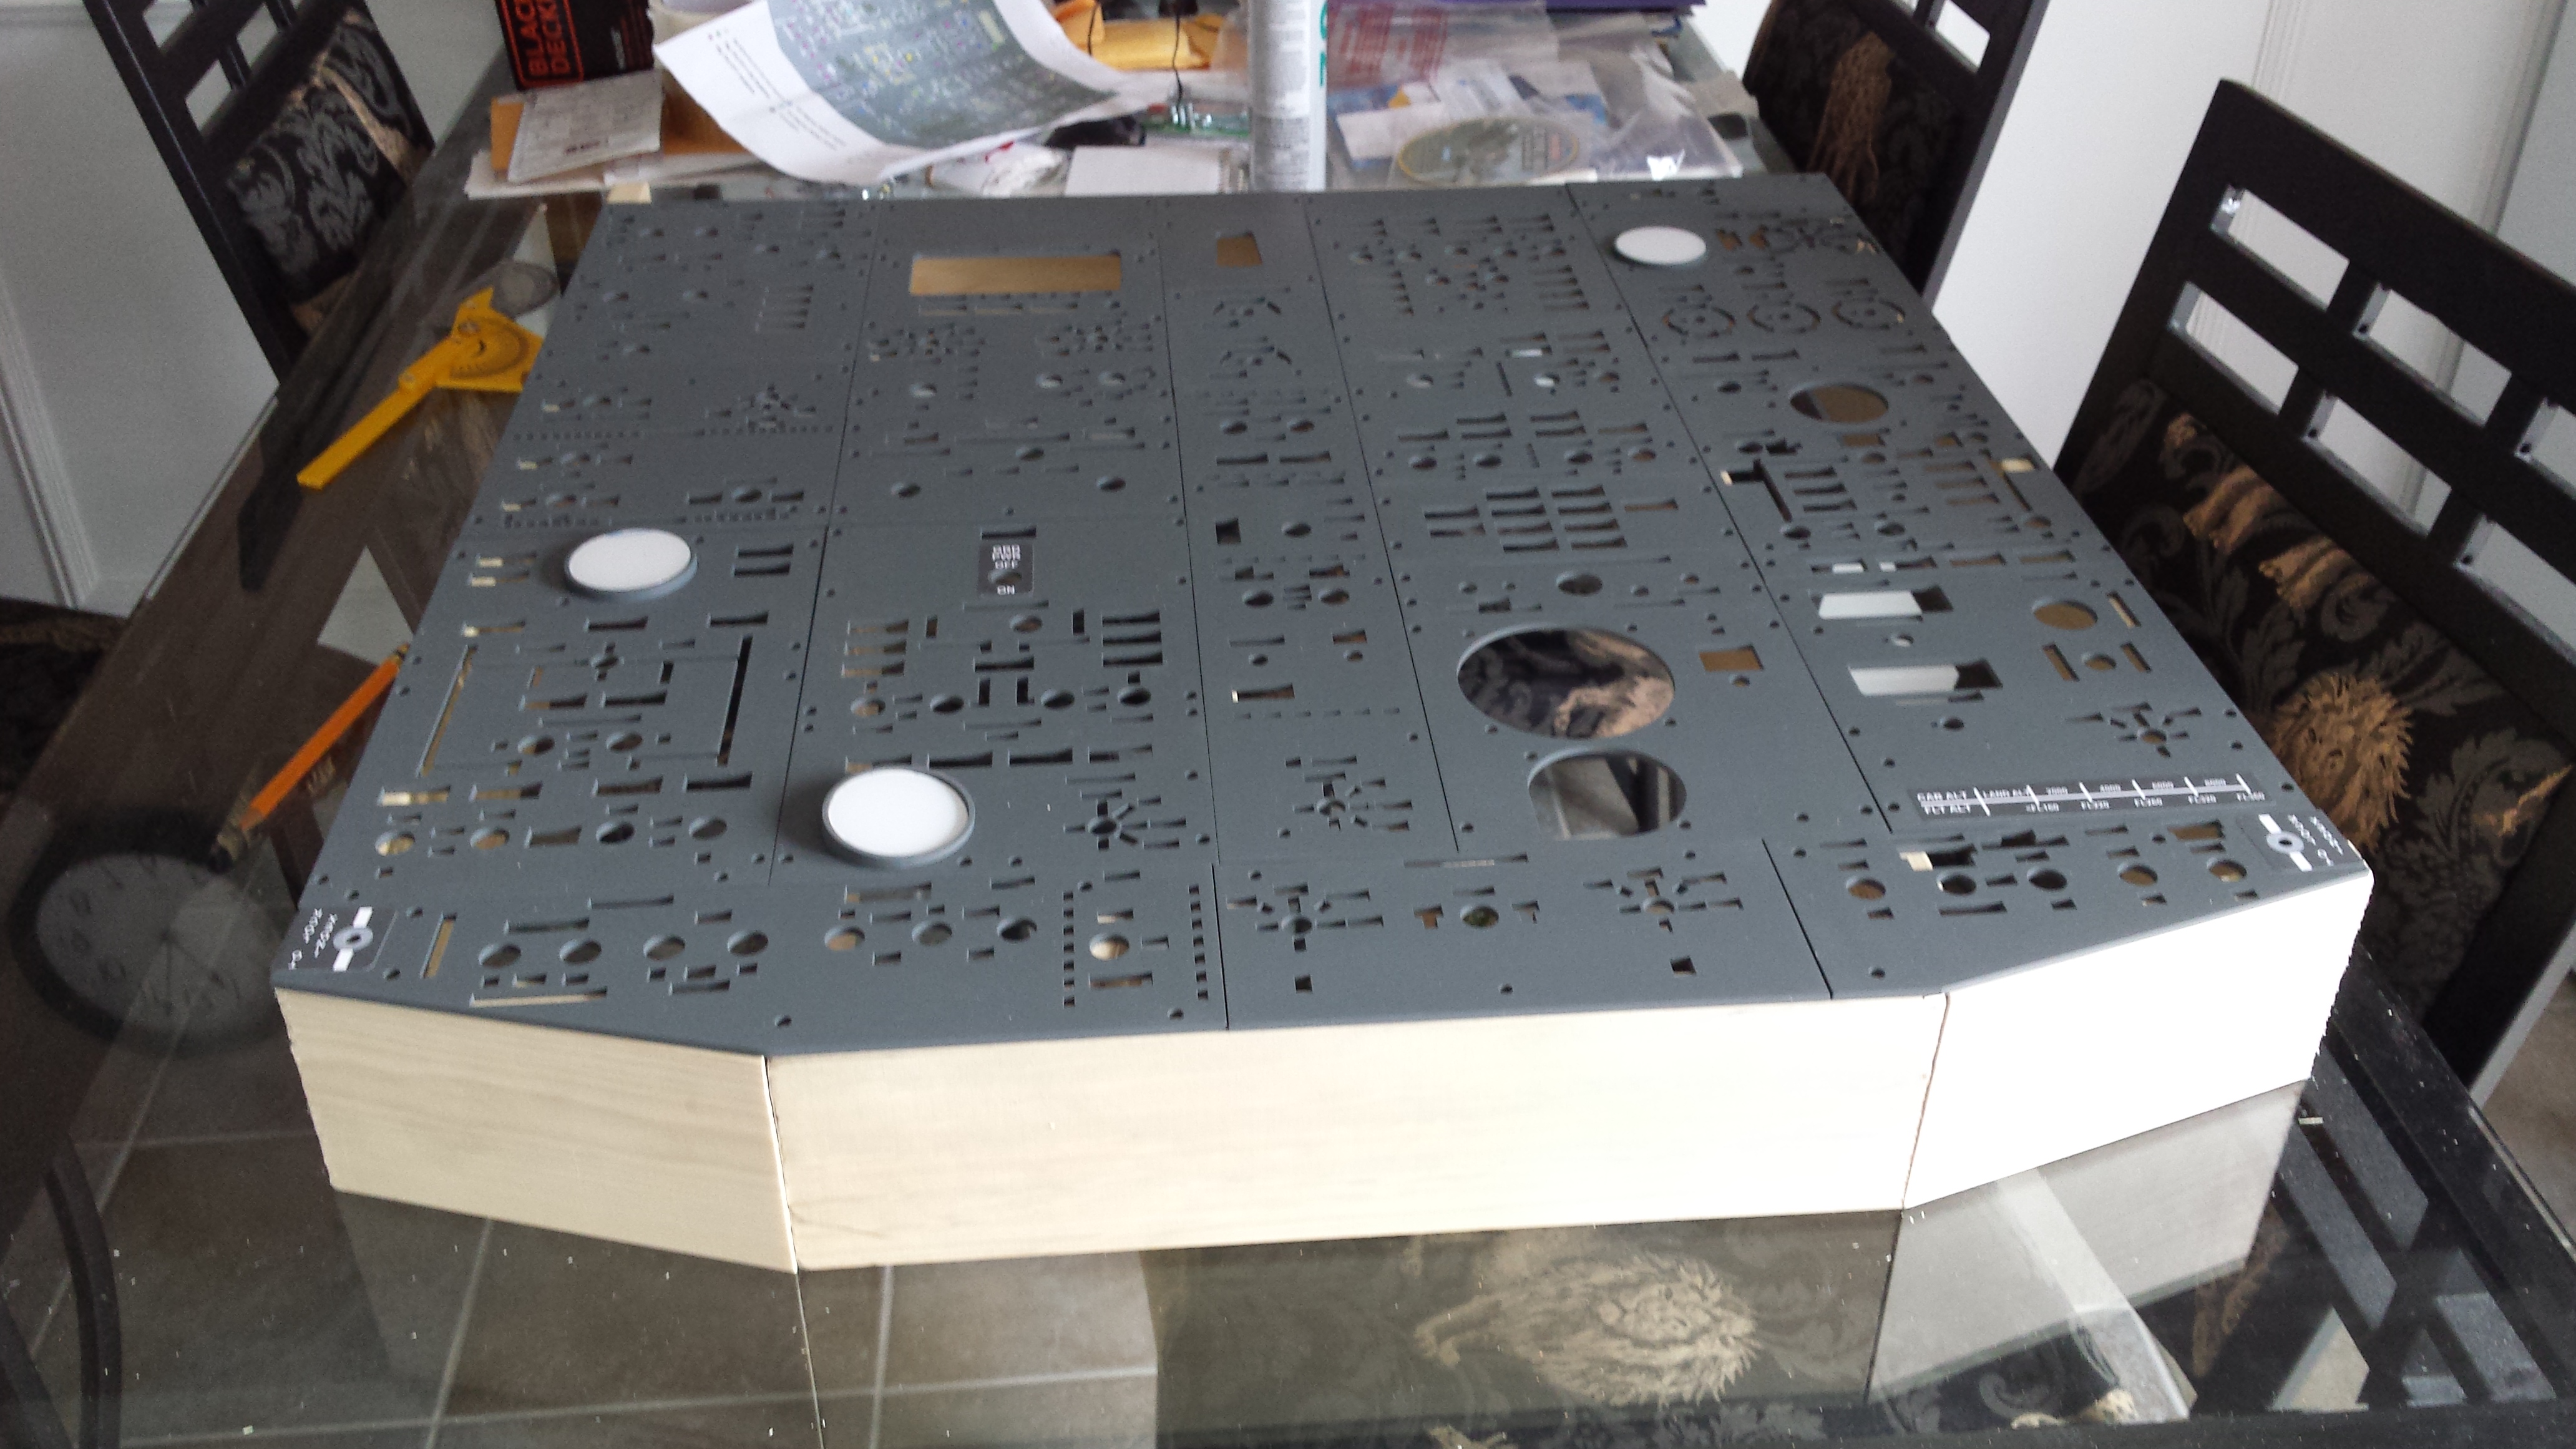
Needed to build a new frame as new panels were slightly bigger. Notice
all the shaded marks that need to be carved out for switches etc.
| 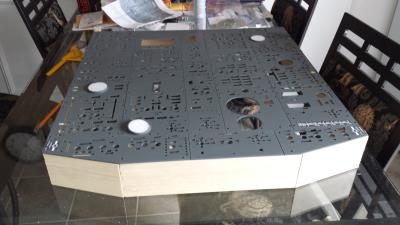
Backing plates on new frame.
|

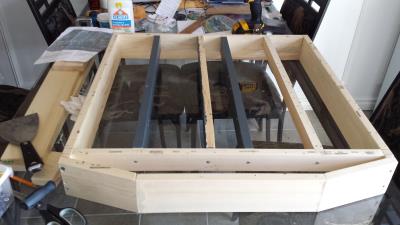
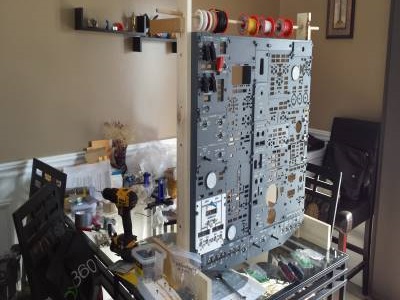
First step is to build a working frame. Made of 1 x 4 inch pine.
| 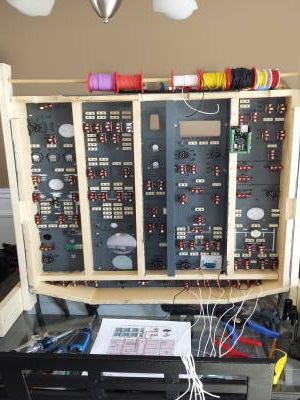
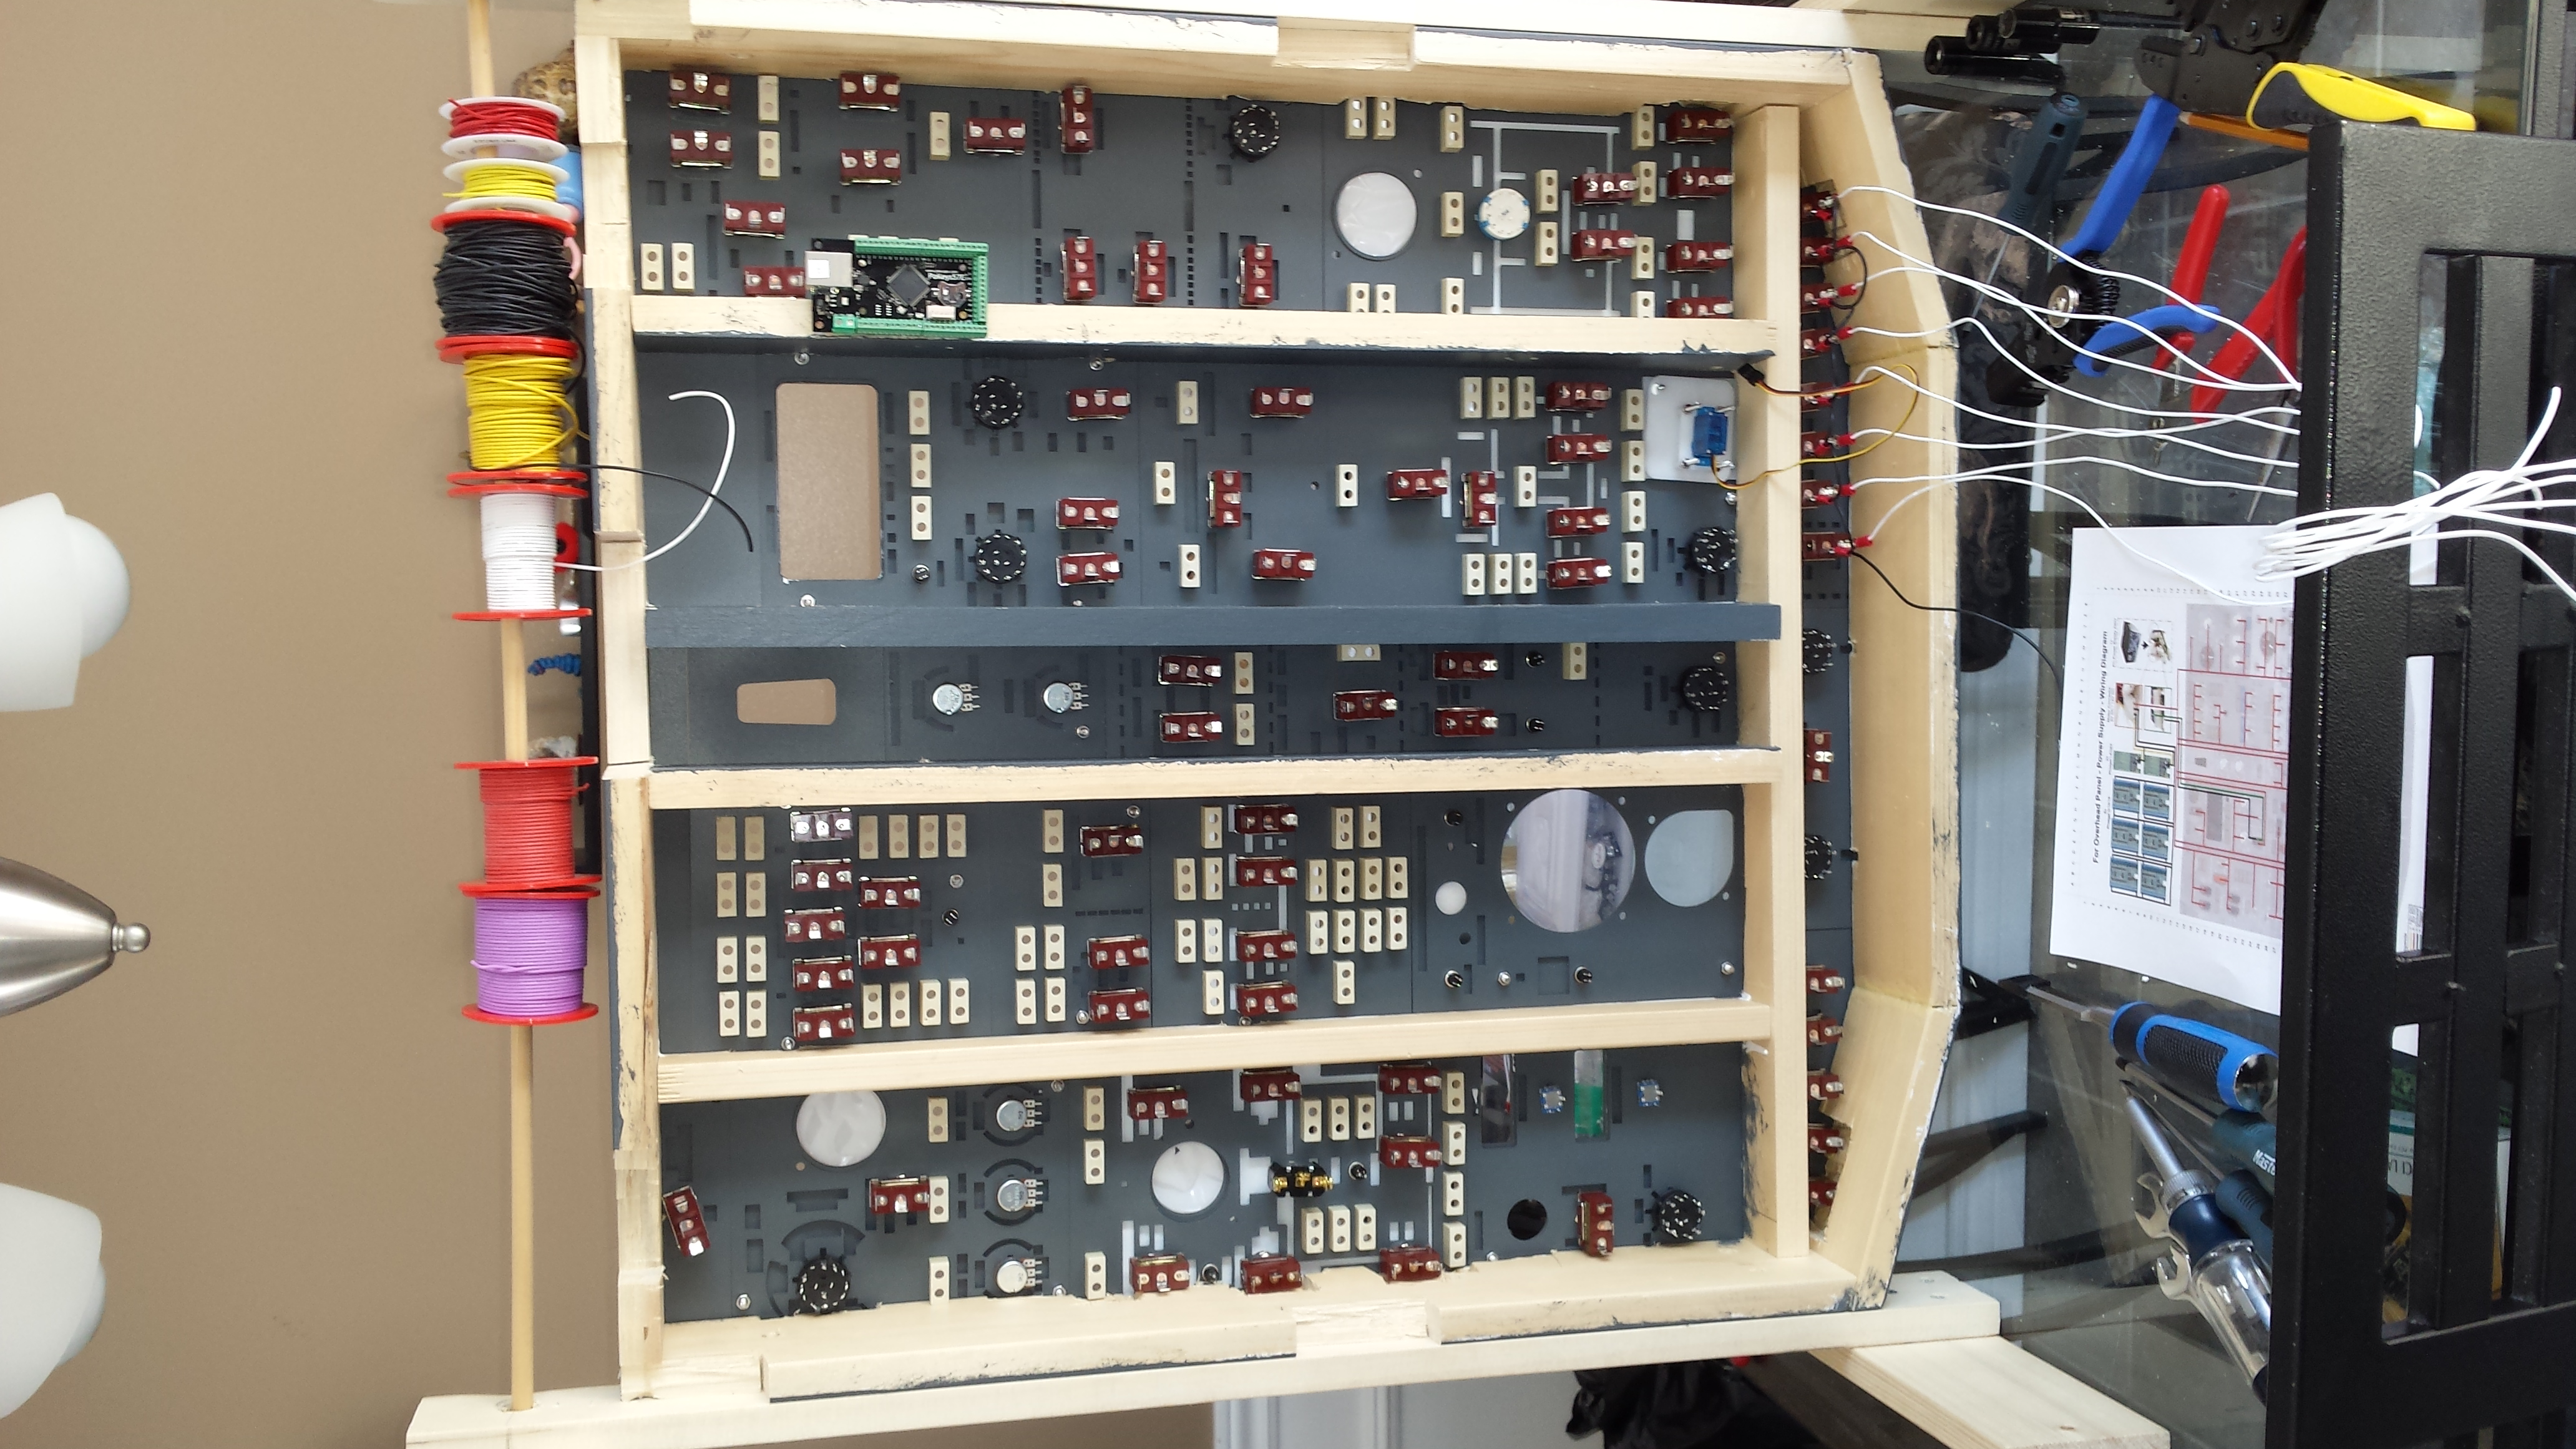
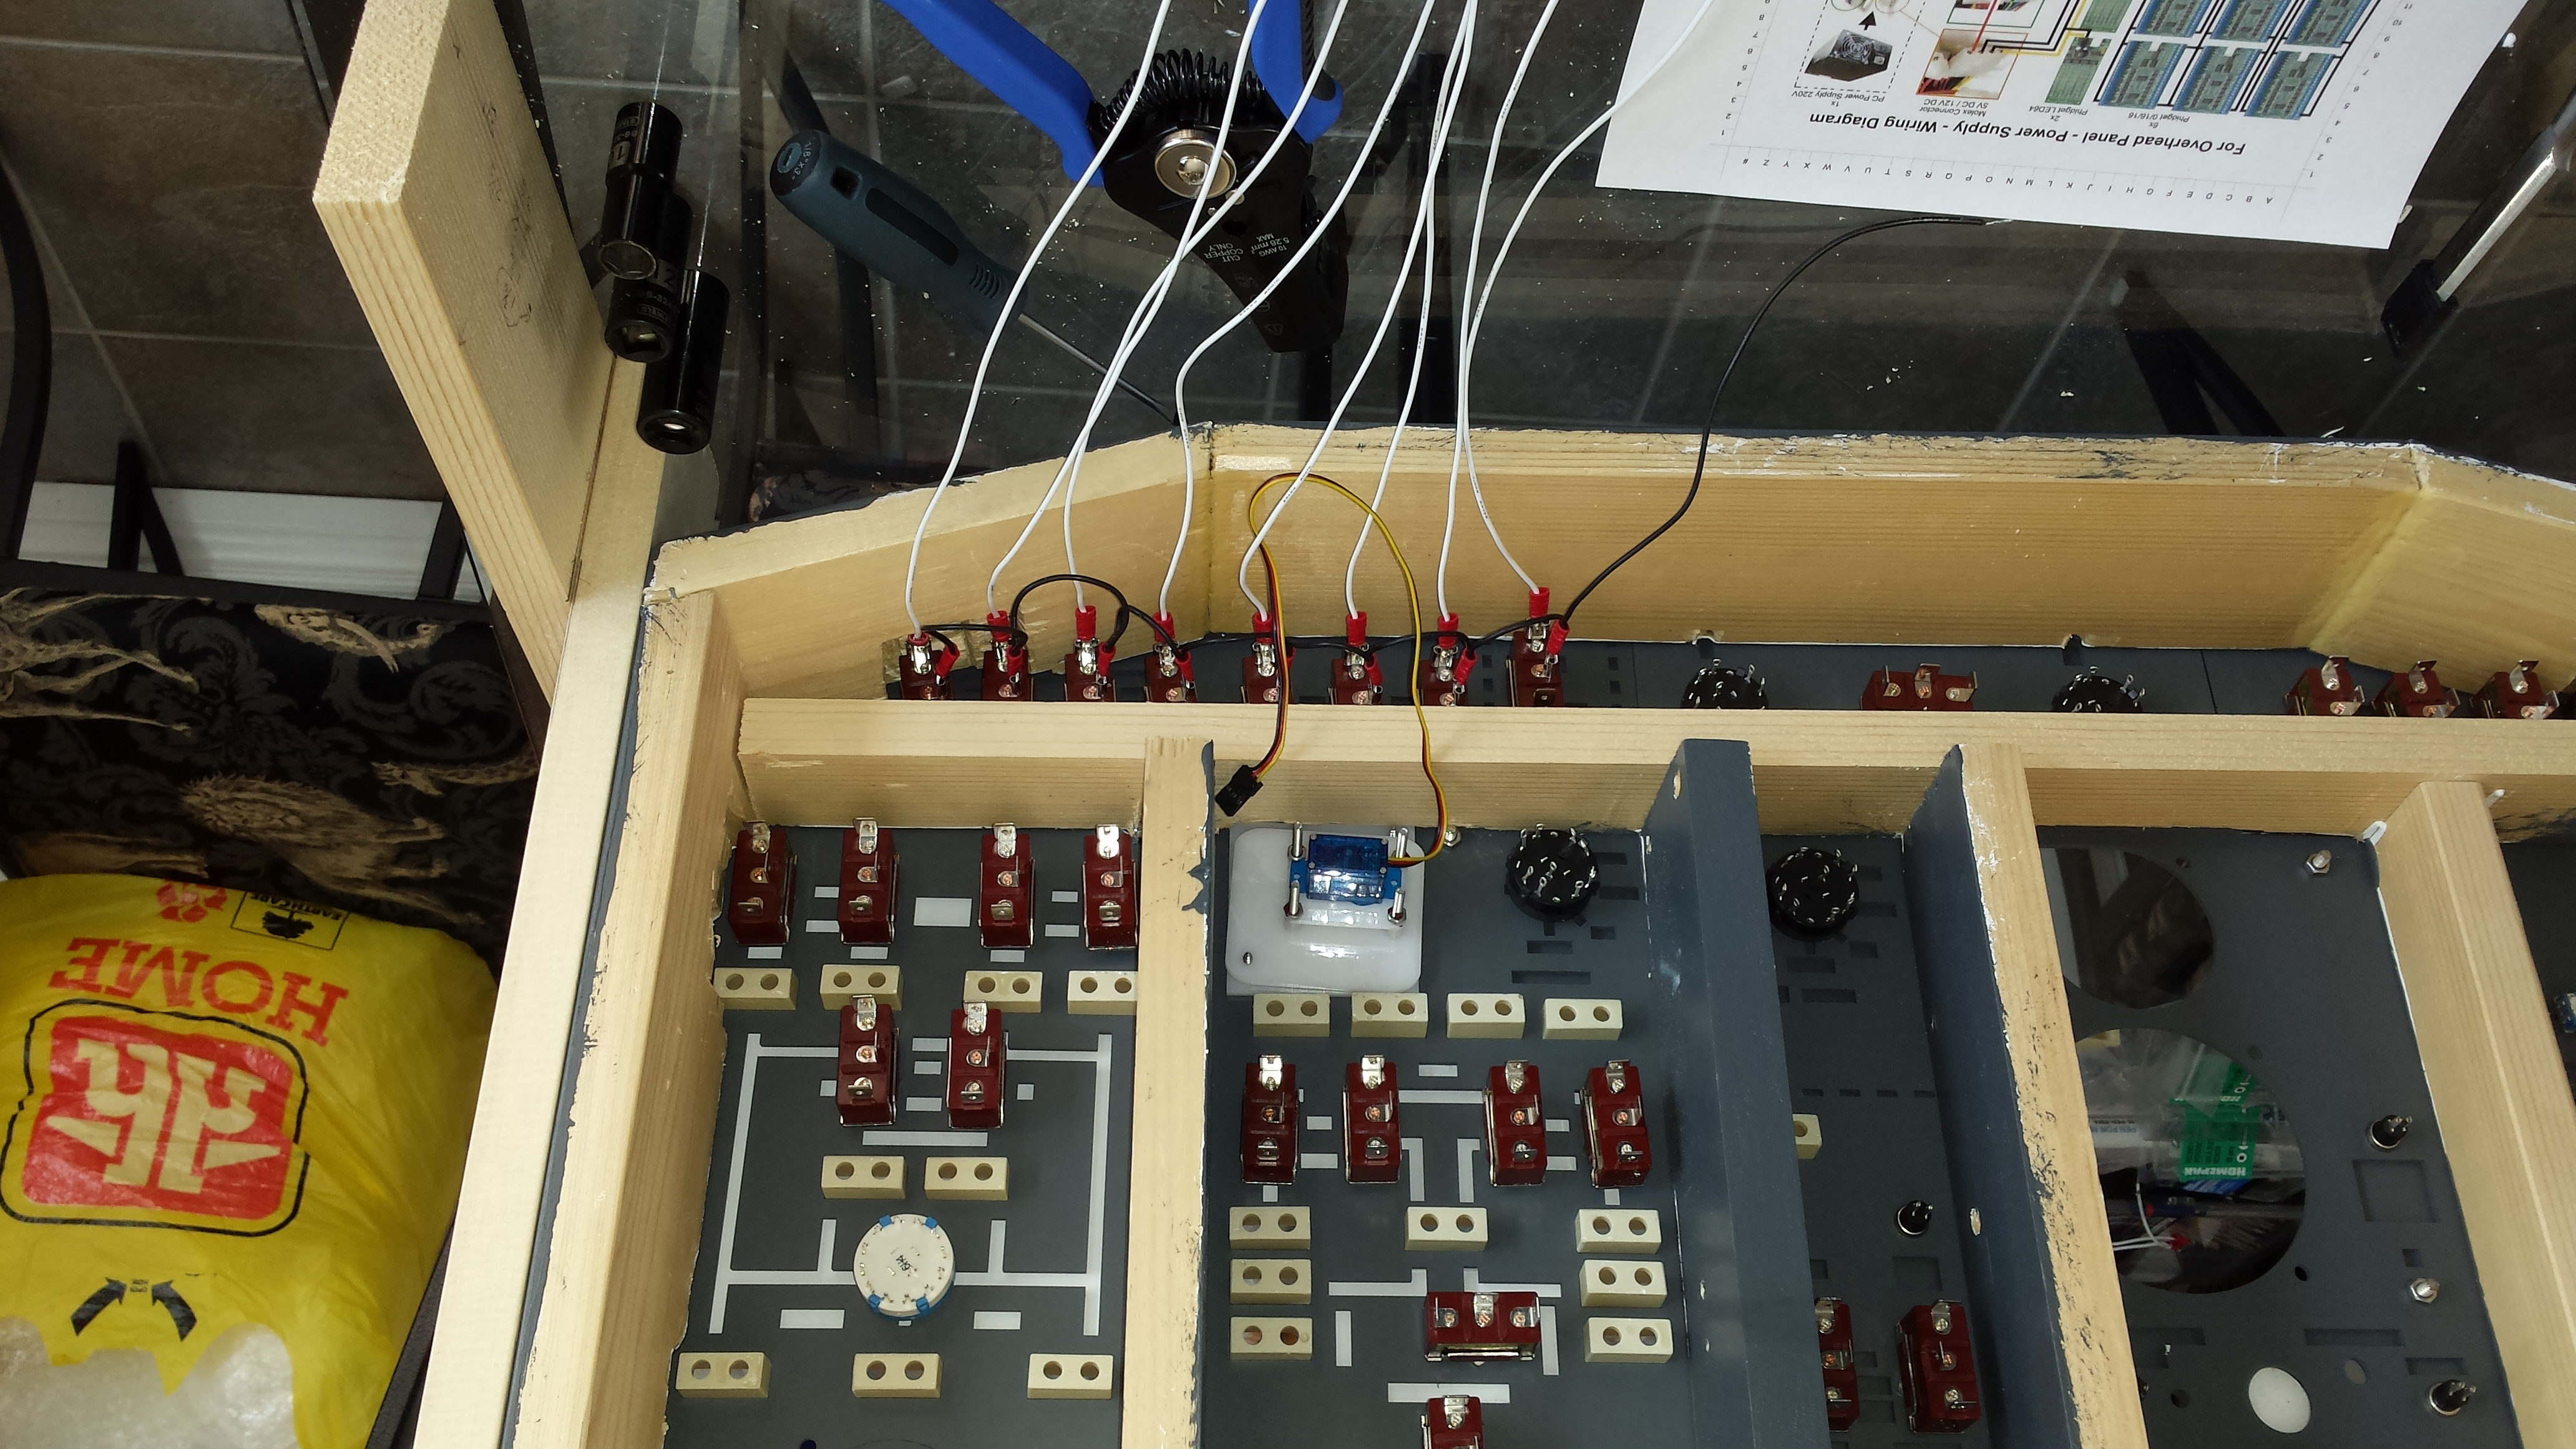
Back View. Beginning the toggle wiring for light switches.
|
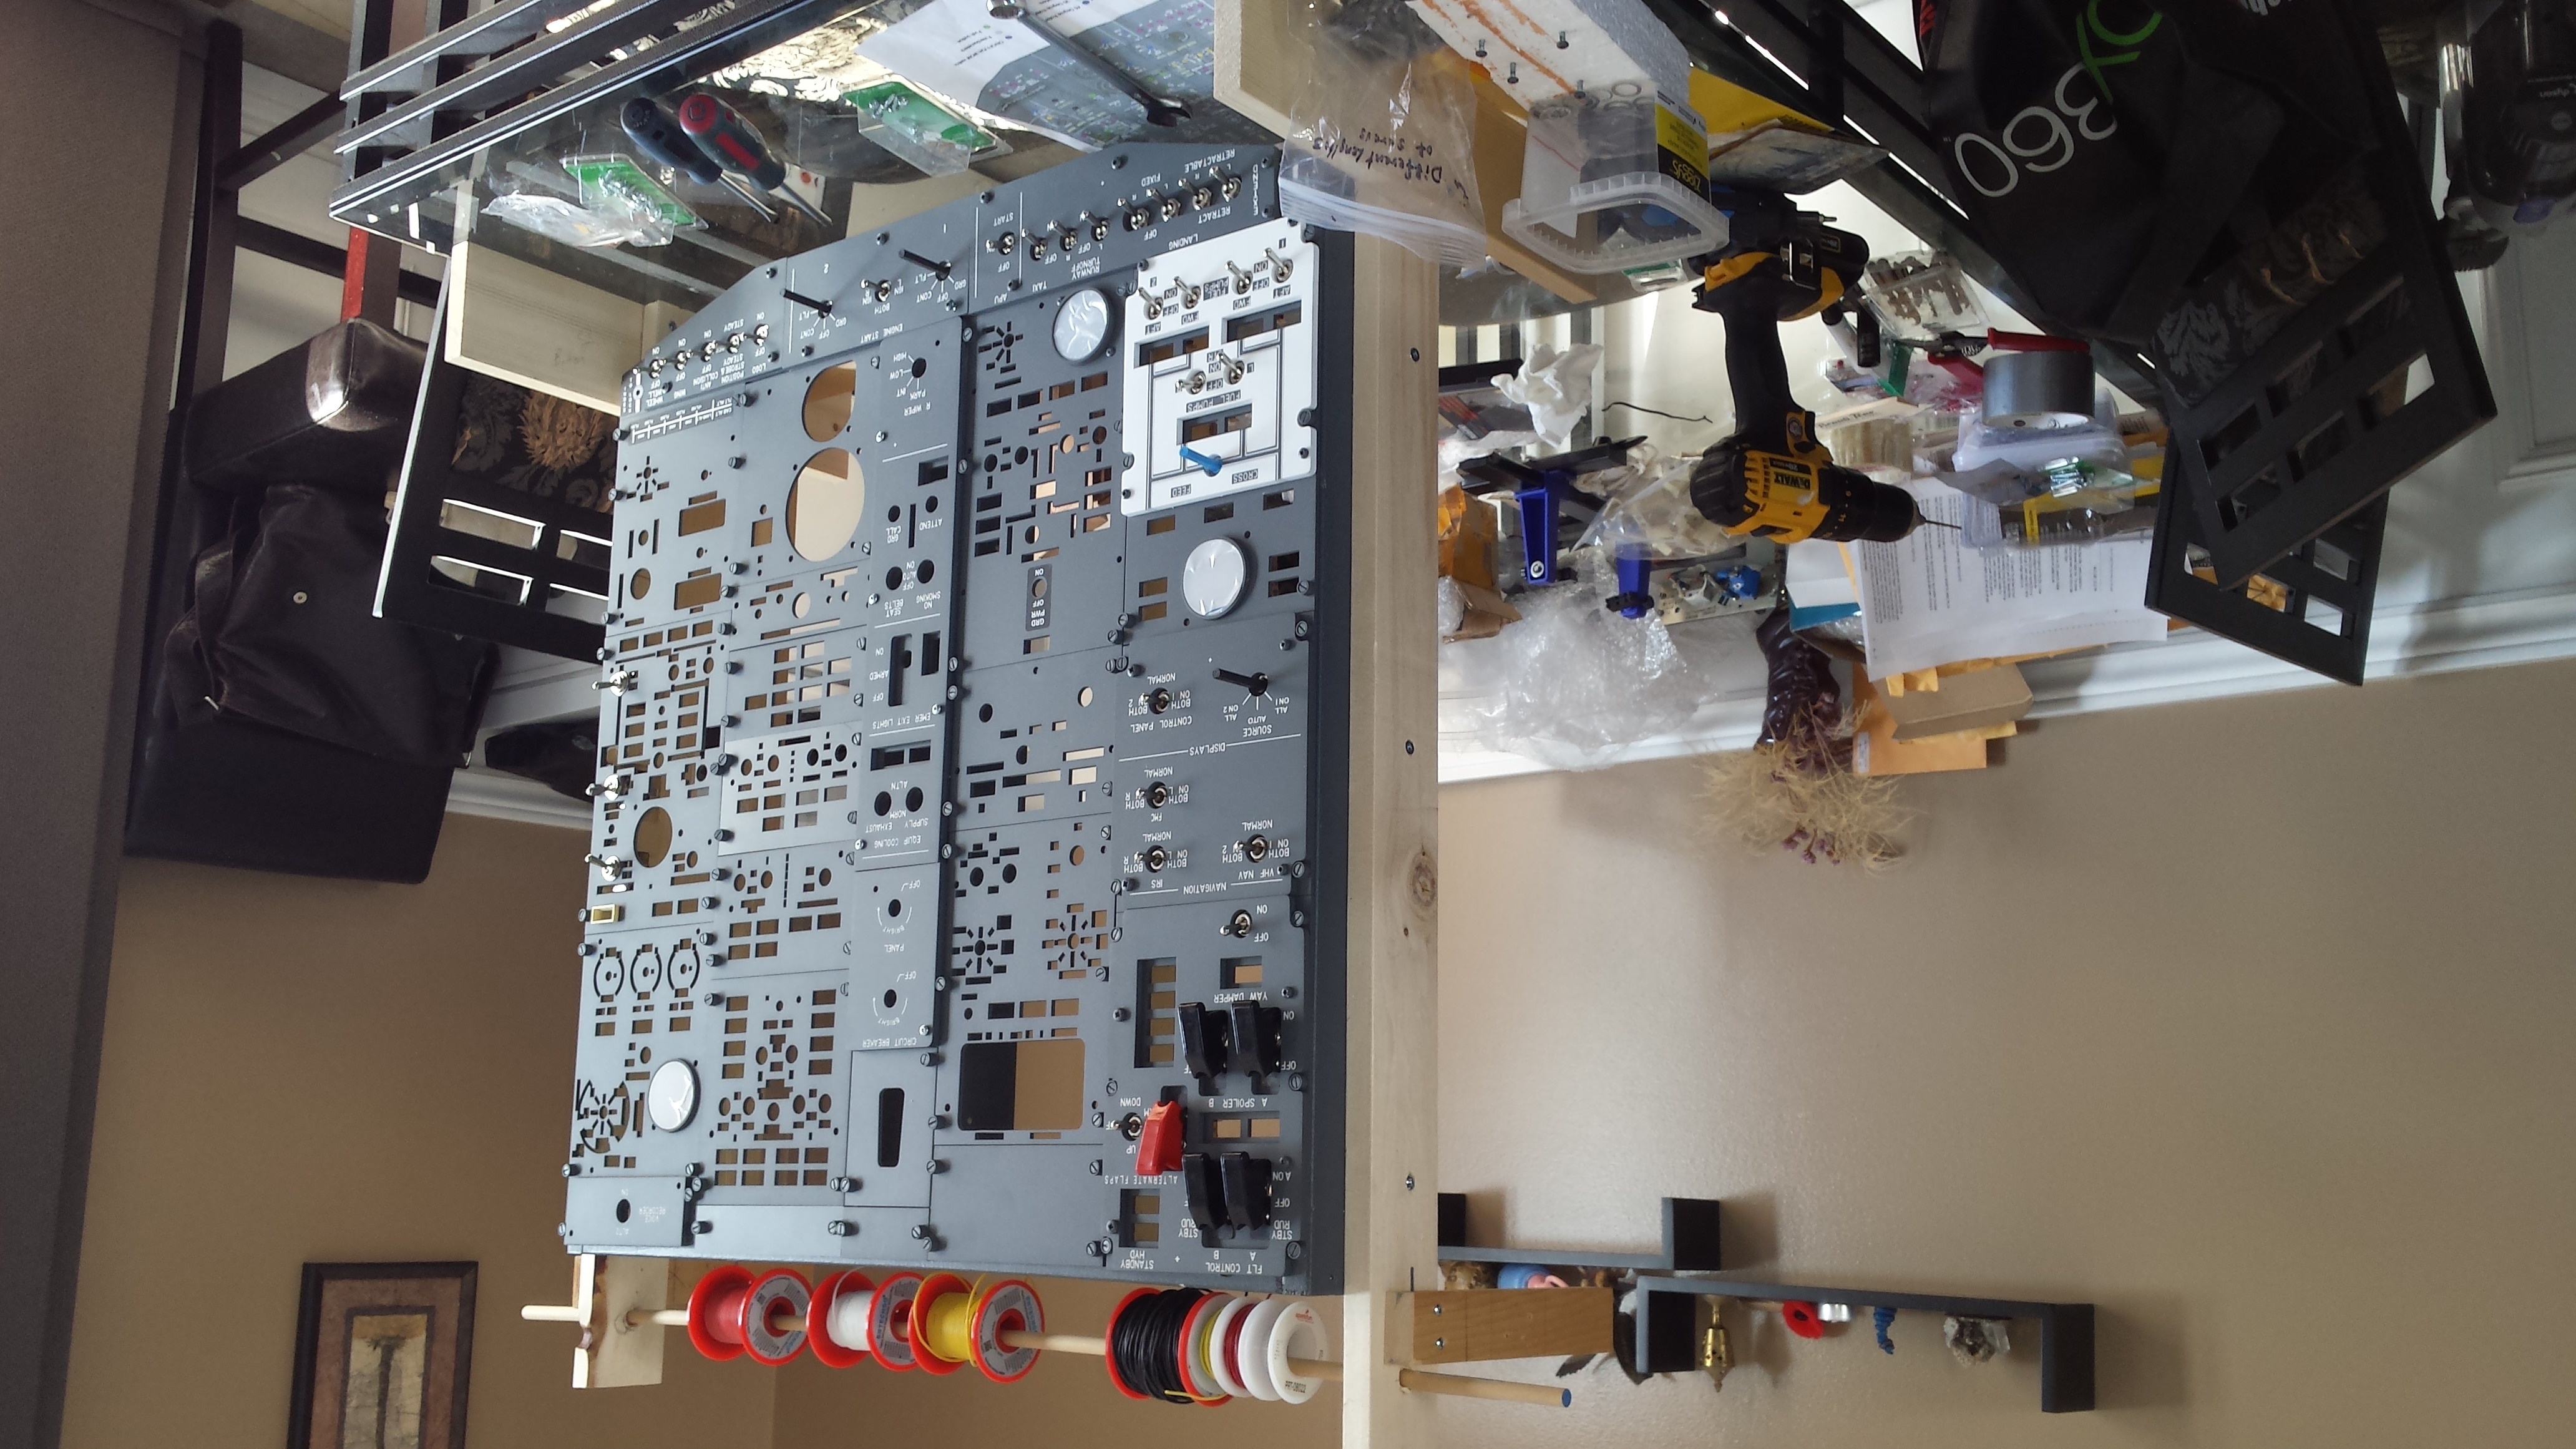
Fitting the panels and switches.
| 
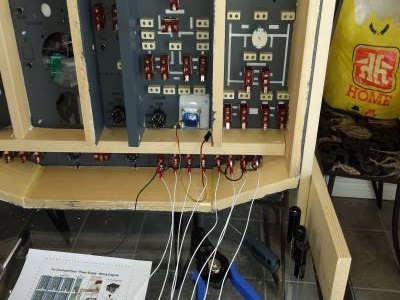
Placing and fitting annunciator boxes.
|
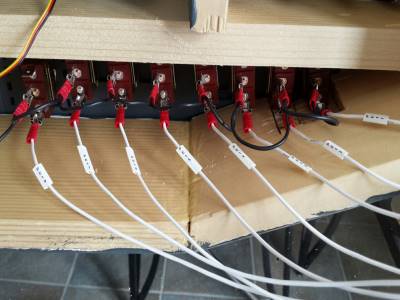
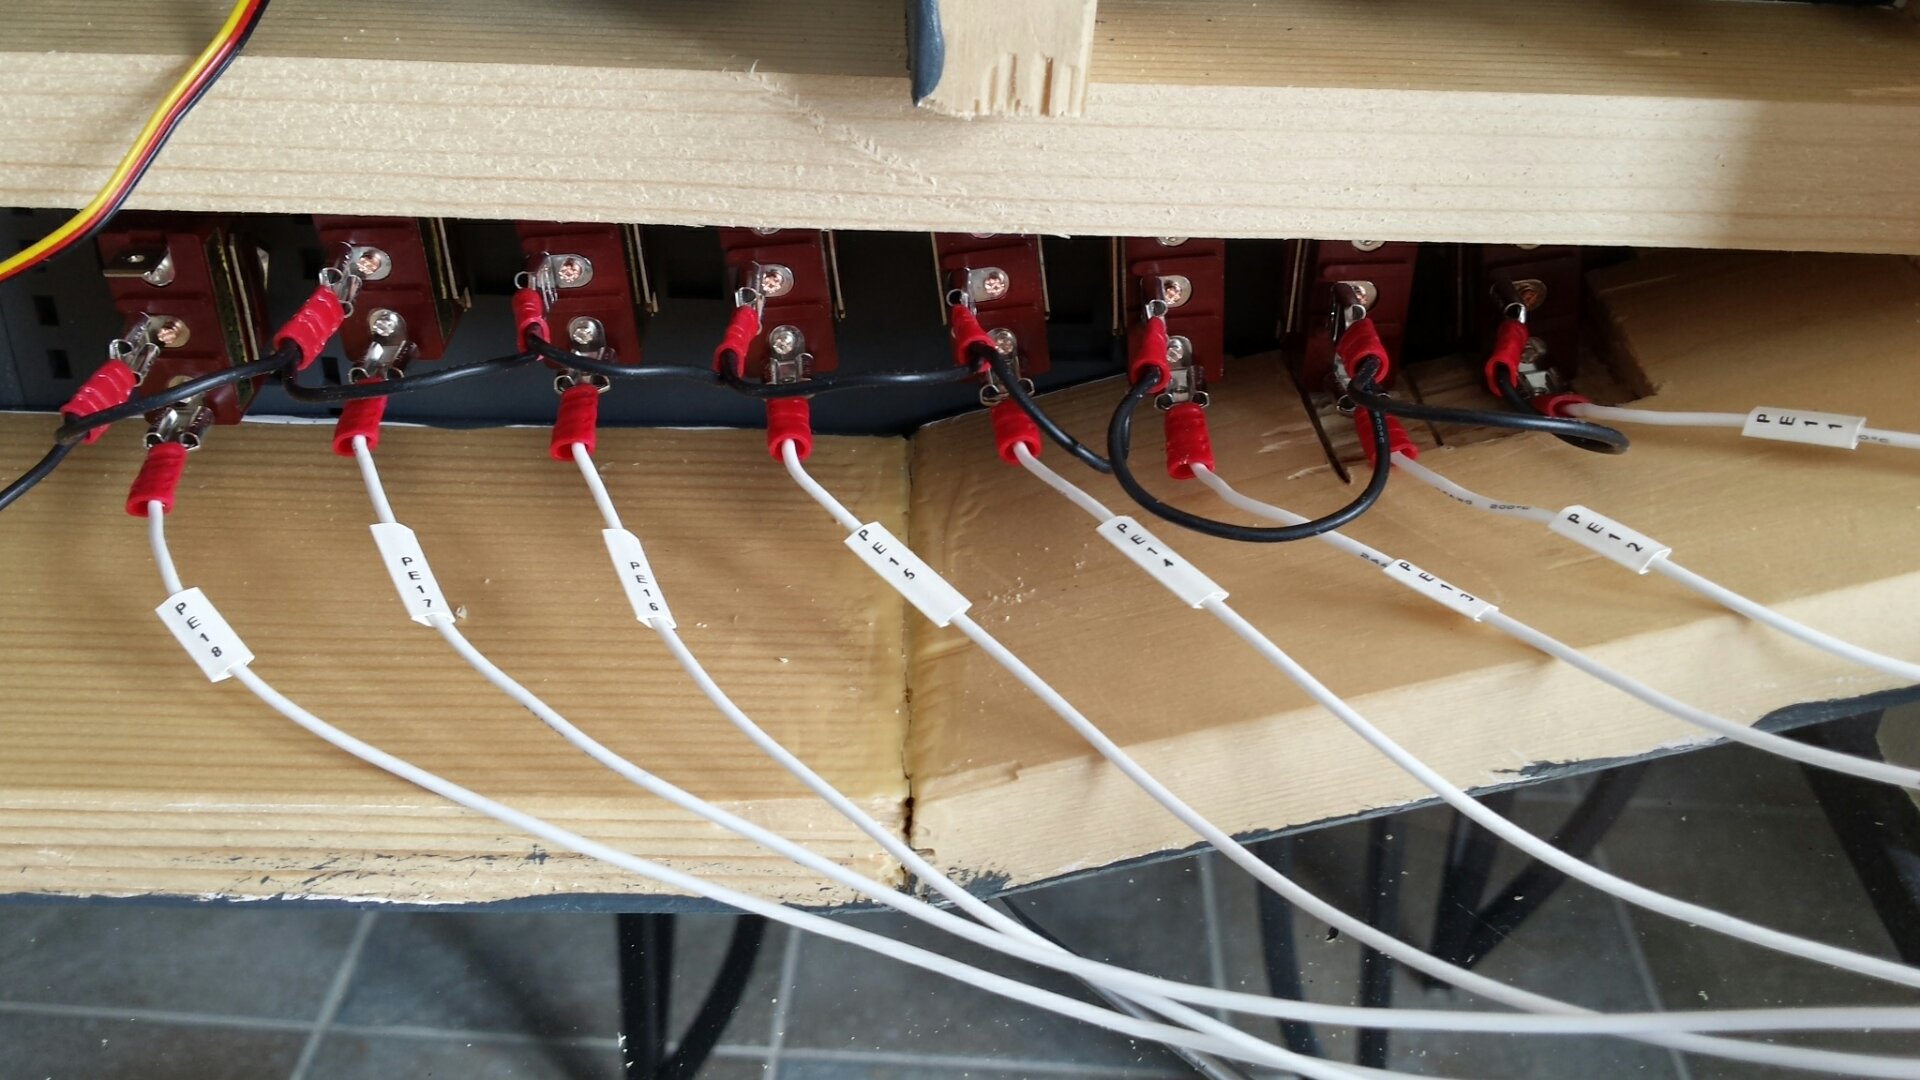
Used Dymo 1/4 " heatshrink tube to mark wires.
| 
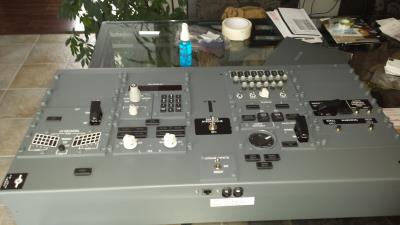
John's APU Exhaust gauge installed..
|